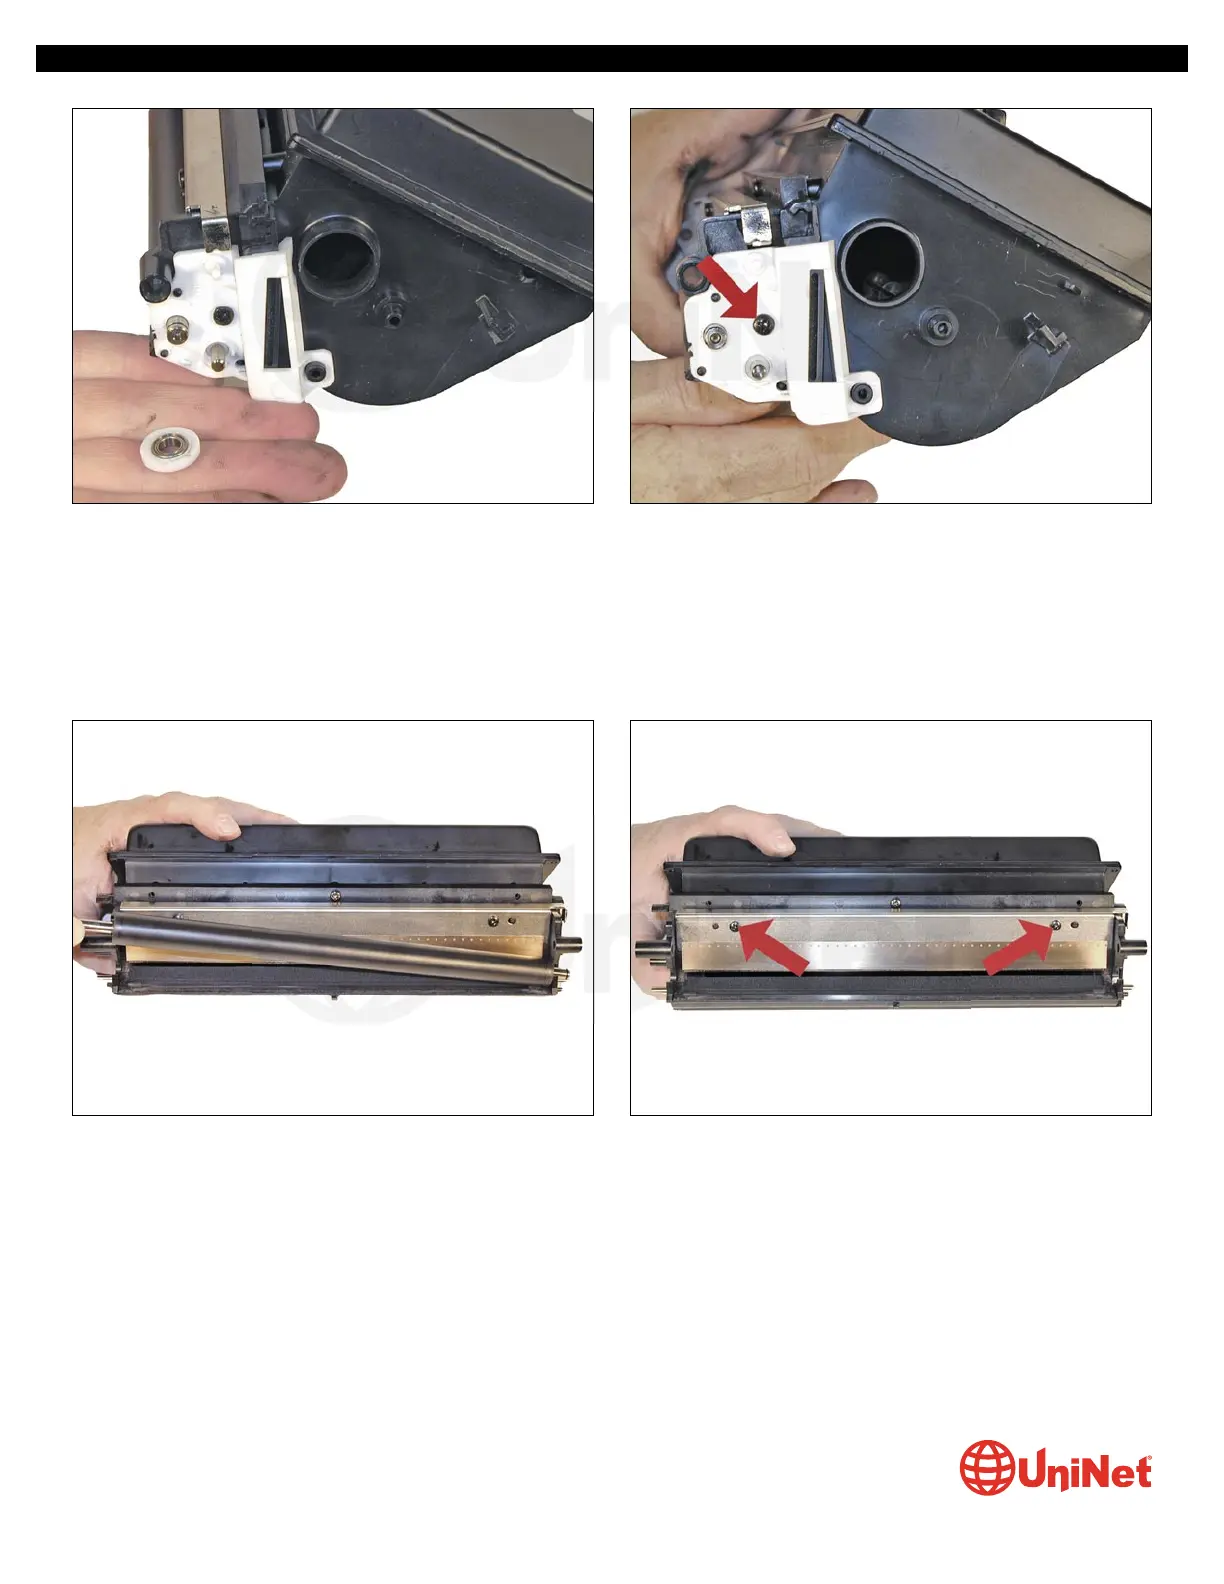
30. Remove the bearing.
Note: this bearing can be hard to remove! Carefully pry it off.
31. Remove the screw and the white plastic alignment plate.
32 Remove the developer roller. 33. Remove the two screws and the doctor blade.
XEROX PHASER 3600 • TONER CARTRIDGE REMANUFACTURING INSTRUCTIONS
© 2012 UniNet Imaging Inc. All trademark names and artwork are property of their respective owners. Product brand names mentioned are intended to show compatibility only.
UniNet Imaging does not warrant downloaded information. Unauthorized sale, reproduction or distribution of this article is prohibited. For additional support, please contact techsupport@uninetimaging.com
www.uninetimaging.com
 Loading...


