UNINET IMAGING INC. • XEROX
®
PHASER 6250 CARTRIDGE REMANUFACTURING INSTRUCTIONS
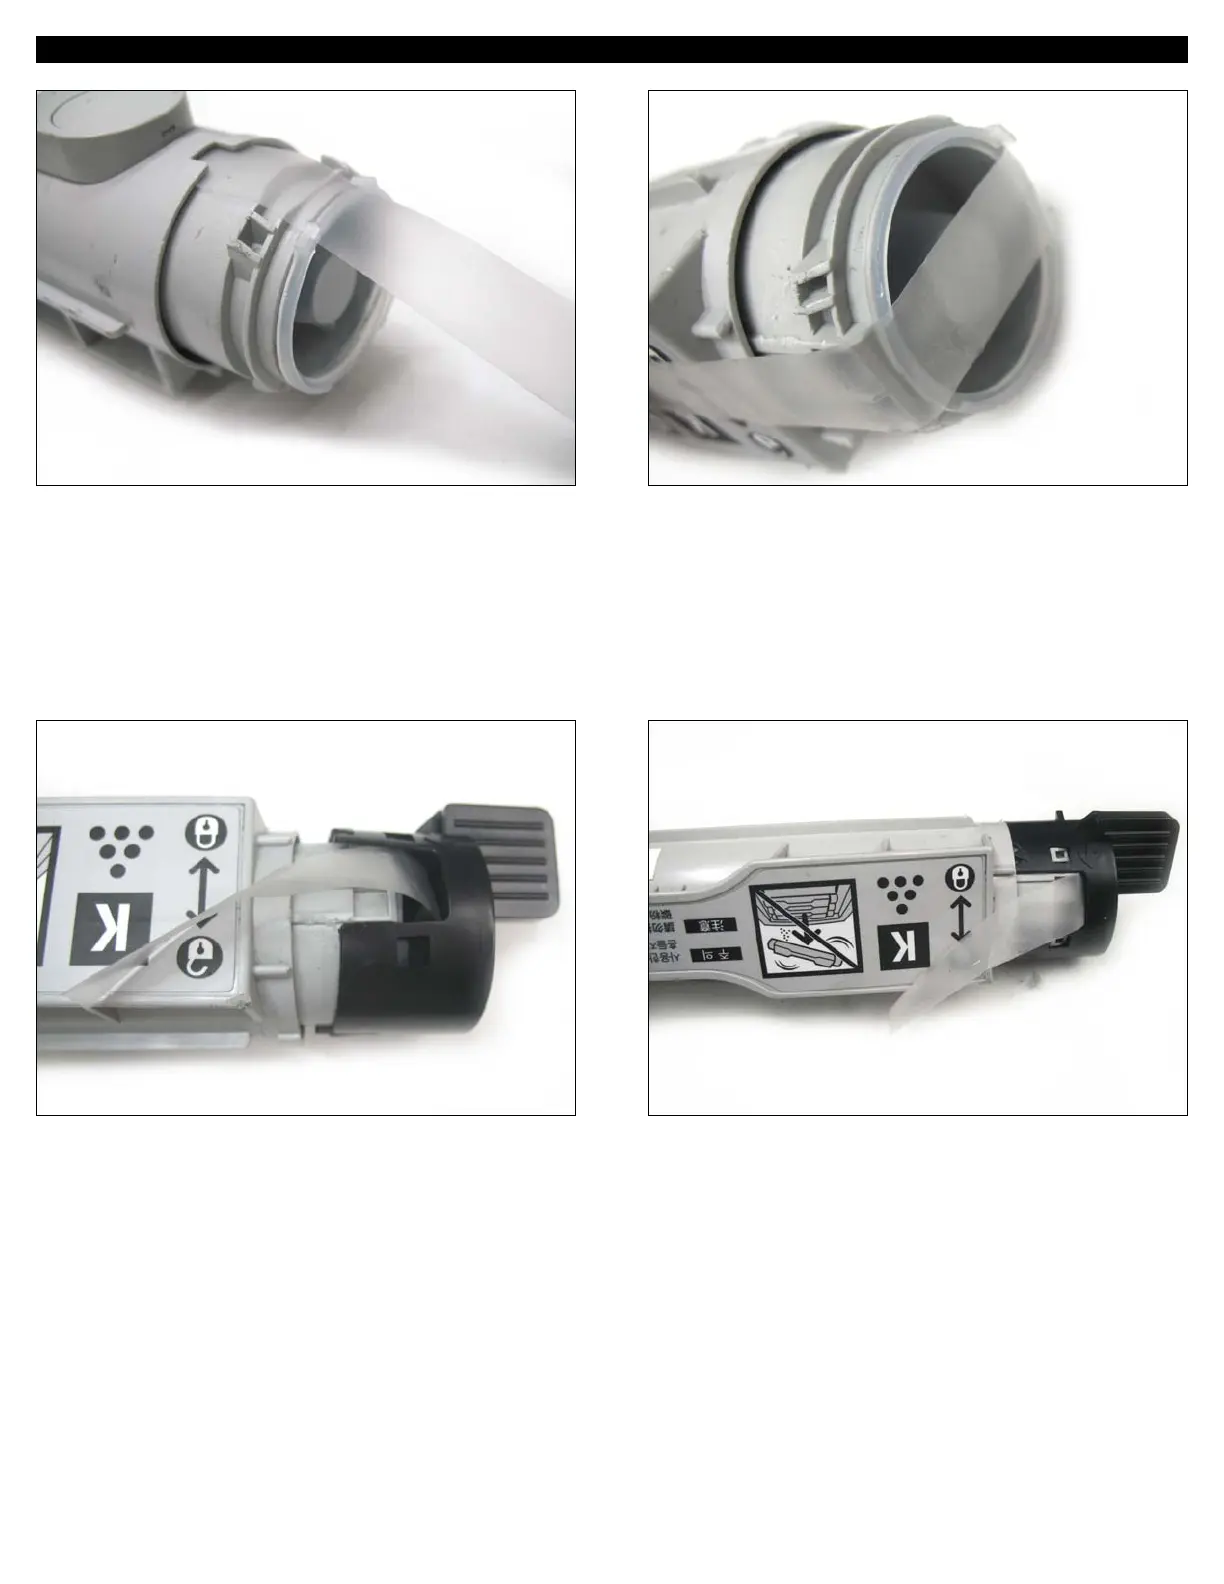
20. Place the gearless end cap, in its original positioning, over
the seal and toner fill plug as shown.
Make sure that the remaining seal flap is showing through as
shown.
21. Push the end cap inward until it latches onto the four locking
tab mechanisms. Make sure all four tabs are properly secured.
INSTALLING THE GEARLESS END CAP 19. First, wrap the remaining seal around the toner fill plug as
shown.
© 2007 UniNet Imaging Inc. All Trademark names are property of their respective owners. Product brand names mentioned are intended to show compatibility only. UniNet Imaging does not guarantee or warrant downloaded information.
www.uninetimaging.com/technical.asp
11124 Washington Blvd., Culver City, California USA 90232 • Ph +1 310 280 9620 • Fx +1 310 280 0533 • techsupport2@uninetimaging.com

 Loading...


