Built-In Self-Test (BIST) Instructions
SP701 Evaluation Kit
2
www.xilinx.com
The built-in self-test FPGA configuration file is stored in the onboard Quad Serial Peripheral Interface flash memory.
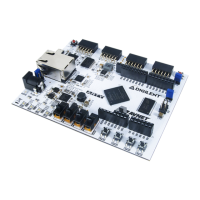
X-Ref Target - Figure 1-2
STEP 1: Set the FPGA Configuration Mode
Set the FPGA configuration mode DIP switch to load the BIST configuration by setting
SW13 1–4 OFF as shown. (All switches in the photo are in the OFF position.)
For BlinkBIST, the setting is down, up, up, down (1001). Down is OFF, which equals 1.
Note: Do not connect anything to the PMOD headers while running the BIST.
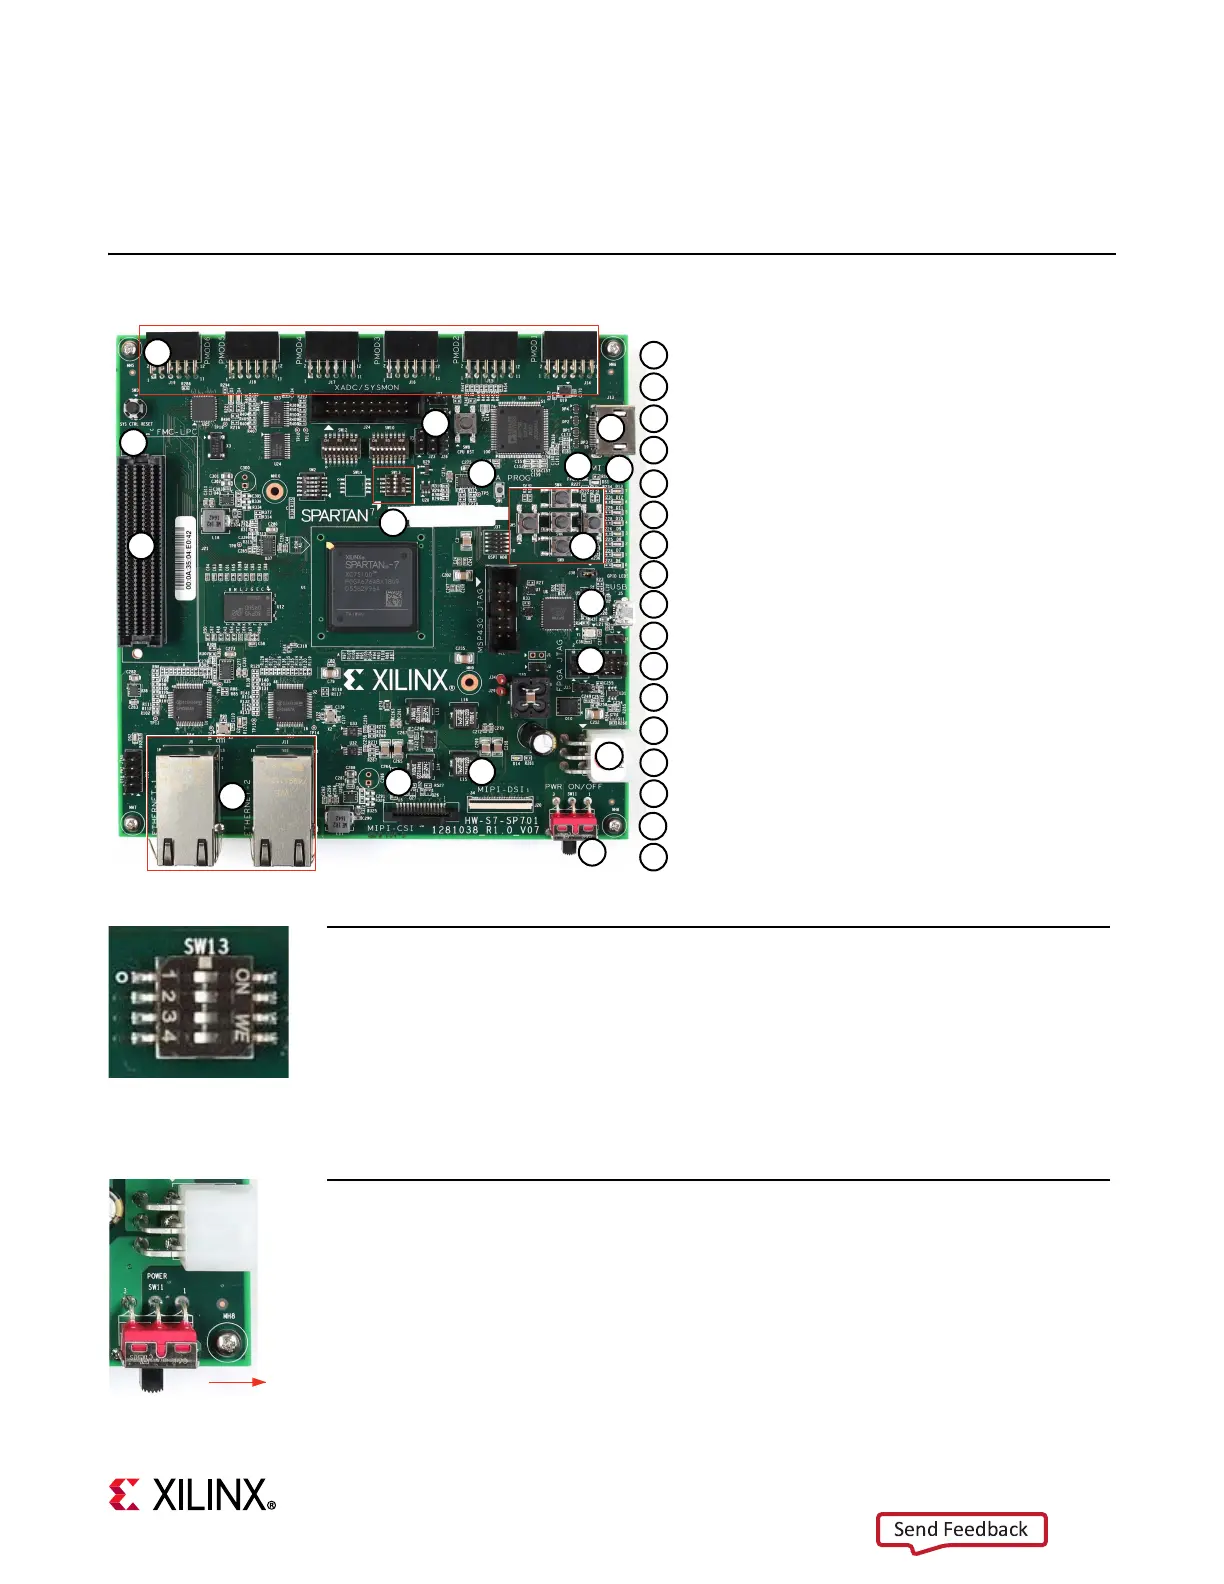
X-Ref Target - Figure 1-3
STEP 2: Connect Power to the Board
Connect the 6-pin power supply plug to J30, and power up the board using the SW11
switch.
Power on LED D14 for 12 V lets you know power is switched on and present.
When DONE LED DS1 glows blue, the Spartan-7 FPGA is configured successfully.
4S[IV7[MXGL7;
4S[IV'SRRIGXSV.
(32)0)((7
+4-30)(W
13()7[MXGL7;
+4-34YWLFYXXSRW
463+7[MXGL7;
4LSXSGERZEV]JVSQTVSHYGX
413('SRRIGXSVW\
,(1-'SRRIGXSV.
)XLIVRIX'SRRIGXSVW\
1-4-'7-'EQIVE'SRRIGXSV.
1-4-(7-(MWTPE]'SRRIGXSV.
97&'SRRIGXSV.
'496IWIX7;
7]WXIQ'SRXVSPPIV6IWIX7;
*1'04'.
.8%+

 Loading...