Do you have a question about the Xylem Bell & Gossett 60 Series and is the answer not in the manual?
| Brand | Xylem |
|---|---|
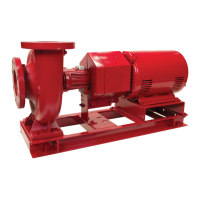
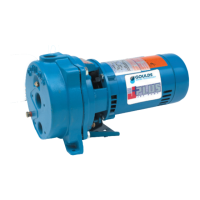
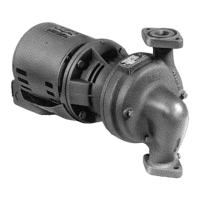
| Model | Bell & Gossett 60 Series |
| Category | Water Pump |
| Language | English |
Read warning notes and instructions before installing, using, or servicing the product to prevent injury or damage.
Product may expose users to lead, known to cause cancer and reproductive harm per California law.
Disconnect and lock out power before servicing to prevent serious injury or death from electrical shock.
Ensure electrical power is absent at motor leads before proceeding to prevent serious injury or death.
Disconnect and lockout power for single-phase motors with automatic reset overloads to prevent unexpected restarts.
Ensure the electrical supply is turned off before disconnecting the motor from the pump.
Loosen the conduit box cover screw, remove the cover, wire nuts, and flexible conduit connector.
Loosen the set screw with an Allen wrench to release the coupler from the pump shaft. Back off set screw 1/8 inch.
Remove the four cap screws from the cover plate to separate the motor from the bearing assembly.
Loosen set screw to separate spring coupler from motor shaft. Replace entire coupler if broken or worn.
Unseat set screws from shafts for Woods/Lovejoy couplers. Replace rubber spider without removing halves if not worn.
Install new couplers by reversing removal. Seat set screw in shaft recess. Allow 1/8" end clearance for sleeve.
Loosen the clamp screw on the under bracket to separate it from the motor mounts.
Visually inspect motor mounts. Always replace both mounts if one shows deterioration; never one at a time.
Use a prying device and hammer to gently pry the outer ring from the end plate, avoiding shaft damage.
Use a cold chisel or prying tool to remove the inner ring from the end plate, taking care to protect the motor.
Seat new mounts on end plate bosses, aligning splits. Tap with hammer until flush. Repeat for rear mount.
Clean bracket, guide motor shaft through bore, seat rear mount in bracket. Secure motor with clamp screw.
Connect coupler to shafts, seat set screw. Position motor, evenly tighten four cap screws.
Disconnect and lockout power before making electrical connections to prevent serious injury or death.
Connect wiring according to diagrams in conduit box cover, matching single/three-phase and voltage (115/230V or 208-460V).