5
en – Original instructions
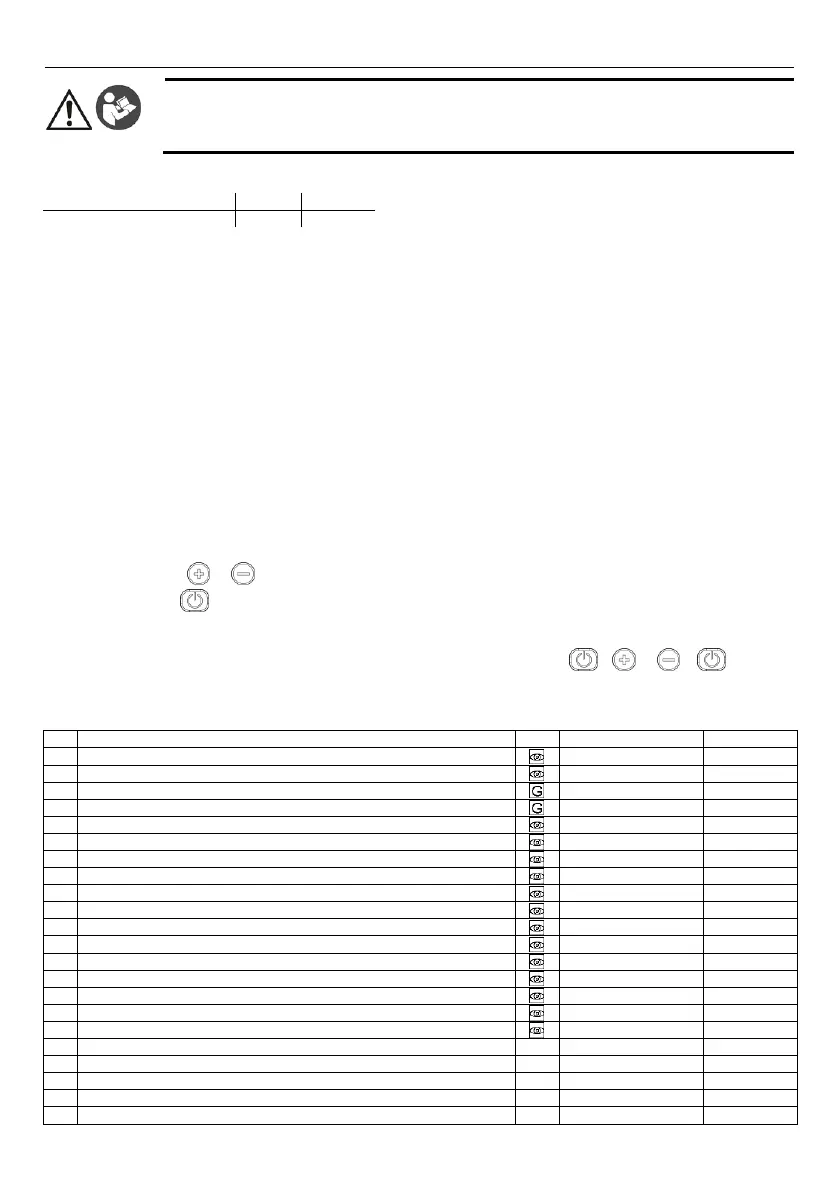
WARNING
This Guide does not replace the Installation, Operation and Maintenance Manual.
The qualified personnel must make sure to have read and understood the Installation, Operation and
Maintenance Manual before installing the product and putting it to use.
Minimum recommended volume of the diaphragm pressure tank
Rated capacity [m³/h (gpm)]
Volume of the tank [l (US gal)]
Connection
1. Connect the sensor to the hydraulic system downstream from the non-return valve and to the cable supplied.
2. Connect the pump to the hydraulic system.
3. Prime the pump.
4. Pre-charge the diaphragm pressure tank at 90% of the required value or P03 restart value, if available.
5. Connect the power cable to the unit using the M20 cable gland. See figure 1.
6. Open the terminal box cover. See figure 1.
7. Connect (See Figure 2):
a) The earth conductor to terminal 1 (single-phase and three-phase versions)
b) The phase conductor to terminal 2 (single-phase versions) or to terminals 2, 3 or 4 (three-phase versions)
c) The neutral conductor to terminal 3 (only single-phase versions).
8. If the low water control device needs to be connected, remove the jumper from terminals 13 and 14 (single-phase
versions) or terminals 11 and 12 (three-phase versions). See Figure 2
9. For external connections, see Figures 3, 4, 5, 6, 7, 8 and 9.
10. Close the terminal box cover and tighten all the screws and cable glands.
Start-up
1. Power the unit.
2. Wait until all the LEDs are on.
3. Press the buttons or to set the pressure setpoint.
4. Press the button to run the pump.
5. Check that the pressure of the hydraulic system matches the required setpoint.
6. Close the hydraulic system downstream from the sensor and check that the pump stops properly.
Note: the main view changes from 10xRPM to BAR/PSI when you press the buttons + or + at the
same time.
 Loading...