Do you have a question about the Yakima EXO GearWarrior and is the answer not in the manual?
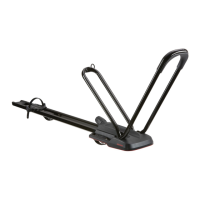
Remove screws and washers from the ends of the tubes.
Insert screws with washers into each hole and tighten.
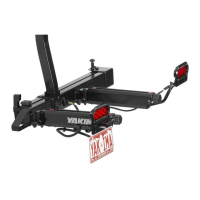
Extend arms by pulling the pin and swinging outward until locked.
Push pin to unlock, then turn knobs counter-clockwise until loose.
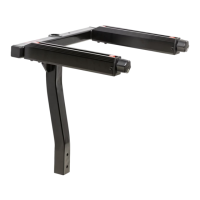
Slide, lower, tighten, and lock cleats onto arm tracks.
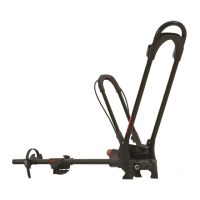
Place the basket onto the cleats and align the holes.
Orient and attach brackets to basket, aligning holes and tightening bolts.
Follow instructions for secure rack installation and handling.
Do not exceed maximum load; distribute weight uniformly.
Adjust speed for load, road, traffic, and wind conditions.
Clean and maintain rack regularly with water and car wash liquid.
| Category | Automobile Accessories |
|---|---|
| Material | Steel |
| Finish | Black powder coat |
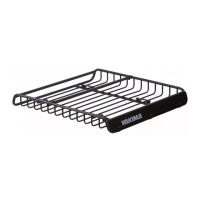
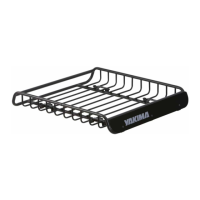
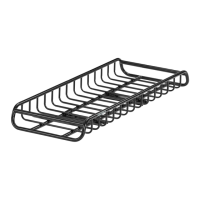
| Product Category | Cargo Basket |
| Compatibility | EXO System |
| Dimensions | 60 x 23 x 6.5 inches |
| Features | Tool-free installation |
| Locking | Integrated SKS lock cores (locks sold separately) |