1.
CLOCK ICON
2.
CLOCK HOUR FORMAT
3.
UP ARROW SOFT KEY ICON
4.
CURRENT DATE FORMAT
5.
DOWN ARROW SOFT KEY ICON
6.
CALENDAR ICON
Figure 39. Set Date and Time Format Screen
The Clock Hour Format can be set to either a 12-hour clock or a 24-hour clock. To set the Clock Hour Format,
press the 2 Up Arrow soft key. The system will place a box around the current Clock Hour Format. Press the
Enter Key and then use the 2 Up Arrow soft key or 3 Down Arrow soft key to select either the 12-hour or the
24-hour clock format. When you have the desired format displayed, press the Enter Key and the system will
begin using the selected clock hour format for all menus in the system.
To set the Current Date Format, use the 3 Down Arrow soft key to change the focus to the Current Date
Format Icon.
There are three options for the Current Date Format:
•
USA, MM/DD/YY
•
Europe, DD/MM/YY
•
ISO 8601, YY/MM/DD
Use the 2 or 3 soft key to cycle through the Current Date Format options. When you have the desired format
displayed, press the Enter Key and the system will begin using that date format as the current date format
setting for all menus in the system.
Table 19 shows the process for selecting and changing the date and time formats for the system.
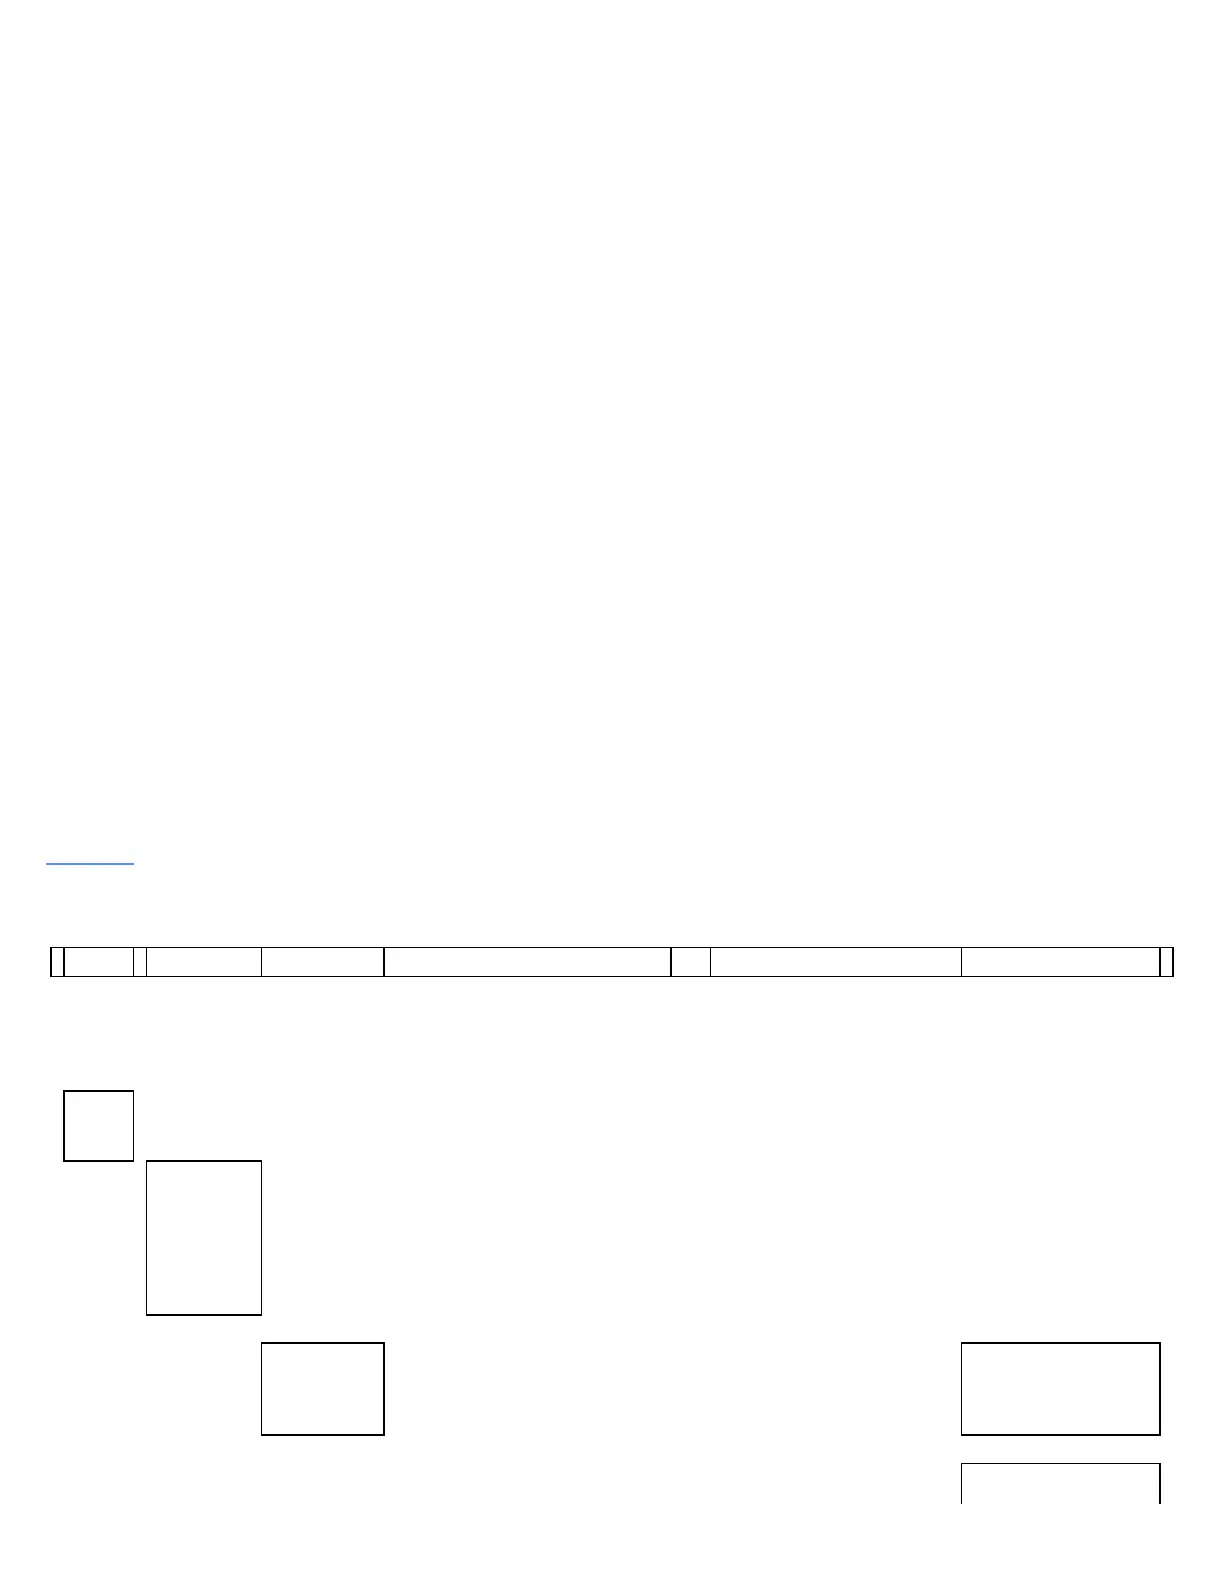
Table 19. Accessing the Set Date and Time Format Screen
Use the
Scroll
Keys (!!
— or
—▸)
Display
the main
menu
Use the
Up
Arrow ↑↑
or
Down
Arrow ↓↓
Key
Display the
Set Date and
Time Format
Menu
submenu
Press Enter
Key (*)
The Set Date
and Time
Format screen
will display
Use the 2 Up Arrow soft key to
select the Set Time Format Icon
and display the 12-hour or 24-hour
clock icon
Next Use the 3 Down Arrow soft key
to select the Set date Format
Icon and display the three date
formats
Press Enter Key to
update the time and
date format for all
menus in the system
Press either Scroll Key