14
¥
Do not position a PIR to look directly at a door
protected by a door contact, this could cause the
door contact and PIR radio signals to be
transmitted at the same instant when entering,
cancelling each other out.
¥ Ensure the jumper is in the normal off position
when testing is finished, otherwise low battery
and tamper conditions will not be shown.
Door/Window contact
1 Ensure the jumper
switch is in the test
on position.
¥ In this position the
indicator light will
illuminate every time
the door contact is
operated.
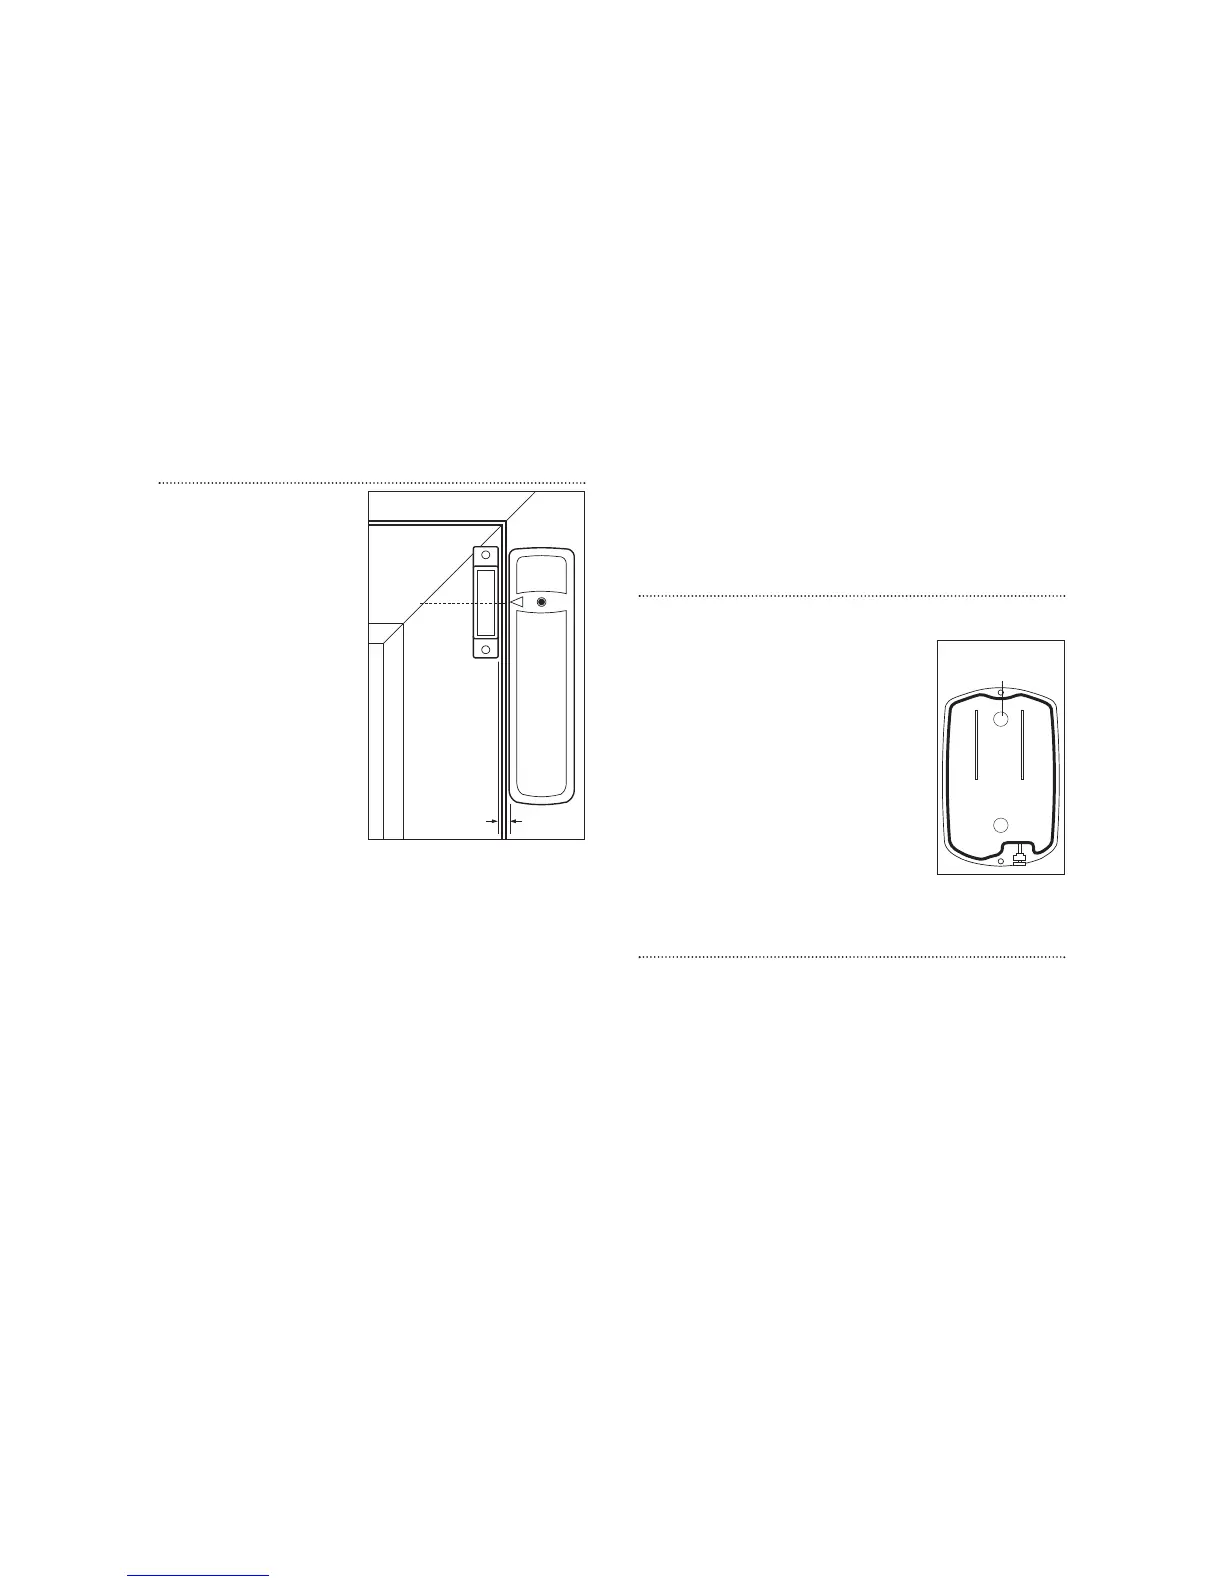
2 Fit as described in
Mounting methods,
mounting the
detector base on the
frame and aligning
the magnet by the
arrow as shown.
¥ The magnet should not be more than 8mm from
the detector when the door is closed.
¥
Ensur
e the tamper switch spring is positioned so
that it makes contact with the mounting surface
through the tamper switch aperture.
¥ If the door contact cannot be mounted on the
door frame, use the HSA3090 multiple
door/window contact accessory kit with a length
of wire to mount the door contact remotely (see
page 17).
¥ When fitting to a window, fix the magnet to the
moving part and the detector to the frame.
3 Fix the detector on its base and secure with
s
crew. Test it by opening and closing the door or
window. The light will flash when an open
condition is detected.
4 Remove the detector, put the jumper switch in
the normal off position. Screw the detector back
onto its base.
¥ When the jumper is in the normal off position
the indicator light will normally be off. It will only
light if there is a problem, either a low battery or a
tamper condition.
¥ Ensure the jumper is in the normal off position
when testing is finished, otherwise low battery
and tamper conditions will not be shown.
Smoke detector
1 Unscrew the fixing plate from the smoke detector
by turning the plate anti-
clockwise.
2 Using the two holes of the
ceiling mounting bracket as a
template, mark the position of
the holes.
3 Drill 2 holes and fix into place
with the 2 screws and plugs
provided.
4 Hook the smoke detector onto
the bracket and secure by
tur
ning in a clockwise dir
ection.
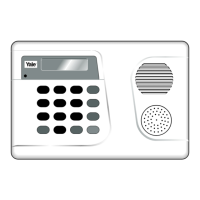
Flood detector
1 Use the two fixing holes on the product as a
template, mark the position of the holes.
2 Drill 2 holes and fix into place with the 2 screws
and plugs provided.
Installation is complete.
Door/
Window
Frame
Align
8mm (max)
Surface fixing
holes x 2