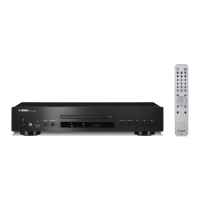
19
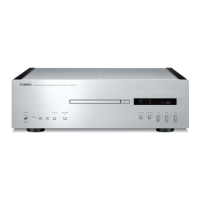
CD-1330
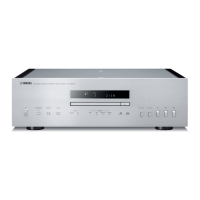
CD-1330
5.[Refer...]をクリックし、書き込むファームウェア
を選択します。(Fig.6)
※ ID、および MCUType は書き込みファイル選
択時、自動的に取り込まれます。(Fig.6)
[OK]をクリックします。(Fig.6)
5. Click [Refer...]. And select the firmware name.
(Fig. 6)
* The ID code and MCU type are loaded
automatically when the file is selected. (Fig. 6)
Click [OK]. (Fig. 6)
Fig. 6
Click to open the window
ここをクリックすると
ウィンドウが開きます
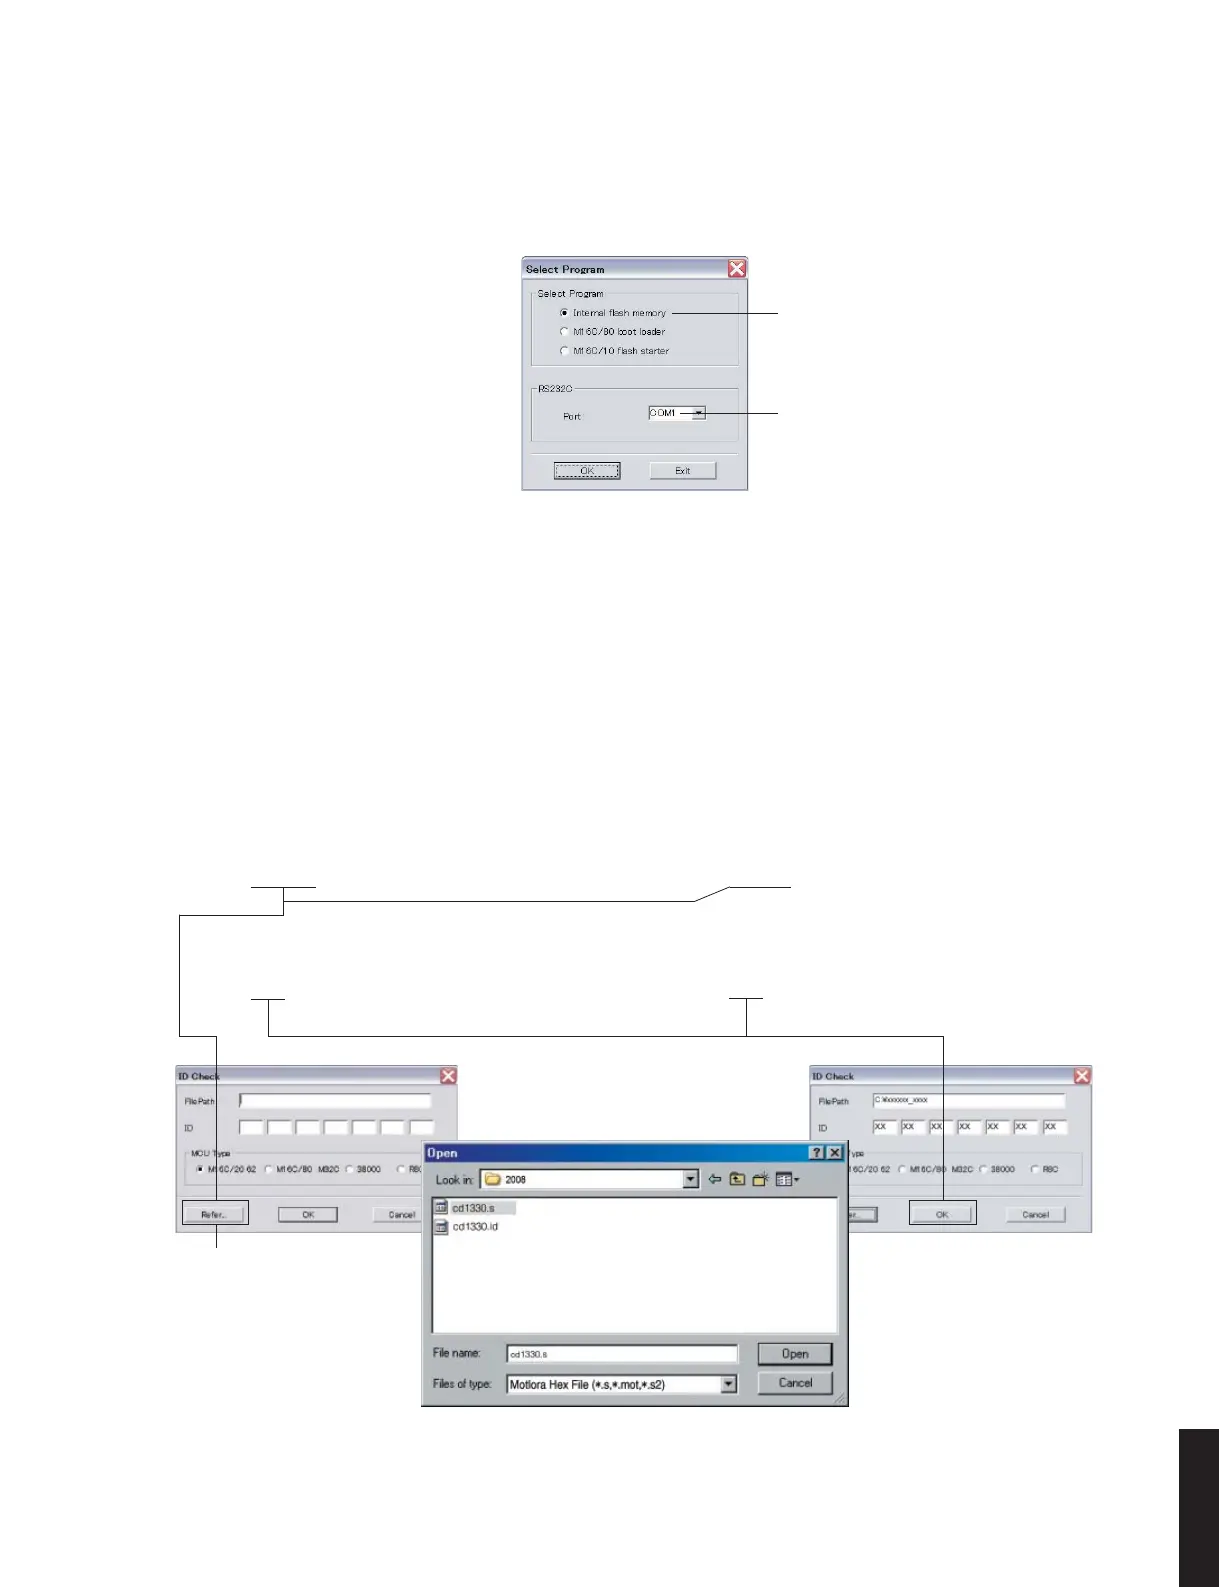
3. FlashSta.exe を立ち上げます。
すると下記の画面が表示されます。(Fig.5)
3. Start up FlashSta.exe, the screen will appear as
shown below. (Fig. 5)
Select Internal flash memory
Internalflashmemory を選択します
Select the port of RS-232C
接続している RS-232C ポートを選択します
Fig. 5
4. 送信データ、ポートを選択します。(Fig.5)
・ SelectProgram
Internalflashmemory を選択します。
・ RS232C
接続している RS-232C ポートを選択します。
※ ポートの選択は COM1 〜 4 までが使用できま
す。
COM5 以上は使用できませんので、PC 側の設
定で COM1 〜 4 を選択してください。
4. Select the port and data to be transmitted. (Fig. 5)
• Select Program
Select Internal flash memory
• RS232C
Select the port of RS-232C
* For selection of the port, COM1 to 4 can be
used.
As COM5 or higher port cannot be used, se-
lect out of COM 1 to 4 of the setting on the PC
side.