EasyManua.ls Logo

Yamaha CS-80 - Touch Response; Memories

Yamaha CS-80
56 pages
Print Icon
To Next Page IconTo Next Page
To Previous Page IconTo Previous Page
Loading...
Ir
*(S-
LM
Ki
fjs
j.'ri
23
i
?^=
i
^
a
f
?
^
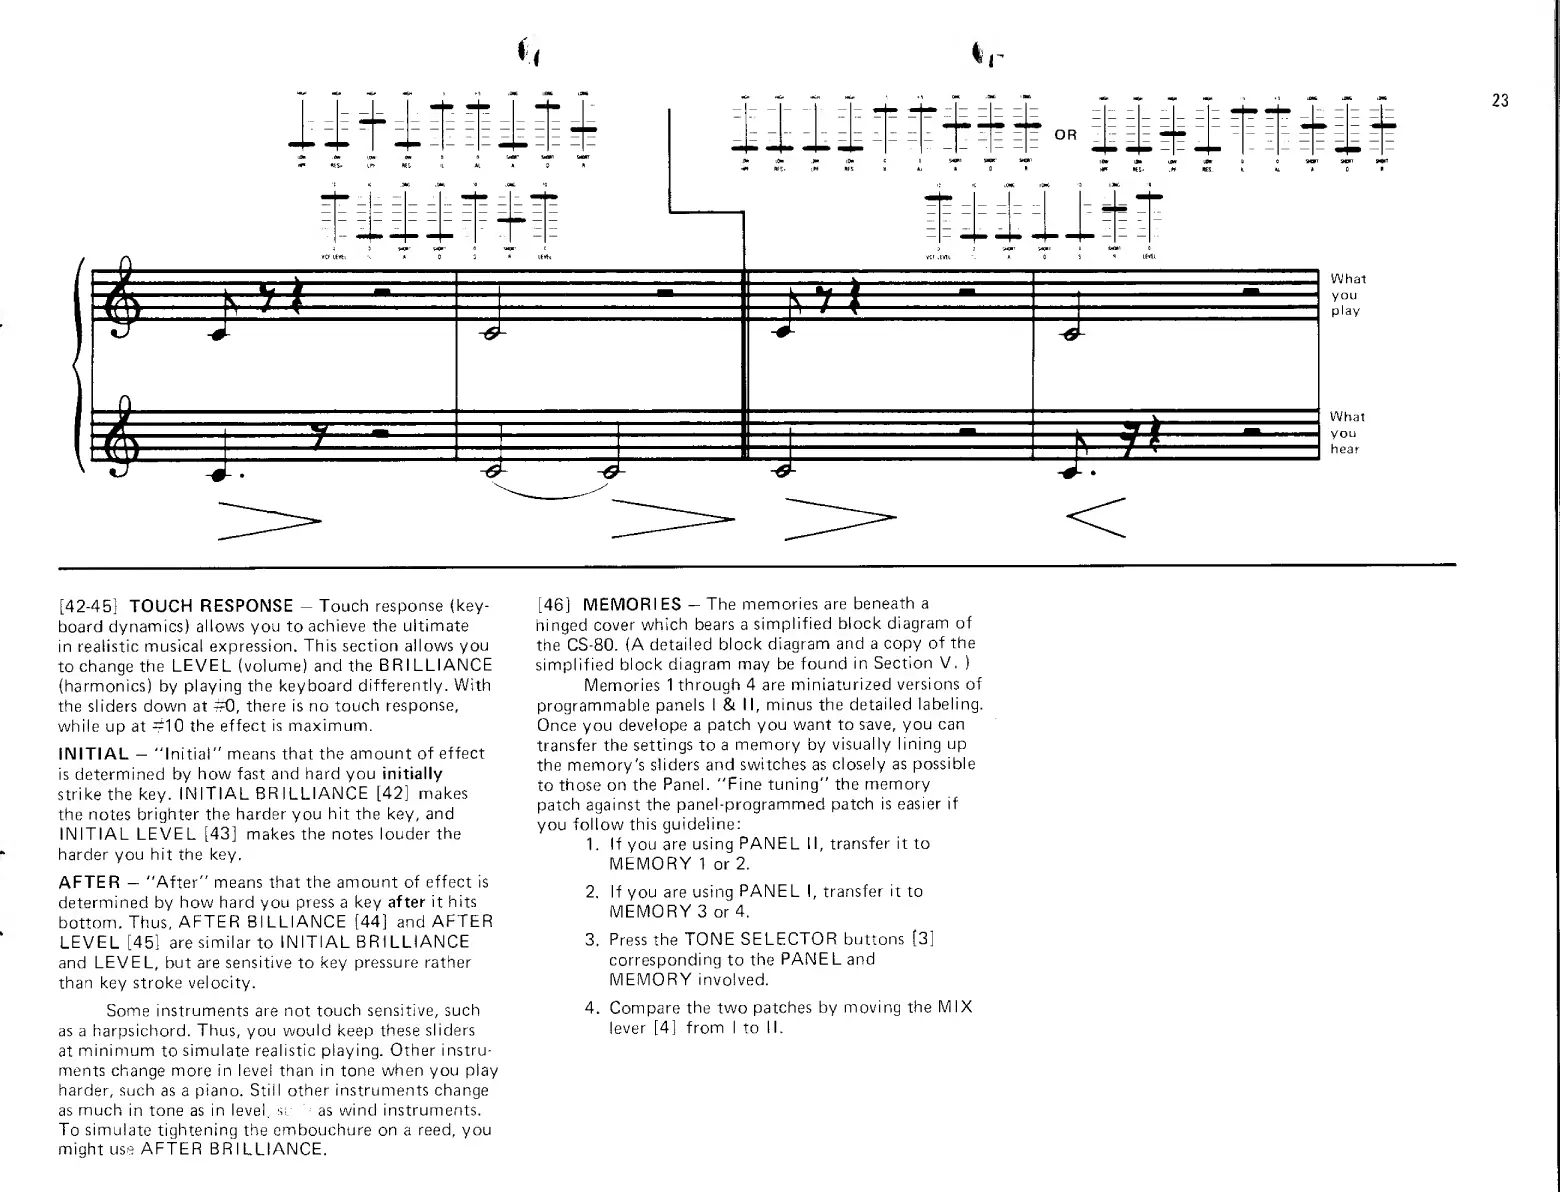
What
you
play
What
you
hear
[42-45]
TOUCH
RESPONSE
-
Touch
response
(key-
board
dynamics)
allows you to
achieve the ultimate
in realistic
musical
expression.
This section allows
you
to
change the
LEVEL
(volume) and the
BRILLIANCE
(harmonics) by playing the
keyboard
differently. With
the
sliders
down at
#0,
there is no
touch
response,
while up at
-10
the effect
is maximum.
INITIAL
-
"initial" means that
the
amount of
effect
is determined by
how fast and
hard you initially
strike the
key.
INITIAL
BR ILLIANCE
[42]
makes
the notes
brighter
the
harder
you
hit
the
key,
and
INITIAL
LEVEL
[43]
makes the notes
louder
the
harder you
hit
the
key.
AFTER
-
"After" means that
the amount of
effect is
determined
by
how hard
you
press a key
after it
hits
bottom.
Thus.
AFTER BILLIANCE
[44]
and
AFTER
LEVEL
[451
are
similar
to
INITIAL
BRILLIANCE
and
LEVEL, but are sensitive
to
key
pressure rather
than key
stroke velocity.
Some instruments are not
touch sensitive, such
as a harpsichord.
Thus,
you
would
keep
these
sliders
at
minimum
to
simulate
realistic
playing.
Other instru-
ments change
more
in level
than
in
tone
when you play
harder, such
as a
piano. Still other
instruments change
as
much
in tone as
in
level,
si
as
wind instruments.
To simulate tightening
the
embouchure
on
a
reed, you
might use AFTER
BRILLIANCE.
[46]
MEMORI
ES
-
The
memories
are
beneath
a
hinged
cover
which bears
a
simplified
block
diagram
of
the
CS-80.
(A detailed
block
diagram
and a copy
of
the
simplified
block
diagram may
be
found
in
Section
V.
)
Memories 1
through
4
are
miniaturized
versions of
programmable
panels I
&
II, minus the
detailed
labeling.
Once you
develope
a
patch
you
want to save,
you
can
transfer the
settings
to
a
memory
by
visually
lining
up
the
memory's
sliders and
switches
as
closely
as
possible
to
those on
the
Panel.
"Fine
tuning"
the
memory
patch against the
panel-programmed patch
is easier if
you
follow
this guidehne:
1.
If
you
are
using
PANEL
II, transfer it to
MEMORY 1
or
2.
2,
If
you
are using
PANEL
I, transfer
it
to
MEMORY 3 or
4.
Press the
TONE
SELECTOR
buttons
corresponding to
the
PANEL
and
MEMORY involved.
[3]
4.
Compare
the
two
patches
by moving
the
MIX
lever
[4]
from I to IL