30
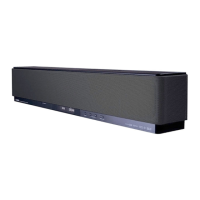
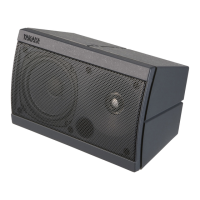
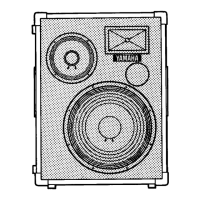
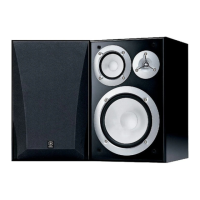
DBR10/DBR12/DBR15
2. Service inspection
2-1. How to activate
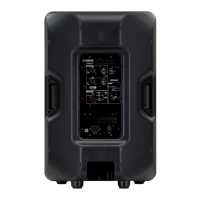
(1) When the power is supplied to the AMP UNIT, the
diagnostic mode is activated automatically and LED
in the rear panel are all-points lighted only once. It
starts in the state of CFG0 (PROTECTION : off, FAN
: stop, AMP : disable, MUTE : all on) of ANALOG
inspection.
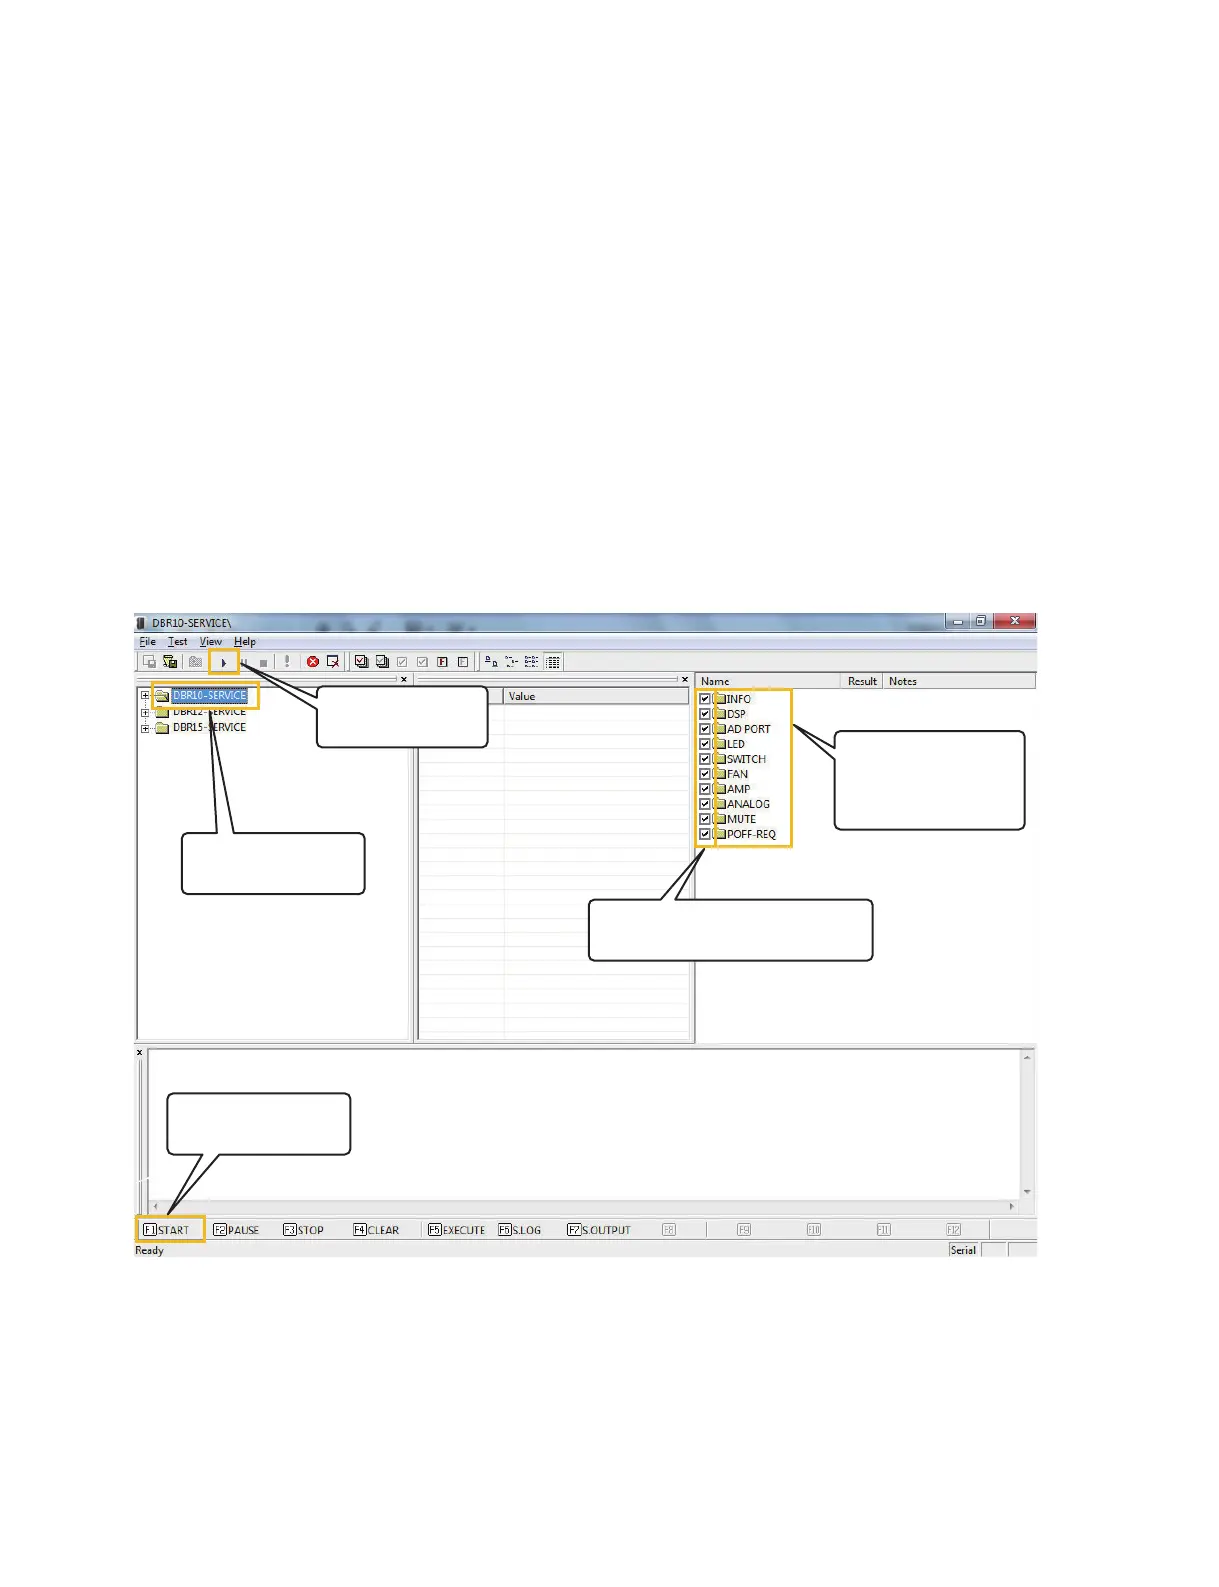
(2) Run application for Service inspection (DiagDXR-
SERVICE.exe).
The following inspection screen is displayed.
Note:
If all LEDs on the rear panel do not carry out all-points
light, it’s considered that it started with mode other than
diagnostic mode, setup mistake or peripheral circuitry
trouble.
2. サービス検査
2-1. 起動方法
(1)AMPUNIT の電源を入れると、自動的にダイ
アグモードで起動し、リアパネルの LED が 1 回
全点灯します。このとき、ANALOG 検 査 の
CFG0(PROTECTION:off、FAN:stop、AMP:
disable、MUTE:allon)の状態で起動します。
(2)サービス検査用アプリケーション(DiagDBR-
SERVICE.exe)を起動します。
注:
リアパネルにある全 LED が全点灯しない場合、
ダイアグモード以外のモードで起動したか、設
置ミスまたは周辺回路の故障が考えられます。
Inspection screen (検査画面)
6WDUWLQVSHFWLRQ
3.検査を開始します。
6HOHFWD0RGHO
.モデルを選択する。1
$FKHFNLVSXWLQWRDUHTXLUHGSDUW
2.必要な箇所にチェックを入れます。
7LFNDOVRGHWDLOHG
LQVSHFWLRQLWHPV
2.詳細項目にもチェック
をいれます。
6WDUWLQVSHFWLRQ
3.検査を開始します。