Lay a drum mat (sold separately) on the floor underneath the hi-hat controller and the kick
pad. Alternatively, you can place cardboard from the drum kit packaging or the like on the
floor to prevent it from being scratched.
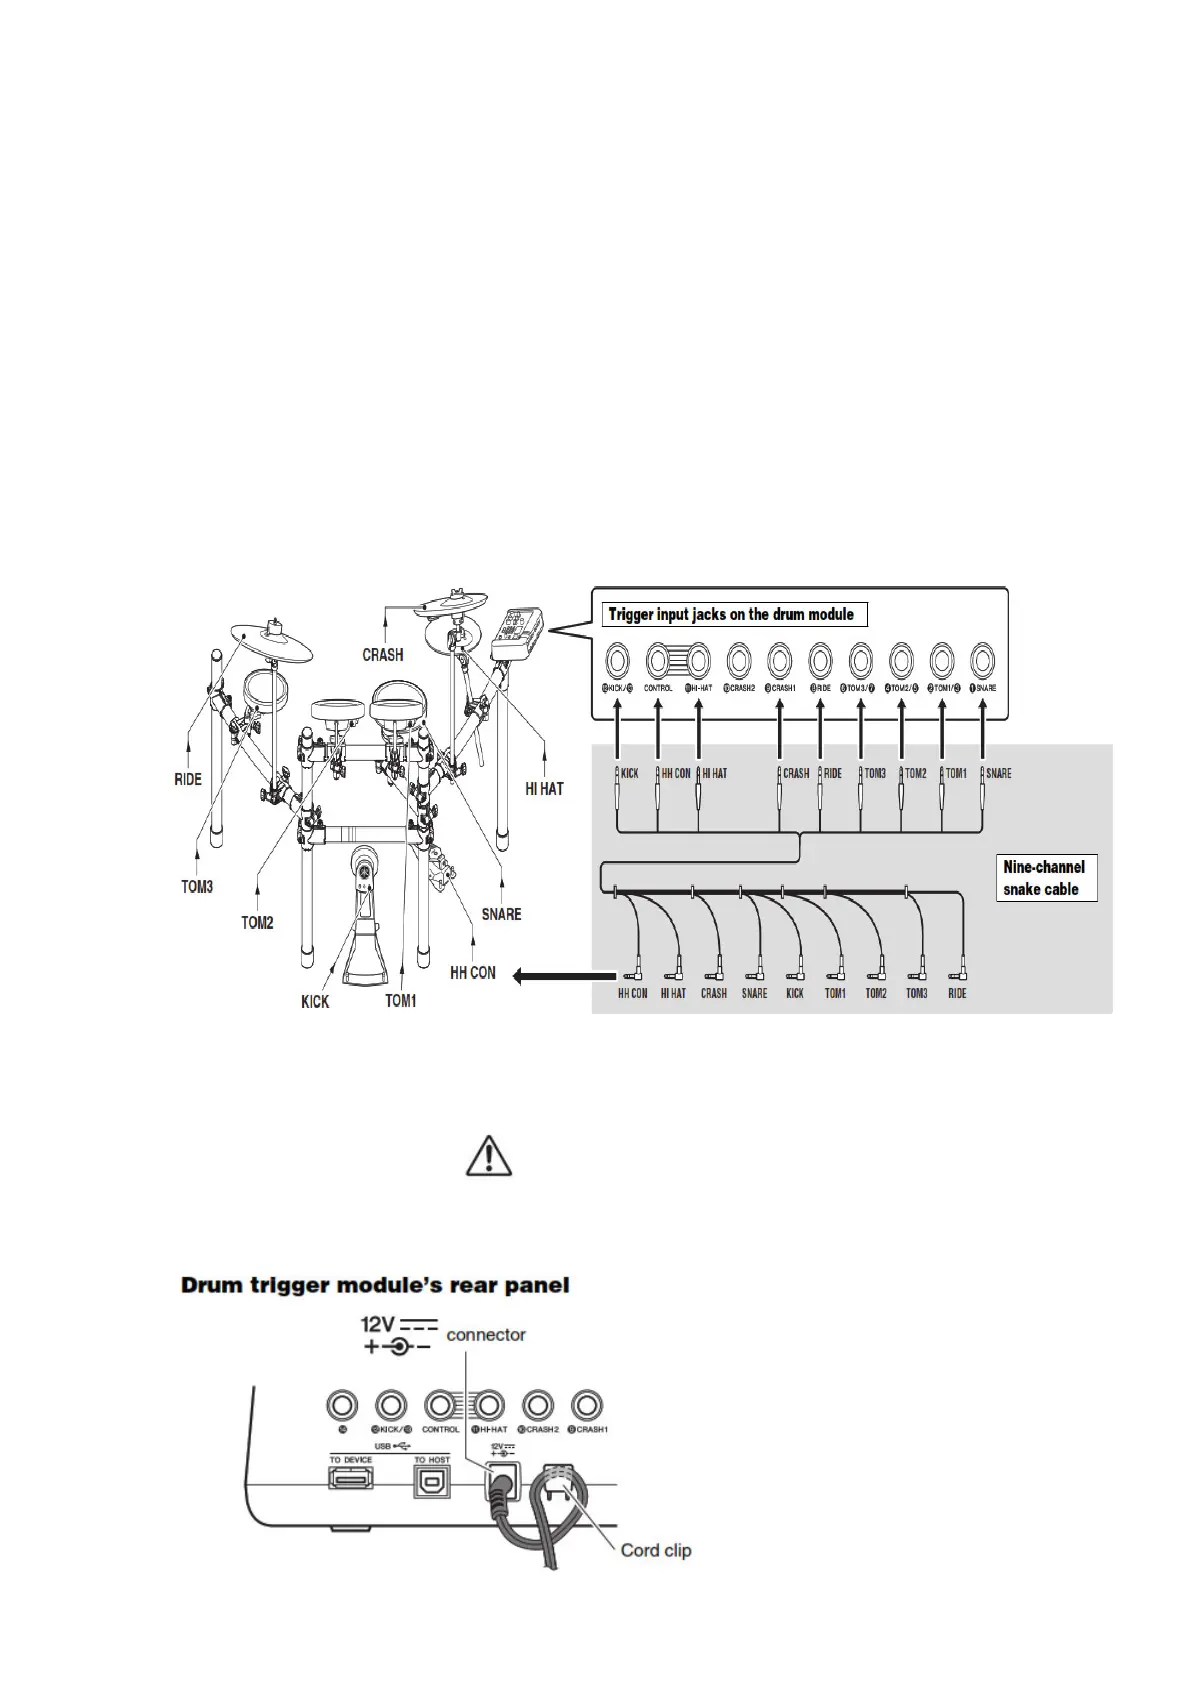
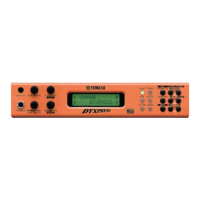
5 Connect the pads to the drum trigger module.
As described below, connect the output of each pad to the corresponding trigger input jack on the
drum trigger module.
1. Plug the straight ends of the nine-channel snake cable into the trigger input jacks on the
back of the drum trigger module.
• When using the standard setup, the stickers on each of the snake cable’s plugs will indicate
the name of the corresponding pad.
2. Plug the L-shaped ends of the nine-channel snake cable into the corresponding pads.
3. Wrap the cables for the snare pad, the tom pads, the cymbal pads and the hi-hat pad around
the cable clips to prevent them from being pulled out.
NOTICE
Excessive bending can damage pad cables. Ensure, therefore, that these cables are not bent
at an extreme angle when wrapped around the clips.
6 Connect the drum trigger module to a power supply.
1. Plug the AC adaptor’s DC cord into the connector. Hook the AC adaptor’s DC cord around the
cord clip to secure it in place. CAUTION
Excessive bending can damage AC adaptor’s DC cord. Ensure, therefore, that the cord is not
bent at an extreme angle when wrapped around the clips. Doing so can cause fire or
electrical shock.
2. Using the cable bands, secure the cables to the electronic drum rack at the positions circled



 To Next Page