6
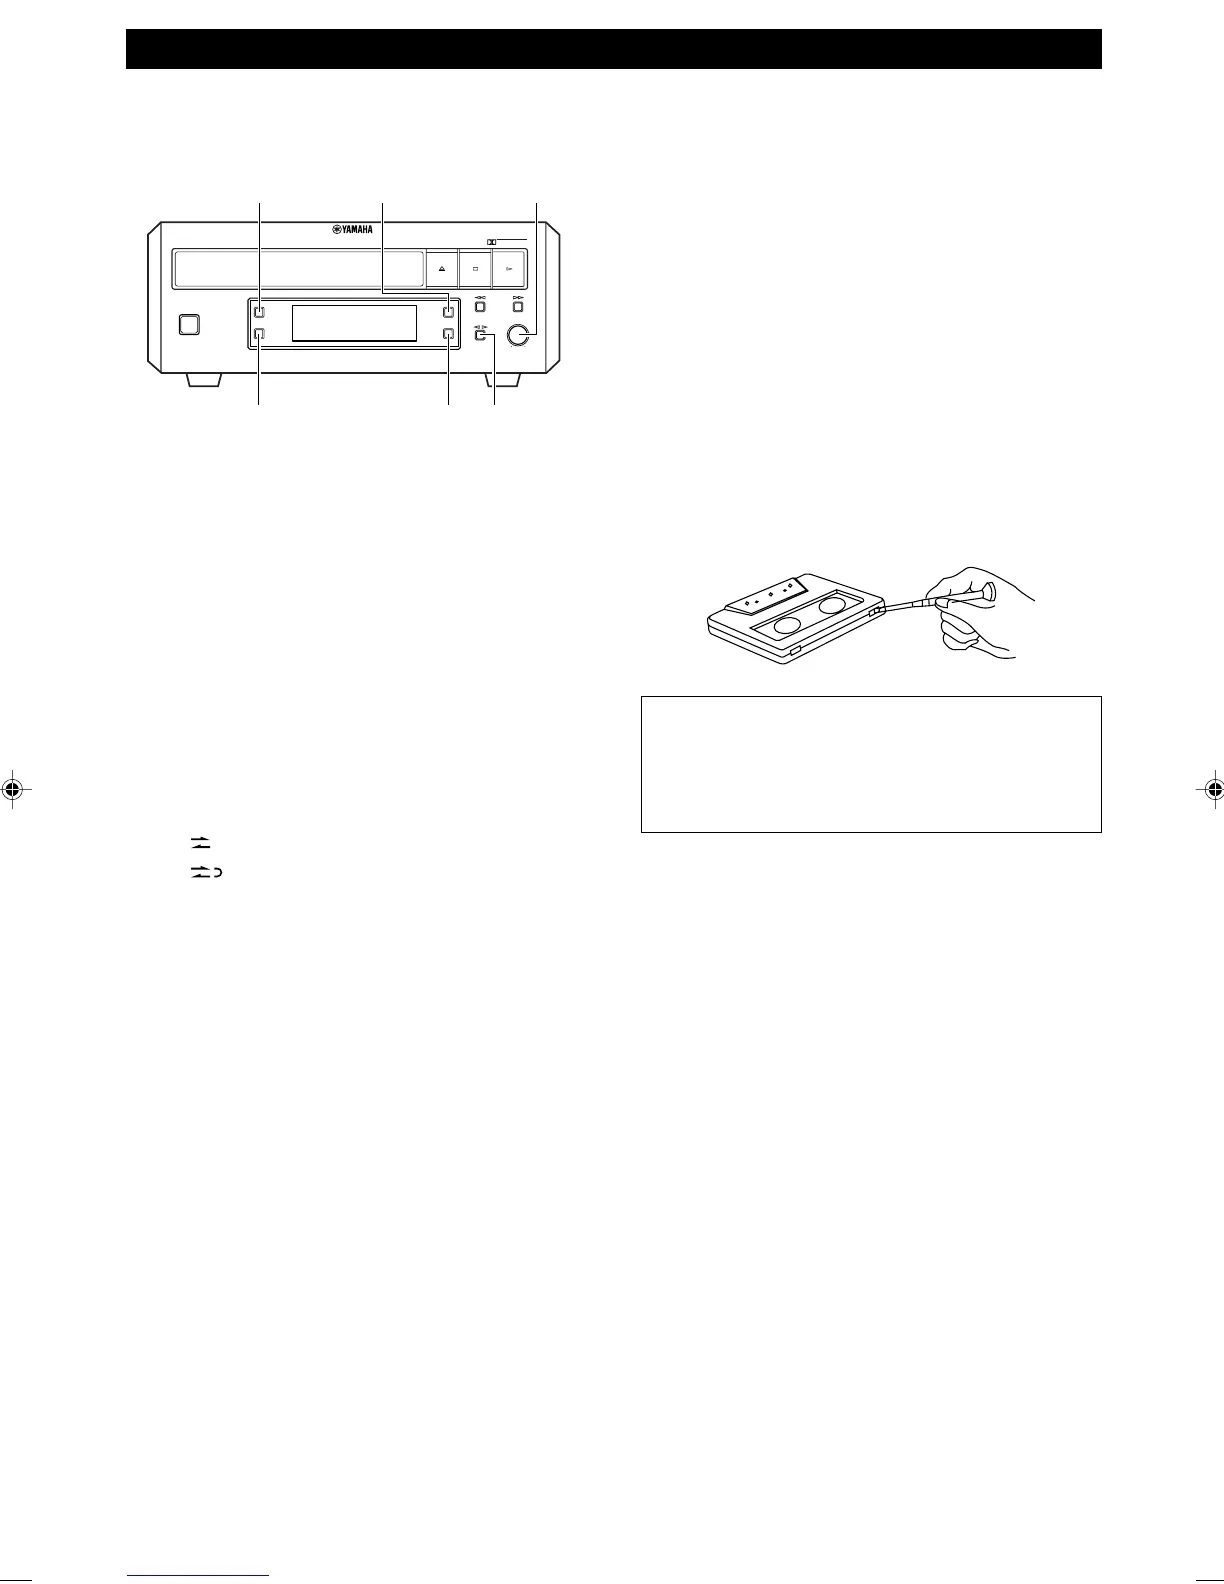
RECORDING
COUNTER RESET
REC/PAUSEMODE
REC LEVEL
DOLBY NR
DIRECTION
STANDBY/ON
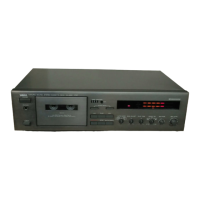
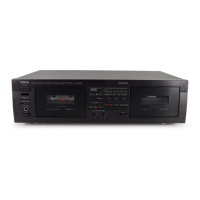
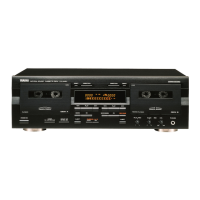
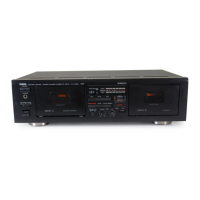
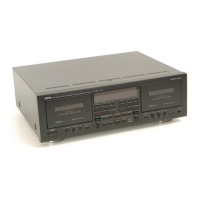
NATURAL SOUND STEREO CASETTE DECK KX-E300
REC LEVEL
MIN MAX
DOLBY
NR
MODE
COUNTER
RESET
DIRECTION
REC/
PAUSE
DOLBY B-C NR
Preparation
• Press STANDBY/ON to turn this unit on.
1 Press DIRECTION @ # to change the direction of
the tape.
• If you place the tape on the tray with side A
upward, # indicates recording side A and @
indicates recording side B.
• If you want to record on both sides of the tape,
select the # direction.
2 Press REC/PAUSE.
• This unit turns into standby mode for recording
and the REC indicator flashes.
3 Press MODE to select the reverse mode.
• Each time you press MODE, the reverse mode
changes and the corresponding mode indicator
lights up as follows:
: One side of the tape is recorded.
: Both sides of the tape are recorded.
4 Adjust the recording level by turning REC LEVEL.
• For the best results, play the loudest passage of
the source to be recorded and watch the recording
level meter in the display. Adjust REC LEVEL so
that the highest peak causes the +2 dB level
indicators to flicker.
5 Select the noise reduction type using DOLBY NR.
• The Dolby B-type noise reduction provides
approximately 8 dB improvement in S/N ratio and
C-type adds additional improvement over the B-
type. The noise reduction is applied to both
recording and playback; be sure that the same
noise reduction is used on recording and playback.
6 Press #.
• The REC and PLAY indicators light up during
recording.
7 Start playing the source component.
• Synchronized start is possible if you made
connections using the system control cable. Press
^ on the source component after step 5.
Recording begins automatically. To use timer
recording, please refer to the instructions supplied
with CRX-E300 or CRX-E400.
To pause recording
Press REC/PAUSE.
To resume recording, press #.
To stop recording
Press &.
The tape counter
The tape counter is useful for searching and locating a
certain point on the tape. Pressing COUNTER RESET
will reset the tape counter to “0000”.
Protecting your recordings
Tapes have removable tabs, which prevent accidental
recording or erasing from taking place. Removing the tab
on the top left protects the side facing you from erasure.
Cover the tab holes with adhesive tape to erase or record
again.
Note
Please check the copyright laws in your country to
record from records, compact discs, radio, etc.
Recording of copyright material may infringe
copyright laws.
0104KXE300(UB).5-6.E 02.5.21, 2:29 PM6