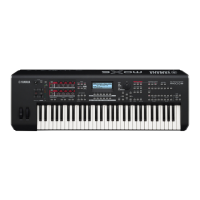
MOX6/MOX8 Owner’s Manual
Quick Guide
31
3
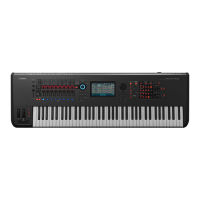
Move the cursor to “SPLITPOINT” then set the Split
Point.
You can determine the Split Point by holding the [SHIFT]
button then pressing the desired note on the keyboard.
NOTE
The note set to the Split Point is included in the upper section
of the keyboard.
4 Move the cursor to “LO/UP” then select whether
the desired Voice is assigned to the lower section
or the upper section of the keyboard.
NOTE When the original Voice is a Drum Voice, Split is not applied
to the part assigned the Drum Voice. In this case, only the
desired Voice is assigned to the keyboard range according
to the “SPLITPOINT” and “LO/UP” settings.
5 Move the cursor to “Main”/“Sub” then select the
Category that includes your desired Voice.
6 Press the Cursor [>] button.
The Voice list is shown.
7 Select the desired Voice from the list, then press
the [ENTER] button.
The Performance Play display will appear.
The Voice selected in the Voice mode will be assigned to
Part 1, and the Voice selected after pressing the [SPLIT]
button will be assigned to Part 2. These two Voices are
sounded in different areas of the divided keyboard as a
“Performance.”
You can confirm what Voices are assigned on the display
called up via the [F2] VOICE button.
8 Press the [STORE] button to store the settings as
a Performance.
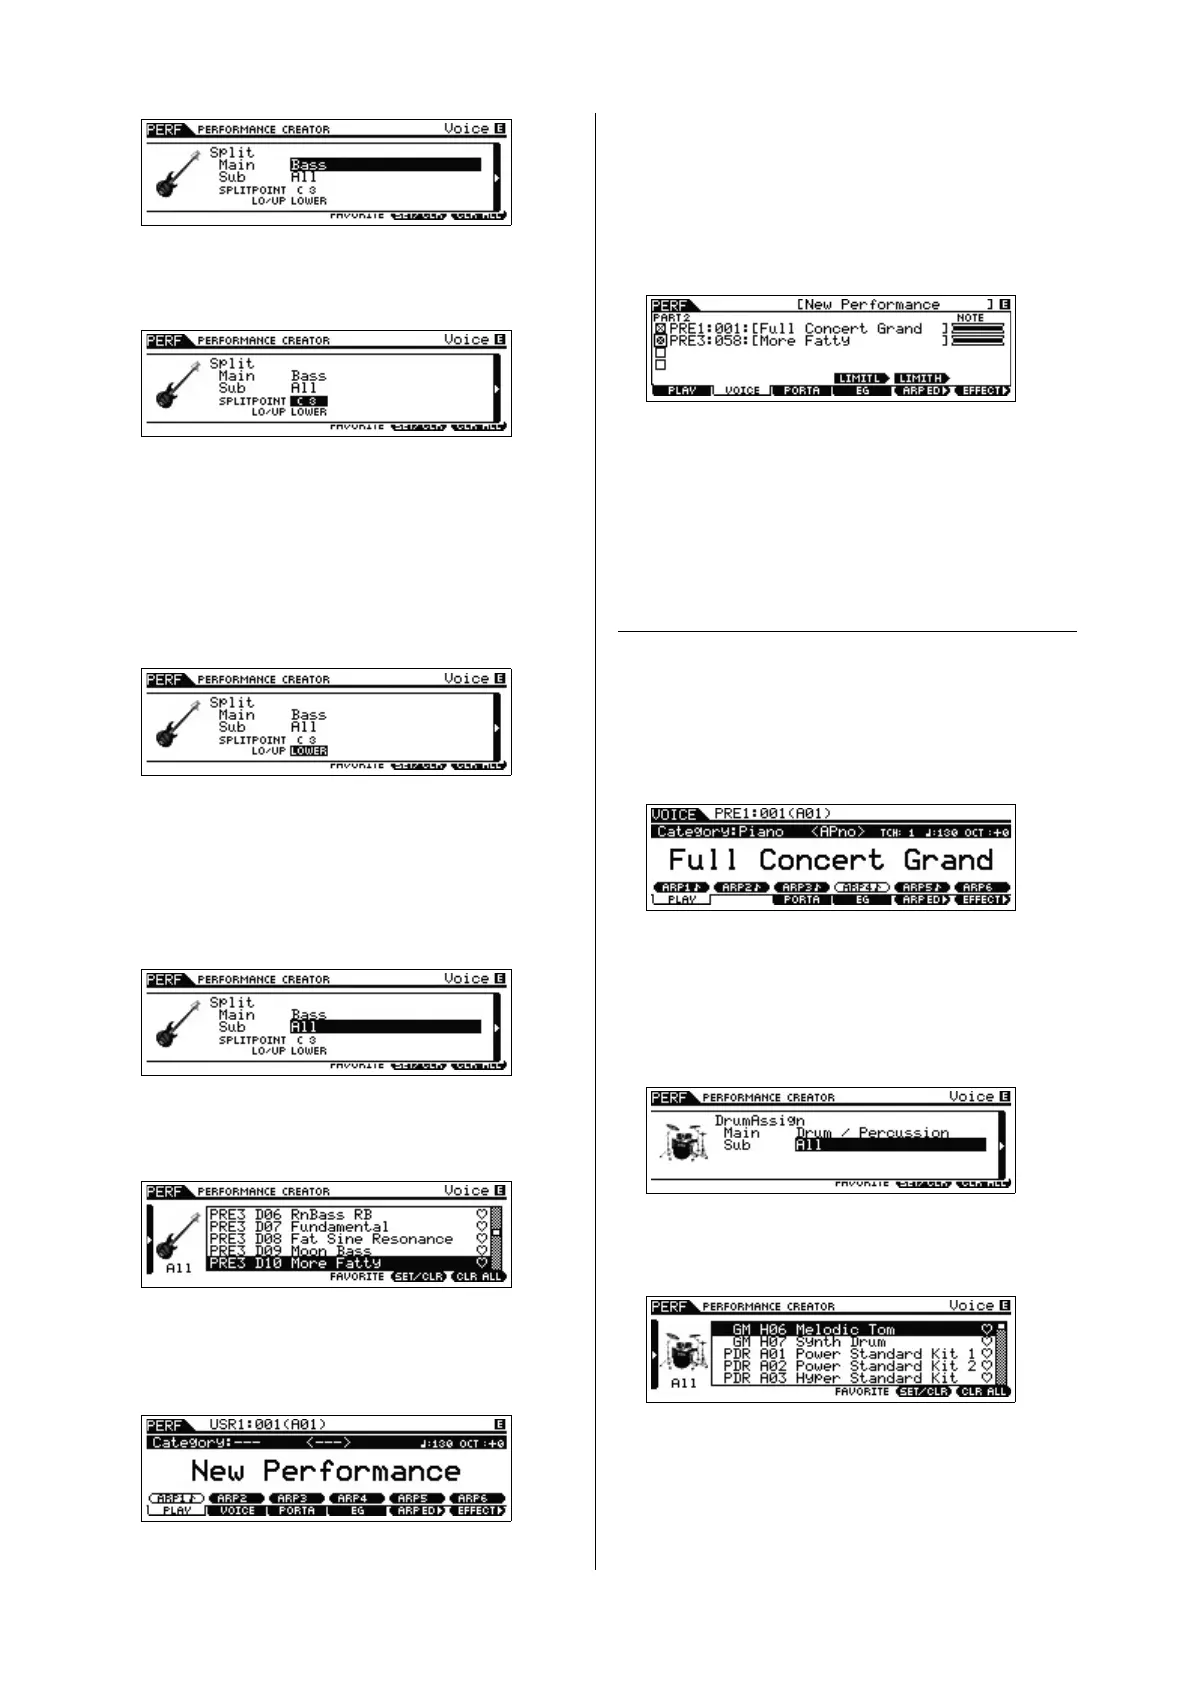
Drum Assign—Layering a drum
Part with the current Voice
This section explains how to create a Performance in which
you can trigger a drum pattern (via the Arpeggio function) in
addition to the current Voice.
1 Select a Voice in the Voice mode.
2 Press the [DRUM ASSIGN] button on the panel.
The Category Search display appears. Drum/Percussion is
automatically assigned as the Category. The Drum Voice is
assigned to Part 4 then the Arpeggio is automatically turned
on. Play the keyboard to trigger the Arpeggio.
3 Press the Cursor [>] button.
The Voice list is shown.
 Loading...