PSR-E433/PSR-I455
12
DISASSEMBLY PROCEDURE(分解手順)
Caution: Be sure to attach the removed filament tape just as it was before removal.
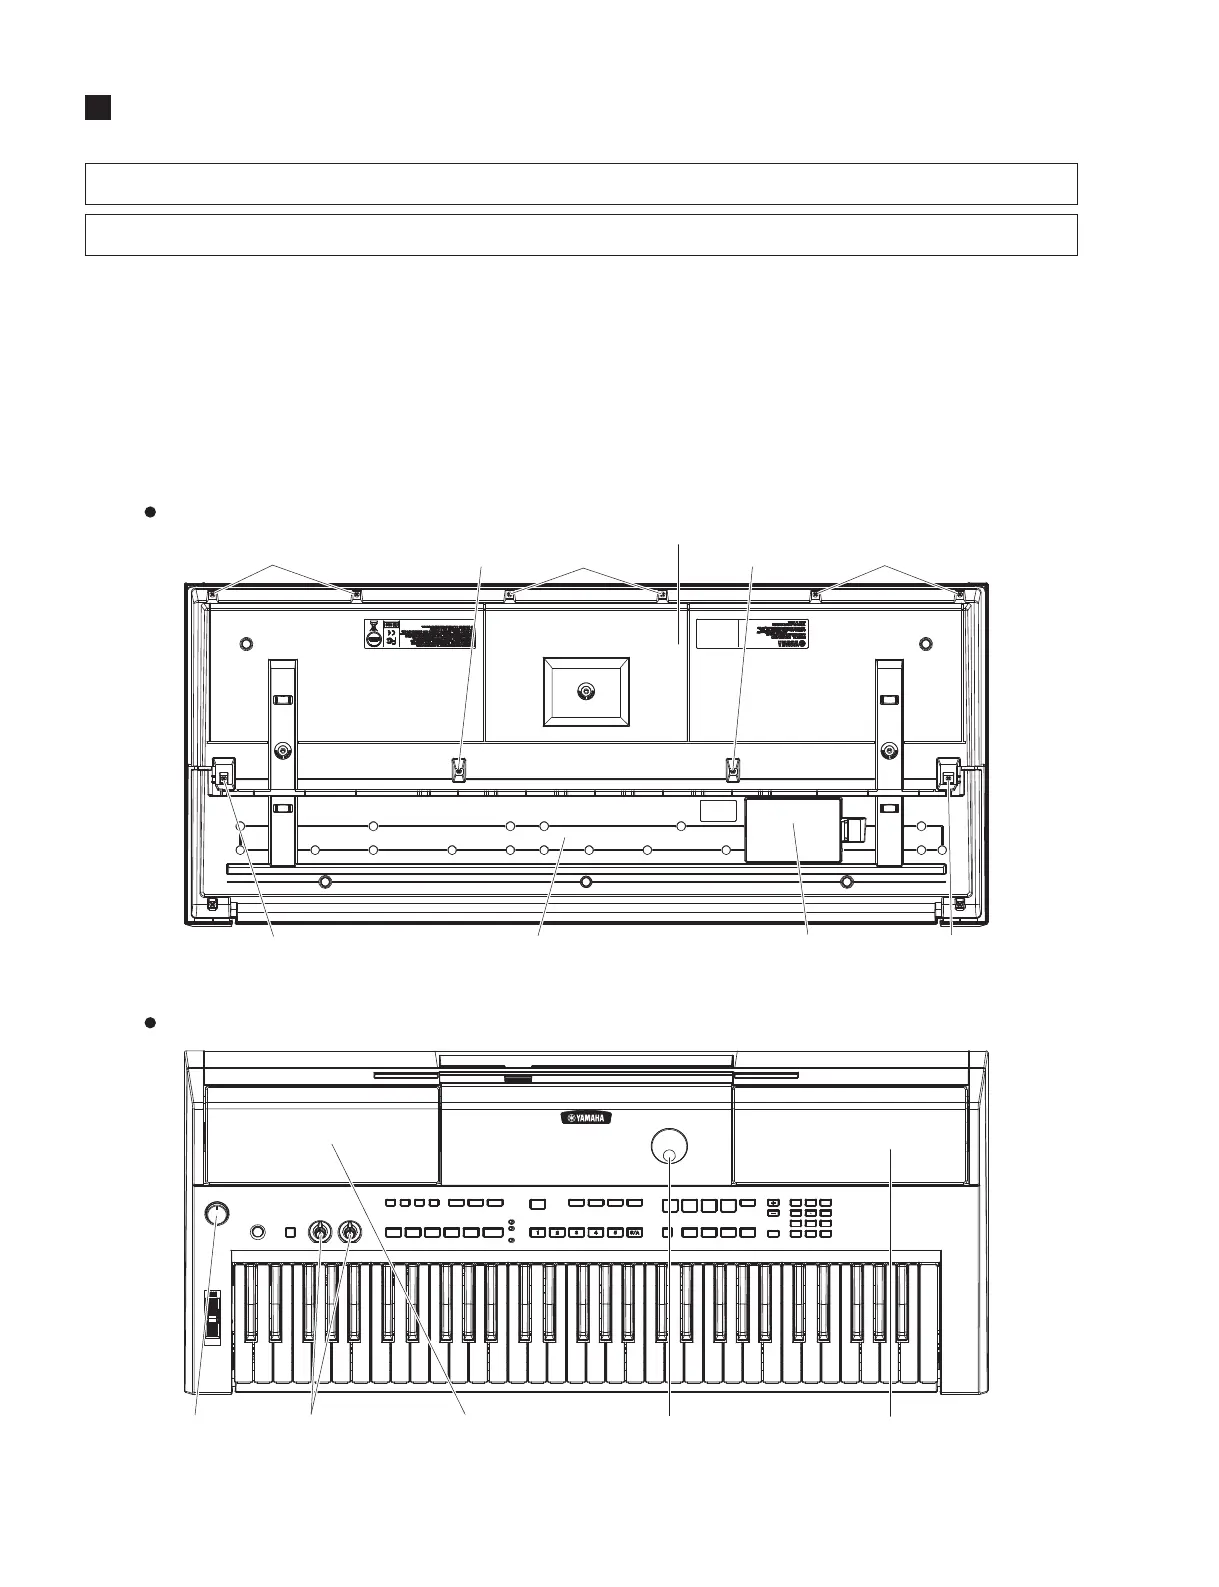
1. Lower Case Assembly
(Time required: About 2 minutes)
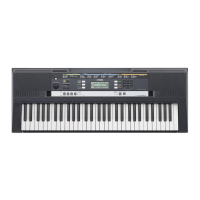
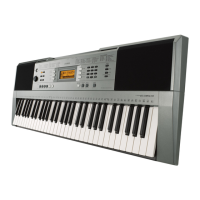
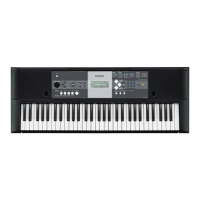
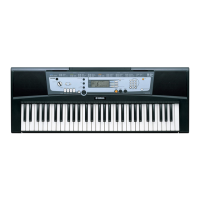
1-1 Remove the six (6) screws marked [80A], two (2)
screws marked [90] and two (2) screws marked [100A].
The lower case assembly can then be removed. (Fig. 1)
* When installing the lower case assembly, first
tighten the screw marked [90] and then the remaining
screws. (Fig. 1)
Fig. 1
(図1)
[100A] [80A]
[100A]
[80A]
[80A]
[90]
[90]
BATTERY COVER ASSEMBLY
(電池蓋Ass'y)
Top view (上から見た図)
Bottom view (下から見た図)
KNOB V
(Vツマミ)
ROTARY KNOB
(ロータリーノブ)
ENCODER KNOB
(エンコーダツマミ)
SP GRILLE
(SPグリル)
SP GRILLE
(SPグリル)
LOWER KEY BED ASSEMBLY
(下ケース鍵盤Ass'y)
Positioning screw
(位置決めネジ)
Positioning screw
(位置決めネジ)
LOWER CASE ASSEMBLY
(下ケースAss'y)
1. 下ケース Ass'y
(所要時間 :約 2 分)
1-1 [80A] のネジ 6 本、[90] のネジ 2 本と [100A] のネ
ジ 2 本を外して、下ケース Ass'y を外します。(図 1)
※ 下ケース Ass'y を取り付けるときは、最初に [90] のネジ
を締めてから他のネジを締めてください。(図 1)
注意 :分解時に取り外したフィラメントテープは、必ず元通りに取り付けてください。

 Loading...