

J
Jessica SmithSep 5, 2025
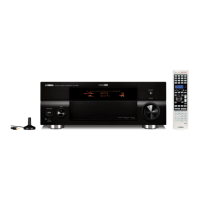
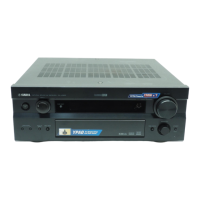
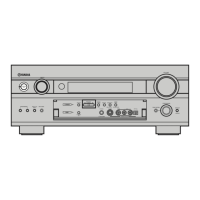
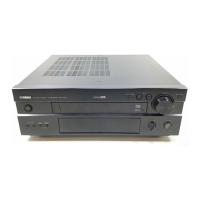
Why is the volume level low while playing a record on my Yamaha Receiver?
- BBrian HernandezSep 5, 2025
If the volume level is low while playing a record on your Yamaha Receiver, and you can't increase it without distortion, it could be due to a few reasons: * There's no connection from the turntable to the GND terminal. * You're playing the record on a turntable with an MC cartridge. * The component connected to the AUDIO OUT (REC) jacks of the unit is turned off. To resolve this, connect the grounding cable of the turntable to the GND terminal of the unit, connect your turntable through an MC head amplifier if using an MC cartridge, and ensure the component connected to the AUDIO OUT (REC) jacks is turned on.