PERIODIC MAINTENANCE AND MINOR REPAIR
6-36
1
2
3
4
5
6
7
8
9
fected. Thoroughly clean off any dirt
and fingerprints on the headlight
bulb using a cloth moistened with al-
cohol or thinner.
6. Install the bulb cover, and then
connect the coupler.
7. Install the headlight unit by install-
ing the bolts.
8. Install the cowling.
9. Have a Yamaha dealer adjust the
headlight beam if necessary.
EAU24131
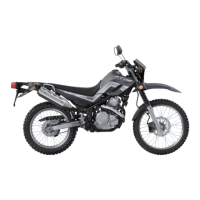
Replacing the tail/brake light
bulb
1. Remove the tail/brake light lens by
removing the screws.
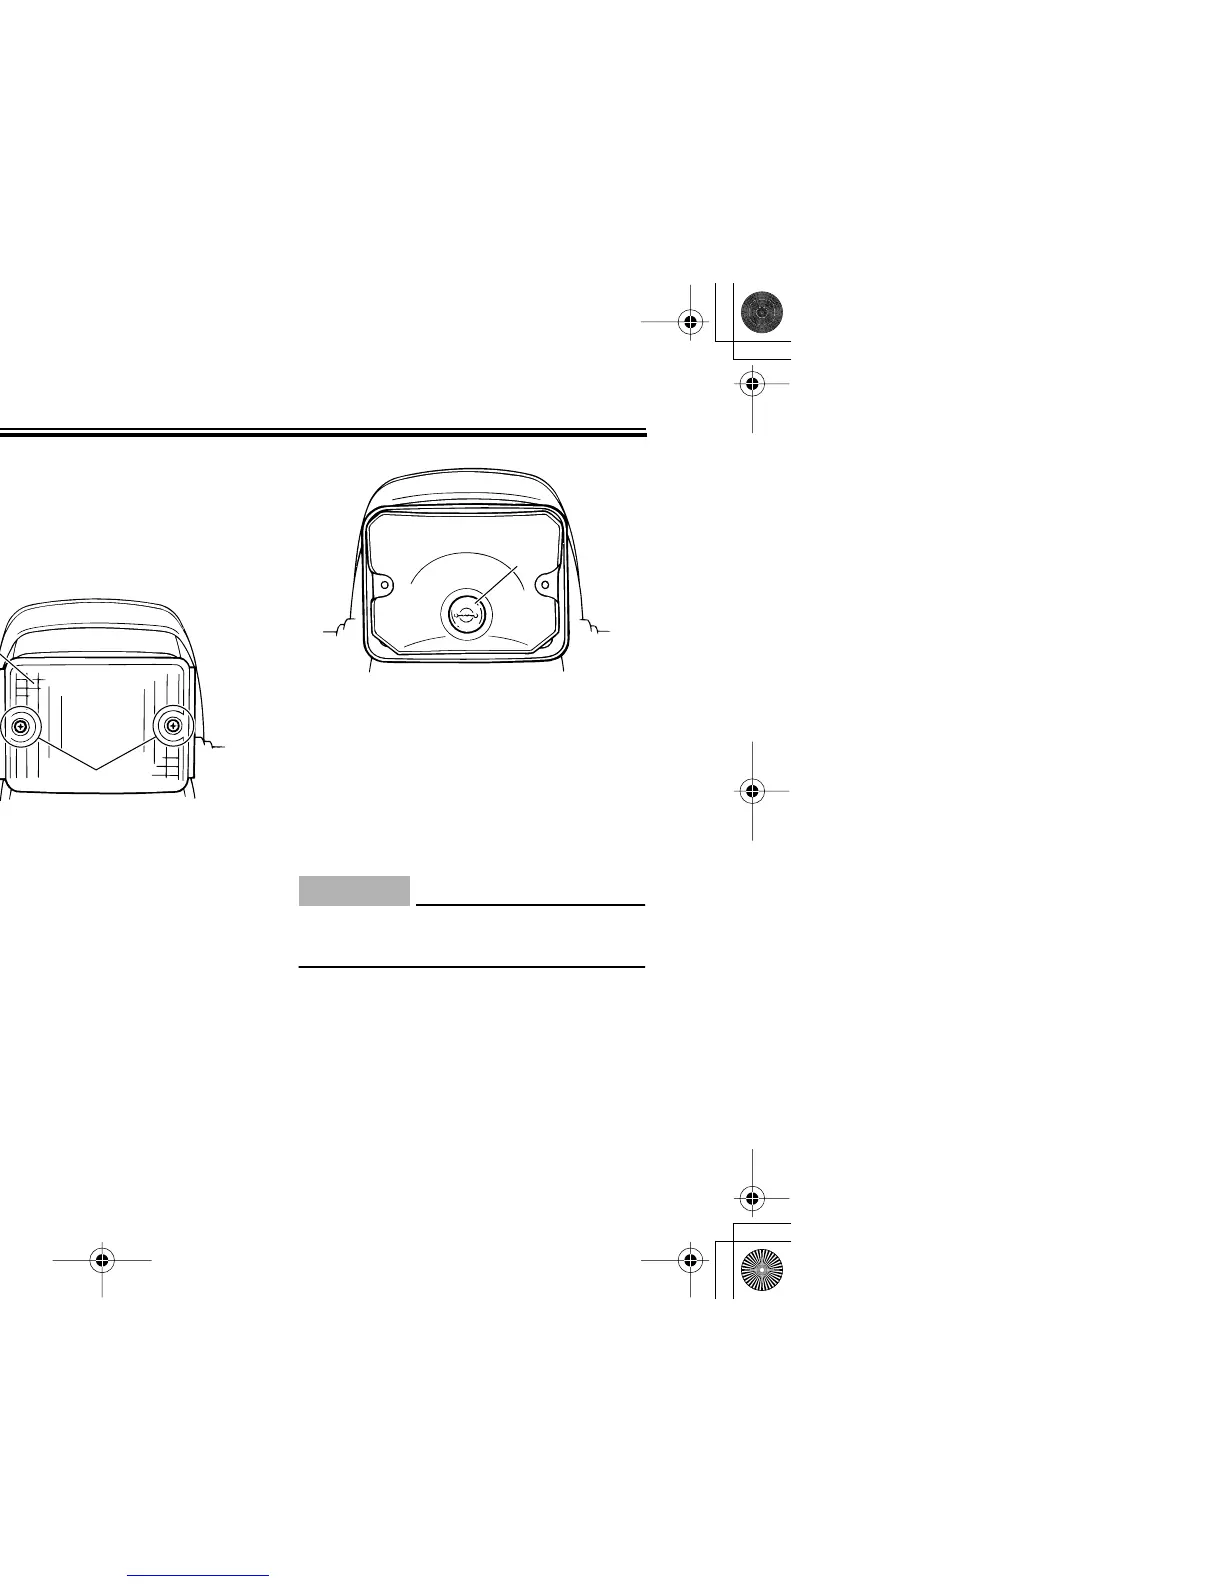
2. Remove the defective bulb by
pushing it in and turning it counter-
clockwise.
3. Insert a new bulb into the socket,
push it in, and then turn it clock-
wise until it stops.
4. Install the lens by installing the
screws.
CAUTION:
ECA10680
Do not overtighten the screws, oth-
erwise the lens may break.
1. Do not touch the glass part of the bulb.
1
1. Tail/brake light lens
2. Screw
1
2
1. Tail/brake light bulb
 Loading...