Instrument and control functions
4-10
4
3. Install the protector.
Install the protector so that the
side with the notch is facing rear-
ward.
When turning the damping force
adjuster in direction (a), the 0 click
position and the 1 click position
may be the same.
When turning the damping force
adjuster in direction (b), it may
click beyond the stated specifica-
tions, however such adjustments
are ineffective and may damage
the suspension.
Compression damping force
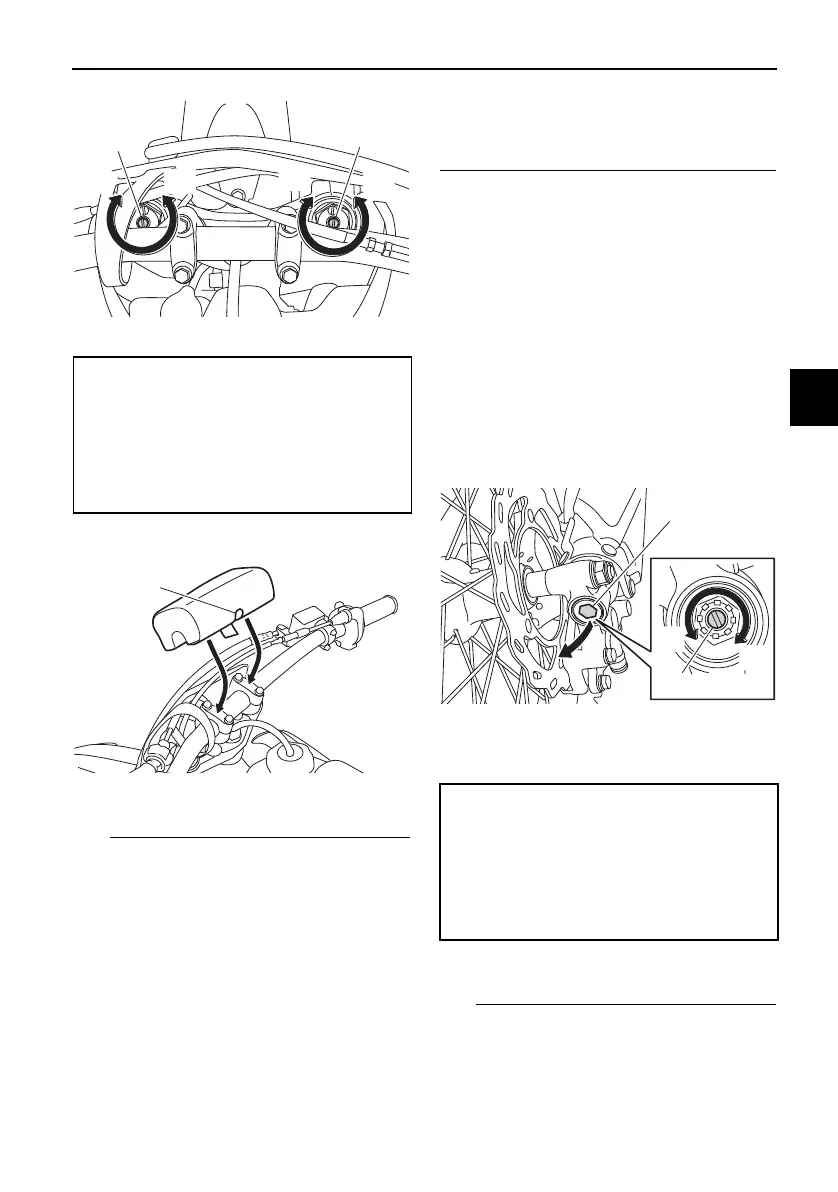
1. Remove the rubber cap by pulling
it out of the front fork leg.
2. Turn the adjusting screw in direc-
tion (a) to increase the compres-
sion damping force. Turn the
adjusting screw in direction (b) to
decrease the compression damp-
ing force. To set the compression
damping force, turn the adjuster in
direction (a) until it stops, and then
count the clicks in direction (b).
3. Install the rubber cap.
When turning the damping force
adjuster in direction (a), the 0 click
position and the 1 click position
may be the same.
1. Rebound damping force adjusting screw
Rebound damping setting:
Minimum (soft):
20 click(s) in direction (b)
Standard:
10 click(s) in direction (b)
Maximum (hard):
1 click(s) in direction (b)
1. Notch
1. Rubber cap
2. Compression damping force adjusting
screw
Compression damping setting:
Minimum (soft):
20 click(s) in direction (b)
Standard:
12 click(s) in direction (b)
Maximum (hard):
1 click(s) in direction (b)
UBR811E0.book Page 10 Thursday, March 21, 2019 10:27 AM