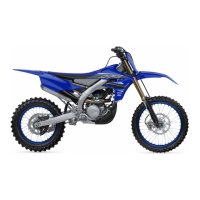
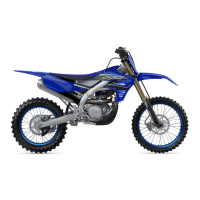
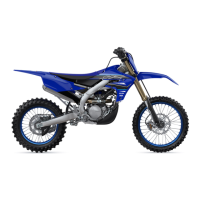
Instrument and control functions
4-13
4
4. Remove the muffler bolt, and then
remove the muffler.
5. Remove the rear frame bolts, and
then remove the rear frame as-
sembly.
6. Loosen the locknut.
7. Turn the adjusting nut in direction
(a) to increase the spring preload.
Turn the adjusting nut in direction
(b) to decrease the spring preload.
A special wrench can be ob-
tained at a Yamaha dealer to
make this adjustment.
The spring preload setting is
determined by measuring
distance A, shown in the illus-
tration. The longer distance A
is, the lower the spring pre-
load; the shorter distance A
is, the higher the spring pre-
load. With each complete
turn of the adjusting nut, dis-
tance A is changed by 1.5
mm (0.06 in).
1. Bolt
2. Panel
1. Muffler
2. Muffler bolt
1. Rear frame assembly
2. Rear frame bolt
1. Rear frame assembly
2. Rear frame bolt
1. Locknut
2. Spring preload adjusting nut
UBR811E0.book Page 13 Thursday, March 21, 2019 10:27 AM