
K
Katherine HouseAug 6, 2025
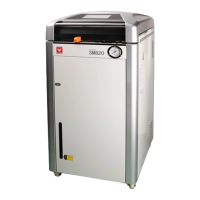
What to do if Yamato SM201 Laboratory Equipment shows 'Back-up battery error'?
- JJuan DeckerAug 6, 2025
If you encounter a 'Back-up battery error' with your Yamato Laboratory Equipment, try turning on the main power switch to the battery.