12 13
UNDERSTANDING THE ROBOTIC MOWERUNDERSTANDING THE ROBOTIC MOWER
3. Understanding the YARD FORCE Robotic Mower
Thank you for purchasing the YARD FORCE Robotic Lawnmower,. Over the next few
pages, the robotic lawn mower will be explained in further detail considering operation
procedure.
5
4
6
7
8
9
10
11
12
15
18
16
17
13 14
19
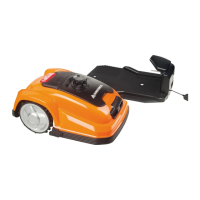
3.1. Parts List
1. Robotic Lawnmower 11. Main isolation switch
2. Stop button 12. Control panel
3. Display and keypad 13. Transformer
4. Charging contacts 14. Extend cable
5. Charge station 15. Fixing peg
6. Blade (3per) 16. Measurement ruler
7. Blade holder 17. Boundary wire connector
8. Front wheel 18. Boundary wire
9. Rear wheel 19. Cement resistance
10. Carrying Handle 20. Installation-DVD
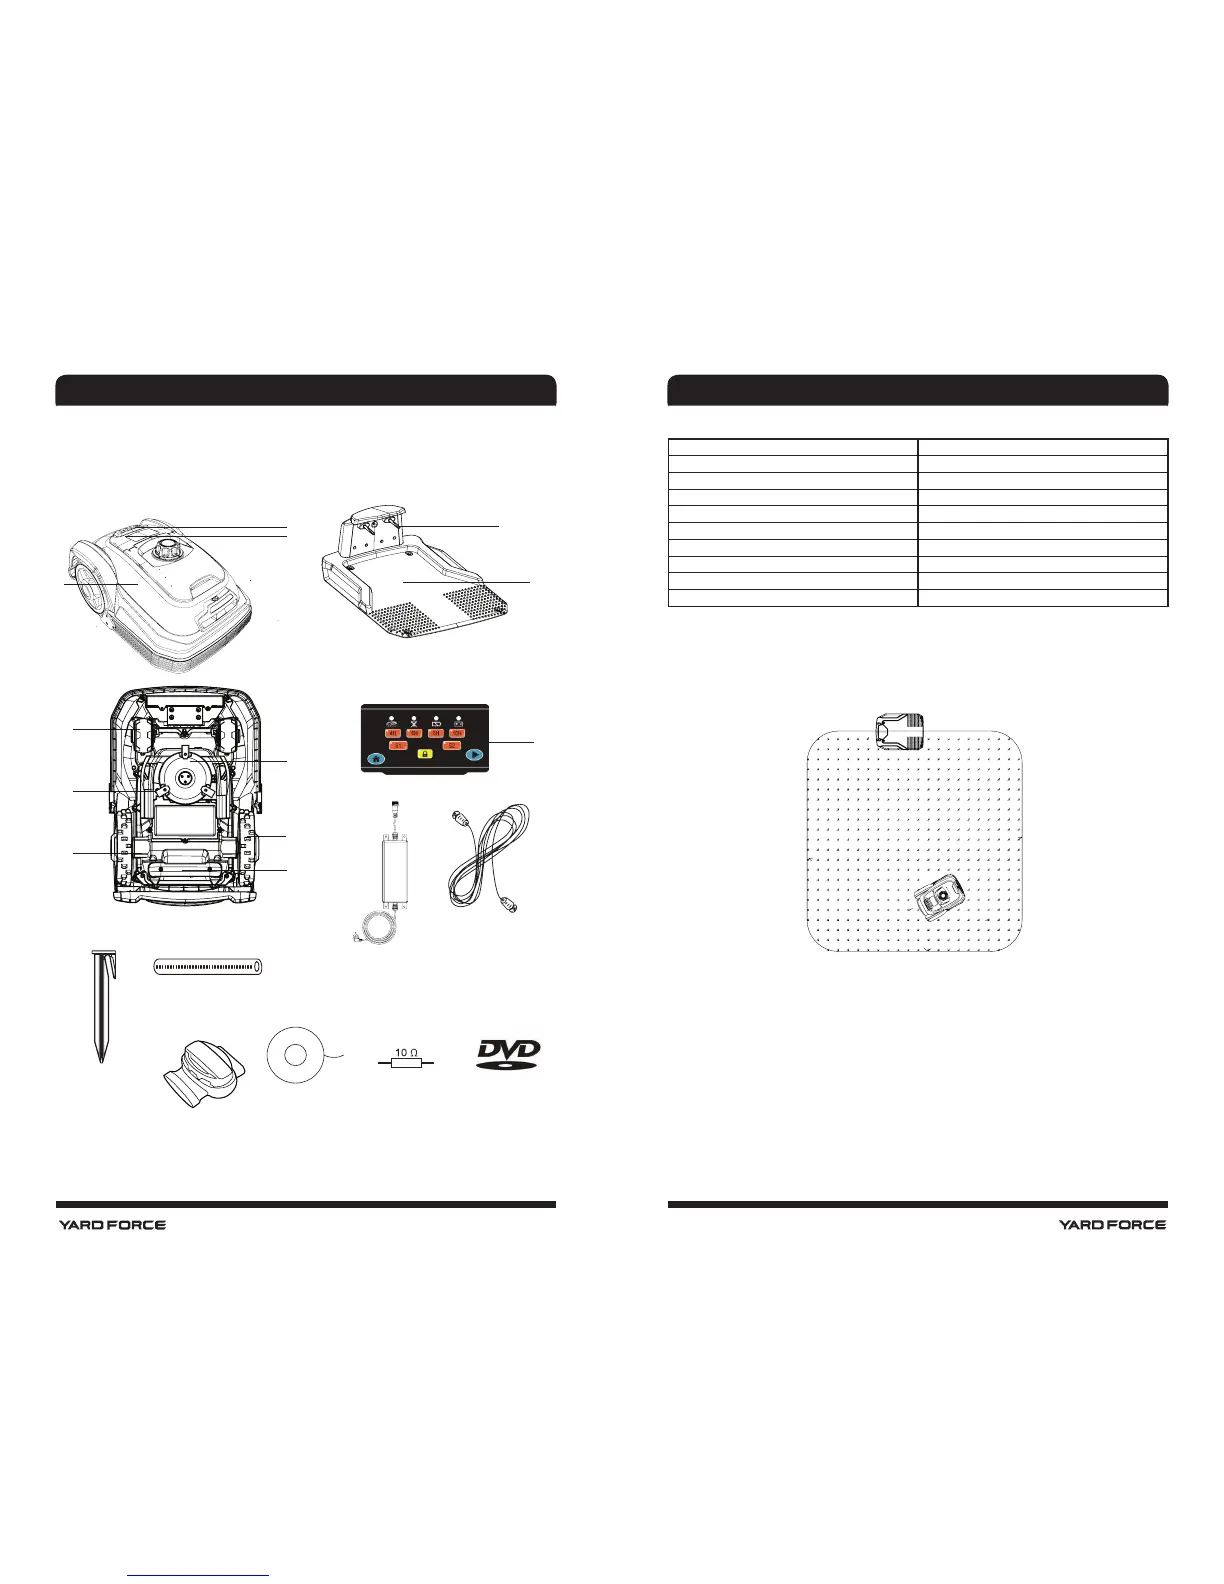
3.2. YARD FORCE Robotic Mower Basic Operating Principles
The Robotic Lawnmower chooses its direction randomly, which means it will mow your
garden completely without leaving behind any uncut part within the area restricted by the
chosen boundary.
This boundary is chosen by you through installing supplied Boundary wire. Once the YARD
FORCE Robotic Lawnmower detect the boundary wire, it will stop, move backwards, and
turn away to cut within a different direction. It is important to ensure that the boundary is
complete. Any objects you wish to protect within the boundary, such as Garden Pond,
Tree, garden furniture or Flower bed can also be protected by the boundary wire. The
Boundary wire must form one complete circuit loop. If the Lawnmower during cutting
encounters an obstacle, such as a person, tree, pet or general garden obstacles it will
stop, move backwards and turn to mow in another direction.
If you have a corridor inside your lawn boundary, the corridor should be at least 2 meters
wide and a max length of 8 m.
1
2
3
20