10 support@yardistrystructures.com
Insect Screen Inst - Attach Curtain Ties
•#12 x 1" Pan Screw
•#12 Screw Bezel
At corner of Post, attach one Tie Back Ribbon per post, about half way up using #12 Pan Screw and Bezel
Important
Hardware
Other
Tie Back Ribbon -Y20118-036
Insect Screen Inst - Attach Curtain Ties
•#12 x 1" Pan Screw
•#12 Screw Bezel
At corner of Post, attach one Tie Back Ribbon per post, about half way up using #12 Pan Screw and Bezel
Important
Hardware
Other
Tie Back Ribbon -Y20118-036
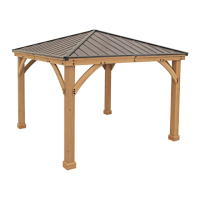
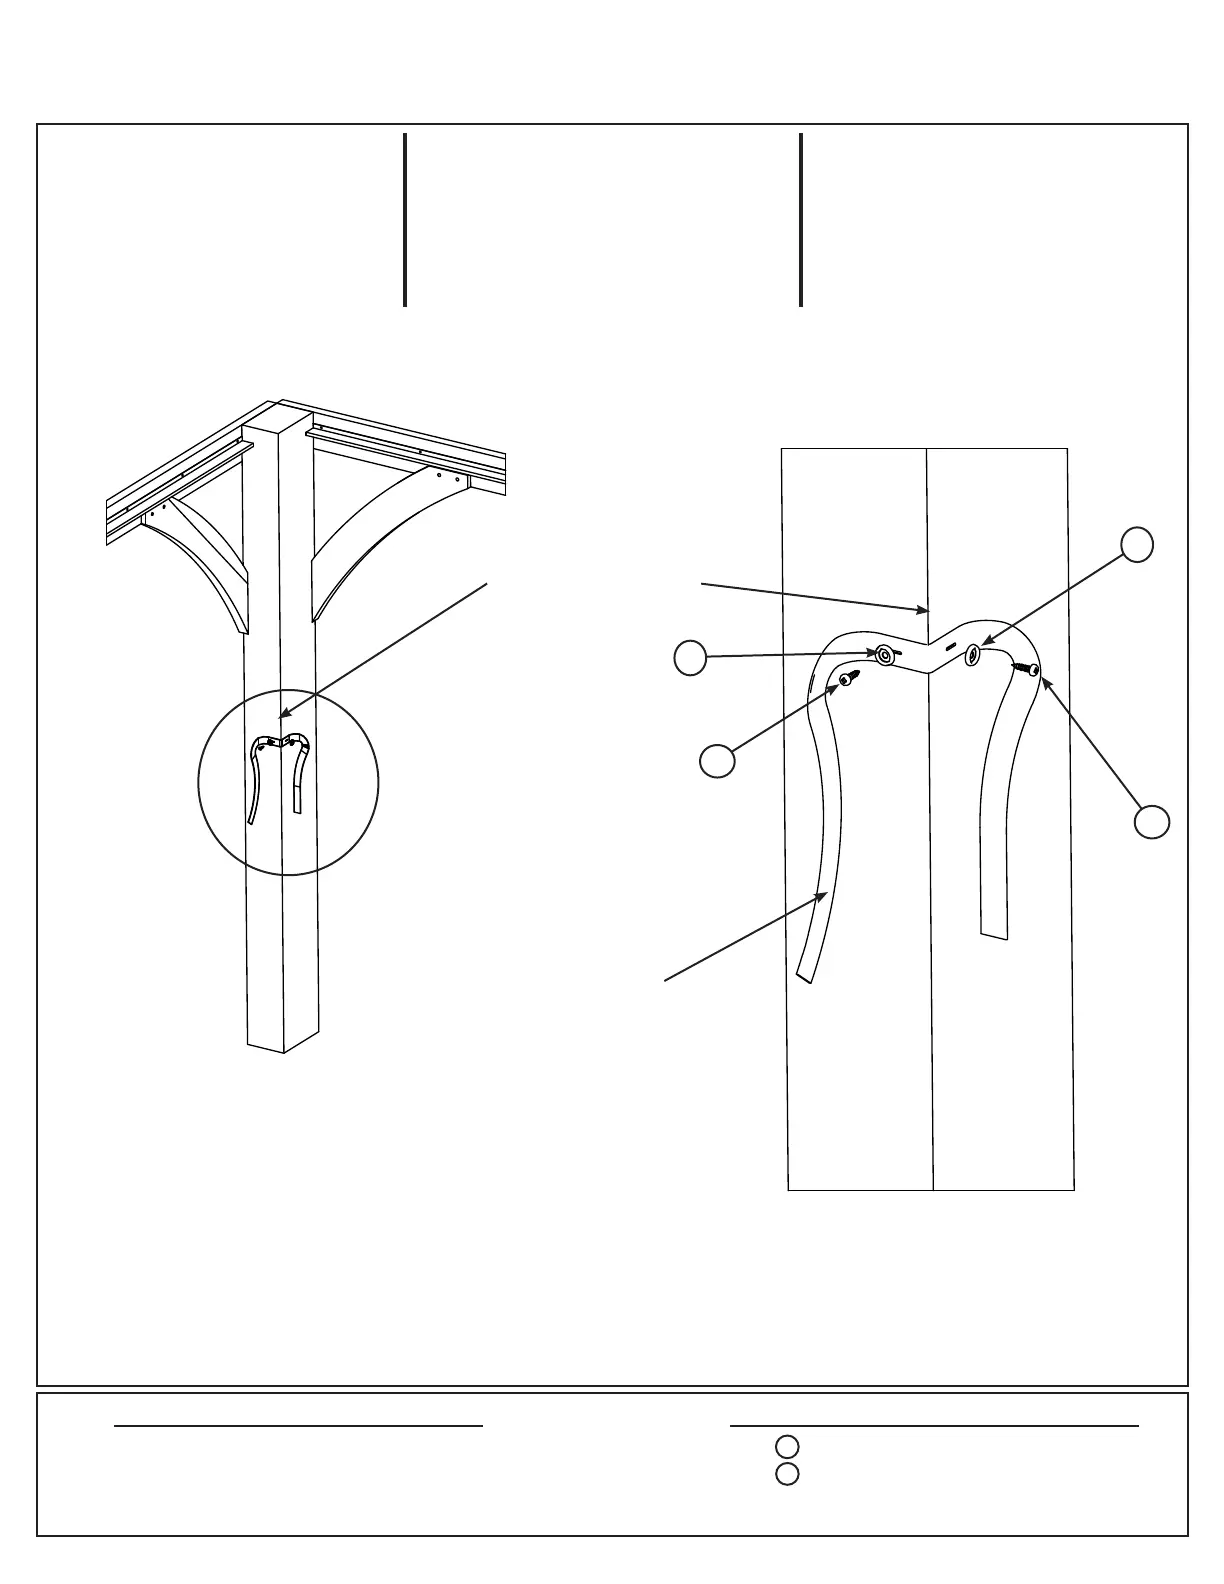
A: On the inside corner of each
Post Assembly attach one Tie
Back Ribbon using 2 (S6) Pan
Screws (with SB) per ribbon.
(F5.1 and F5.2)
8 x 12 x 1”
8 x #12 Screw Bezel / Bisel para tornillo No.12 /
Vis à collerette #12
4 x Tie Back Ribbon / Lazo de Sujeción Trasero / Ruban d’attache arrière
F5.1
SB
SB
SB
S6
S6
S6
Hardware / Tornillos y accesorios / QuincaillerieComponents / Componentes / Composants
F5.2
Step 5: Attach Tie Back Ribbons - Paso 5: Colocación de los lazos traseros
- Étape 5: Fixation des rubans d’attache arrière
A: En la esquina interior de cada
Ensamble del Poste, je un Lazo
de Sujeción Trasero con 2 tornillos
de cabeza plana (S6) (con SB) por
lazo. (F5.1 y F5.2)
A: Dans le coin intérieur de
chaque assemblage de montant,
xez un ruban d’attache arrière à
l’aide de 2 Vis à tête cylindriques
(S6) (avec SB) par ruban. (F5.1 et
F5.2)
Inside Corner of Post
Assembly / Esquina interior
del Ensamble del Poste /
Coin intérieur d’assemblage
de montant
Tie Back Ribbon / Lazo de
sujeción trasero / Ruban
d’attache arrière
 Loading...