2. Select the check box on the EULAEULA page, and then tap NextNext.
3. Enter the account, the password on the AccountAccount page, and then tap NextNext. Supports Microsoft Teams Rooms or
Skype® for Business accounts.
4. On the AdvancedAdvanced page, configure the domain and tap NextNext.
5. Tap FinishFinish to complete the setup wizard.
FeaturesFeatures
Wireless SharingWireless Sharing
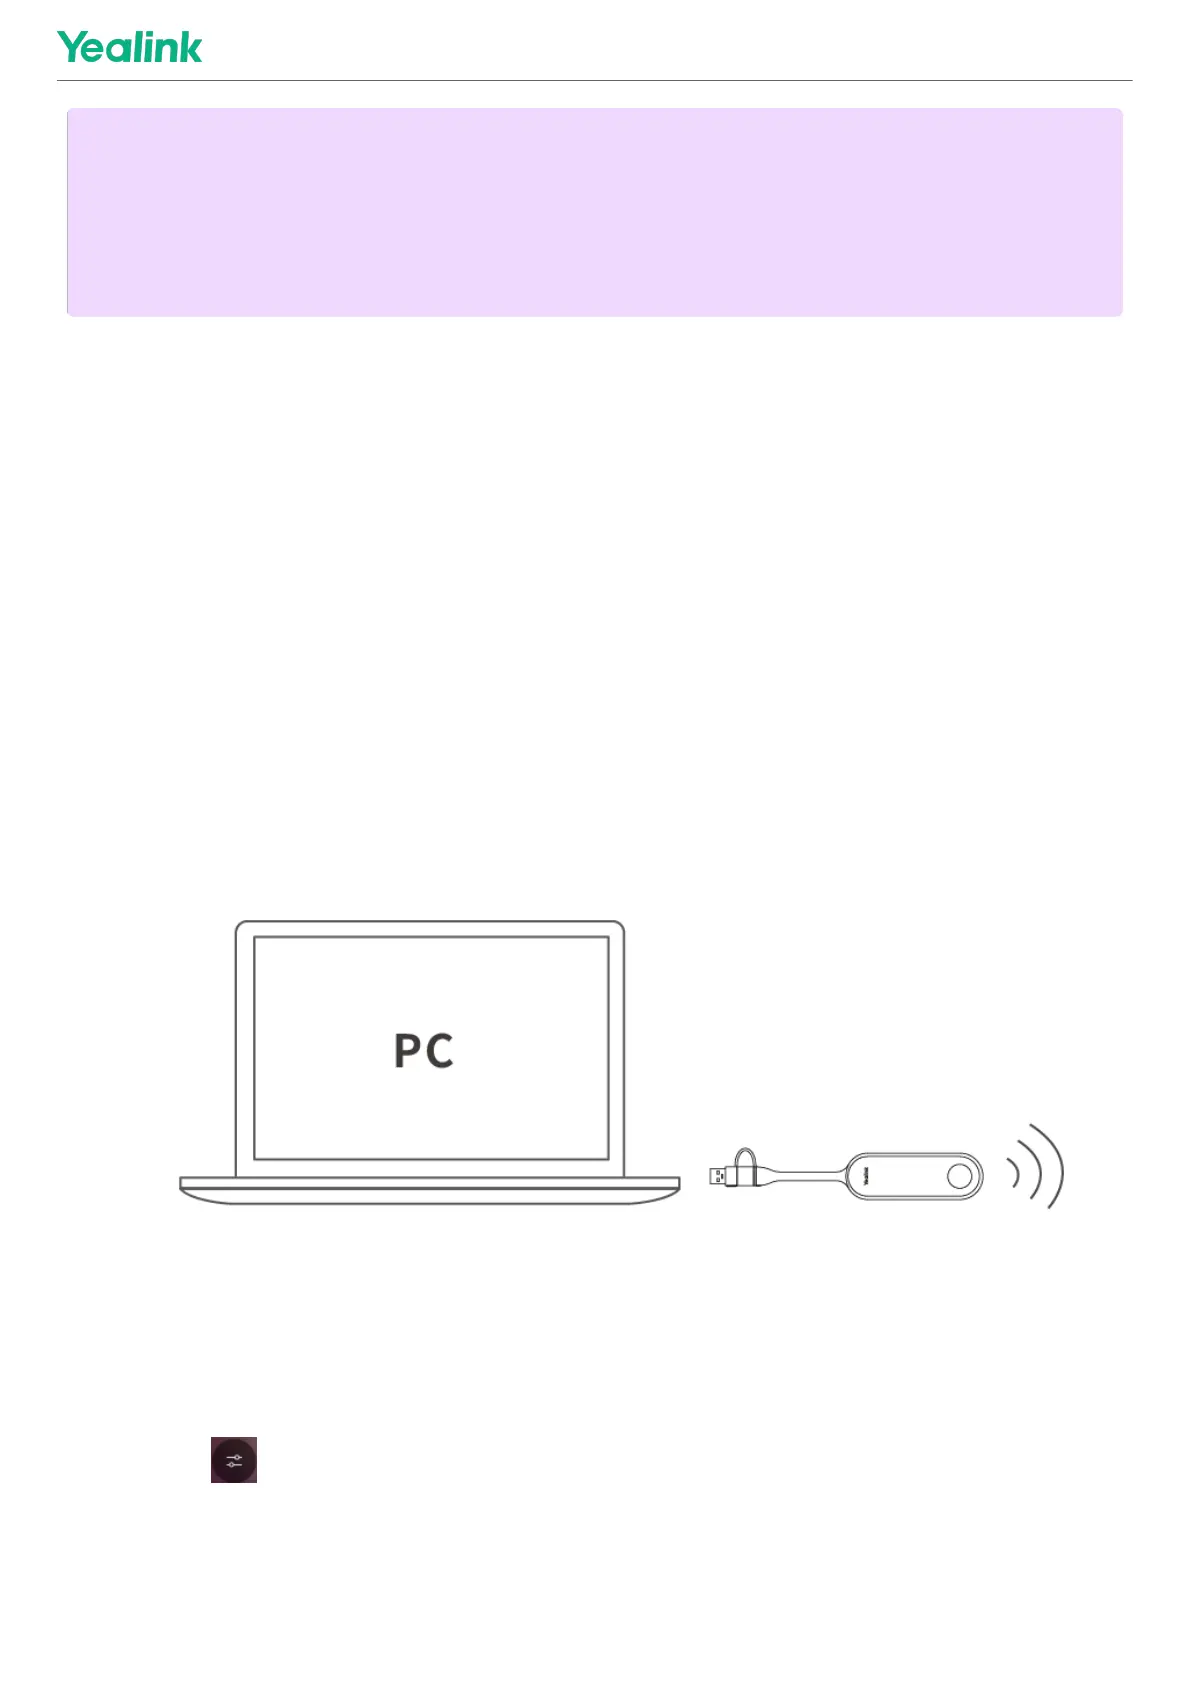
1. Connect the WPP30 to the USB port of the MTouch E2.
When pairing, the LED indicator of WPP30 is orange. When the pairing is successful, the LED indicator turns
green breathing light.
2. Connect the paired WPP30 to the USB-A/USB-C port on your PC.
3. On the WPP30, press the presentation button to share the full screen.
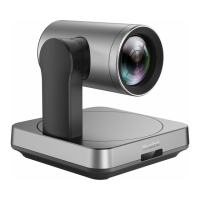
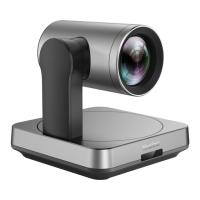
Control UVC84 Camera PositionControl UVC84 Camera Position
1. Tap More > to enter the Camera Control page.
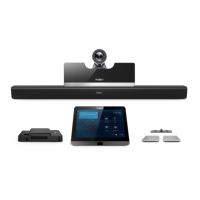
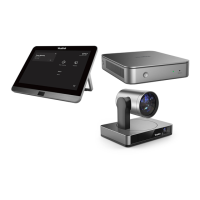
Supported AccessoriesSupported Accessories
NOTENOTE
When starting up the system for the first time, you need to connect a mouse to complete the initial
configuration. We recommend using the wireless mouse and keyboard kit. After the system is initialized, you
can use MTouch E2 to complete the system login and settings, and the device will automatically start the
Microsoft Teams conference system application and enter the setting page.
 Loading...