Getting Started
19
->Network->WAN Port.
2. Press to select IPv4 and then press the Enter soft key.
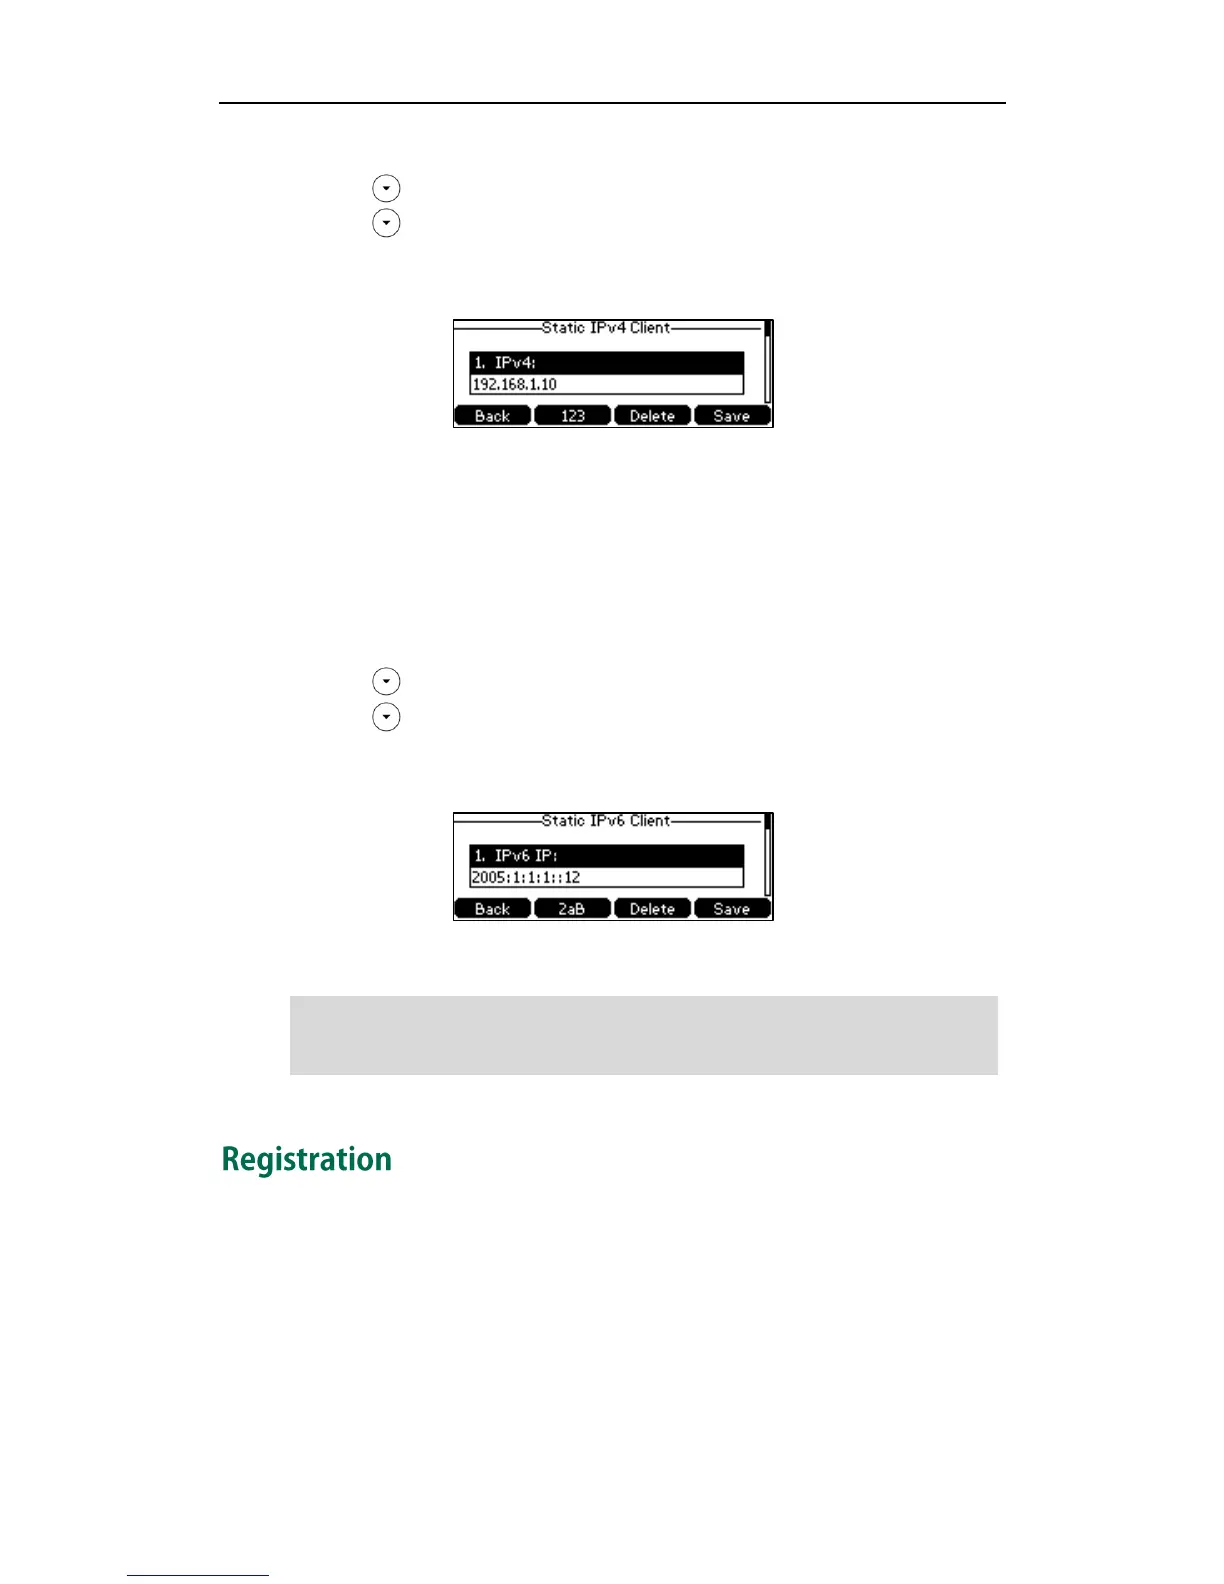
3. Press to select Static IPv4 Client and then press the Enter soft key.
4. Enter the desired value in the IPv4, Subnet Mask, Default Gateway, IPv4 Pri.DNS
and IPv4 Sec.DNS field respectively.
5. Press the Save soft key to accept the change or the Back soft key to cancel.
You can configure a static IPv6 address for the IP phone. Before configuring it, make sure
that the IP mode is configured as IPv6 or IPv4 & IPv6.
To configure a static IPv6 address via phone user interface:
1. Press Menu->Settings->Advanced Settings (default password: admin)
->Network->WAN Port.
2. Press to select IPv6 and then press the Enter soft key.
3. Press to select Static IPv6 Client and then press the Enter soft key.
4. Enter the desired value in the IPv6 IP, IPv6 IP Prefix, Default Gateway, IPv6 Pri.DNS
and IPv6 Sec.DNS field respectively.
5. Press the Save soft key to accept the change or the Back soft key to cancel.
Note
Generally, your phone will be deployed with multiple other phones. In this case, your
system administrator will configure the phone parameters beforehand, so that after you
start up your phone, the phone will be registered and ready for use. The SIP-T41P IP
phone supports up to 6 accounts. If your phone is not registered, you may have to
register it. For more information on how to register your phone, refer to Account
Management on page 62.
 Loading...