11
hold time will begin. If the system maintains the target pressure throughout the duration of the hold
time. a message will appear indicating that the target hold time test has completed. The vacuum reading
assignment is stored in the app memory for future sessions, but the assignment can be changed at any
time by pressing on the system vacuum reading.
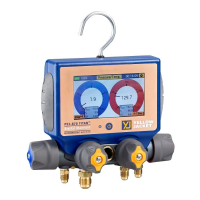
Static Pressure
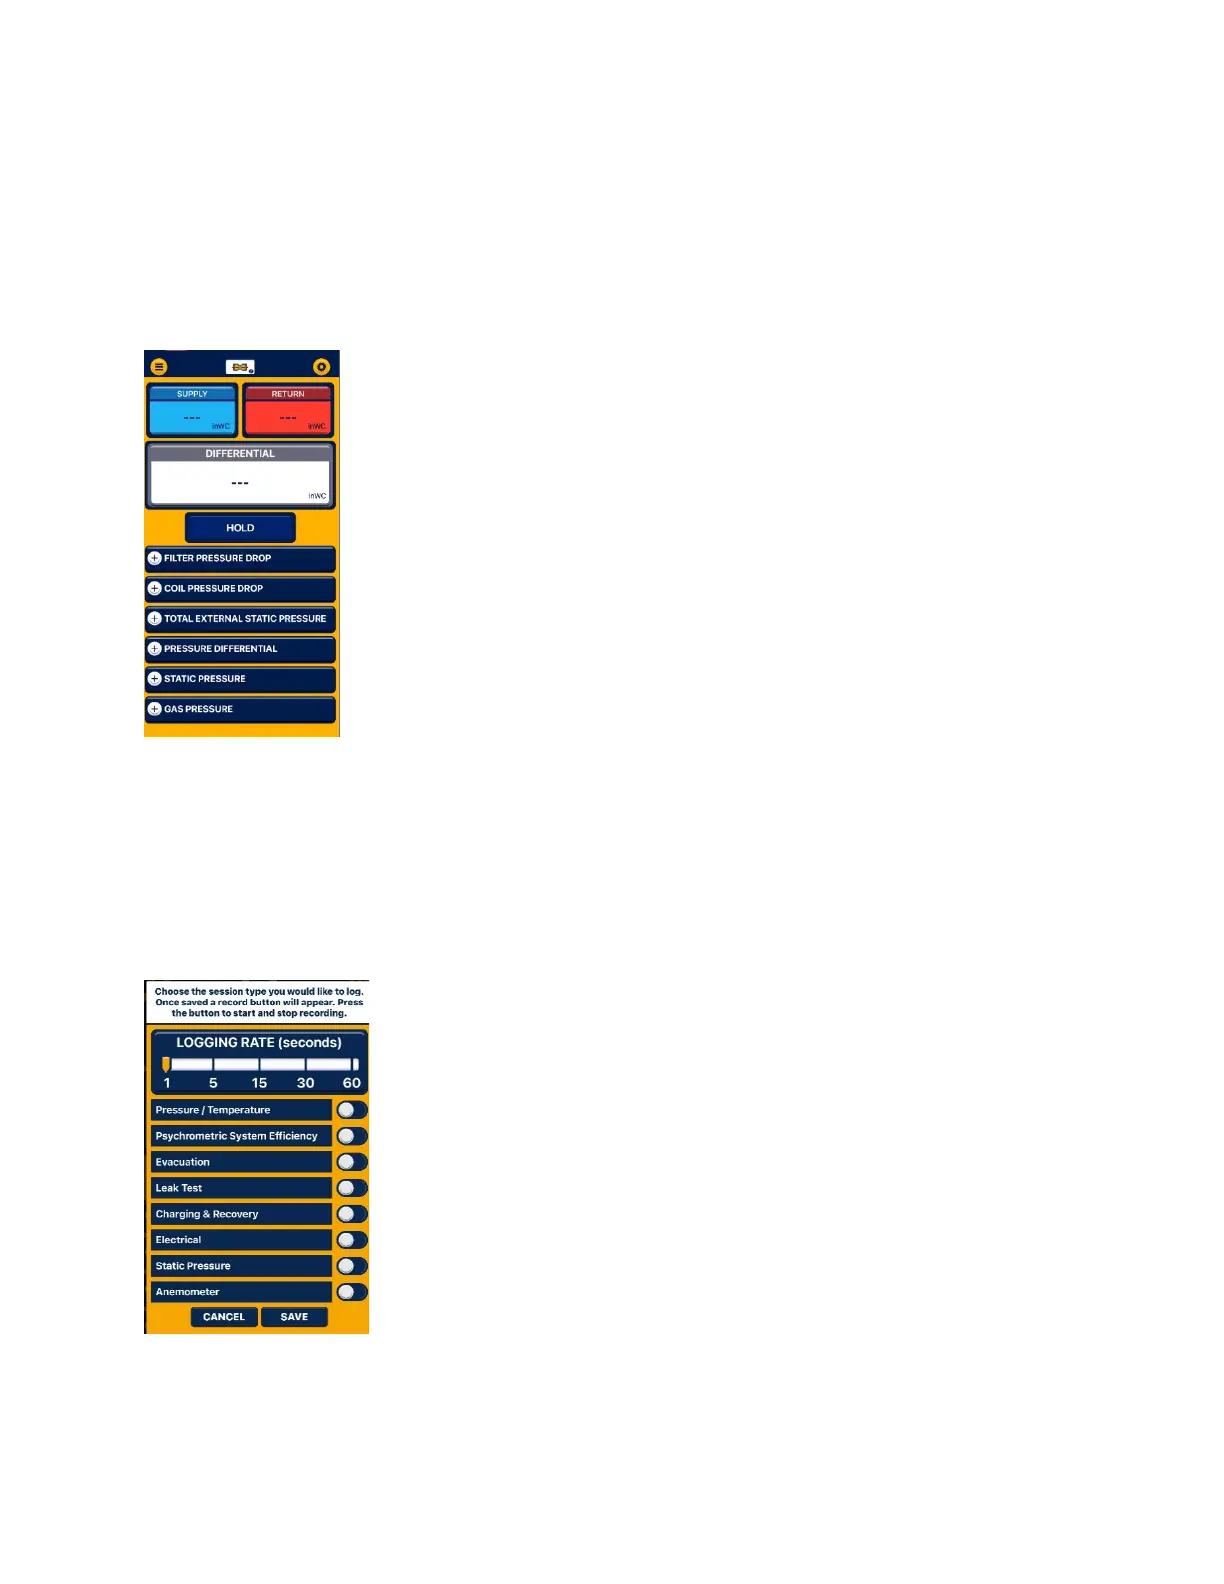
The Static Pressure session type displays the differential pressure level from any two sources connected
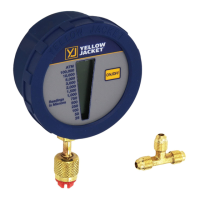
to the YJACK MANO®. The first time a static pressure session is started, the
Supply & Return measurement will need to be assigned to the specific YJACK
MANO® pressure probe. Press on the 3 dashes within either the Supply or Return
measurement box. A list of available devices broadcasting differential pressure
measurements will appear. Select the correct YJACK MANO® being used in
conjunction with the pressure differential and press “Save & Close.” Once
assigned, the system pressure levels will be displayed. Pressures will be
displayed as a large digital number to show measurement changes over time. If
the system is initially at balanced pressure, the reading is displayed as 0 inWC (or
other unit equivalent) until the system pressure differentials change from that
level. From the Static pressure reading screen, a Filter Pressure Drop, Coil
Pressure drop,
Total external static Pressure, pressure differential, Static Pressure, and Gas
Pressure can also be recorded. To record the pressure, press on the heading display box. Tap the “Assign
current Reading” box. Follow the same process for each pressure drop recording. Once the readings
have been recorded, “Take Report Snapshot” can be used to capture all the held data.
Create Data log
Data logs can be created to log readings during any of the 3 session types. To start a data log from within
any session, press on the three-dot icon in the upper right corner of the
screen and select “Create Datalog.” From this screen you can select the
logging rate, which is how frequently the readings will be logged, and which
session type to log readings from. Multiple session types can be selected if
desired, but keep in mind that only one session readings screen can be
displayed within the app at any given time. Once the logging rate and session
type(s) have been selected, press “Save.” A recording icon and timer will
display in the lower right corner of the screen. When you are ready to start
recording data, press on the red circle “record” icon to begin the datalog. The
timer will count from the time that the datalog was started. When you are
ready to stop the datalog, press on the red square “stop” icon. You can then
select to either save or discard the log file. If you wish to save the log file, a
list of available save options will appear.

 Loading...