Replacing the Printhead
Removing the Printhead
1. Turn printer power off and unplug the printer.
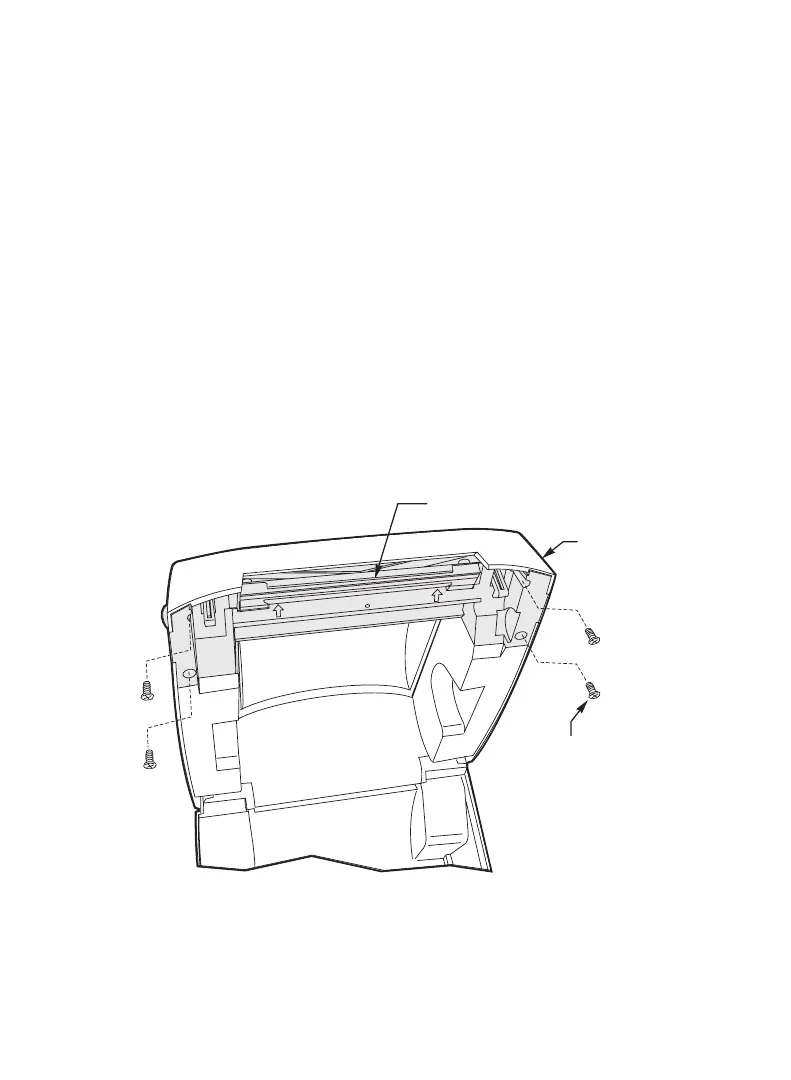
2. Refer to Figure 25. Remove the four screws that secure the printhead
and latch assembly to the top cover.
3.RefertoFigure26.Slidethetensionbarallthewaytotherightinits
mounting bracket (1). Then, while gently pressing on the opposite
mounting bracket (2), lift and remove the tension bar (3).
4.RefertoFigure27.Removebothprintheadwireharnessconnectors
from their receptacles.
5.RefertoFigure27.Removethetwoscrewsandwashersthatsecure
the printhead to the printhead bracket. Then, lift the lip on the front of
the printhead bracket to remove the printhead.
36
Printhead and Latch Assembly
Top Cover
Screws (4)
Figure 25