Installation and Setup
Loading Cards
980459-001 Rev D Zebra P330i & P330m Card Printer User’s Manual 21
Step 2. Remove all wrapping from the card deck.
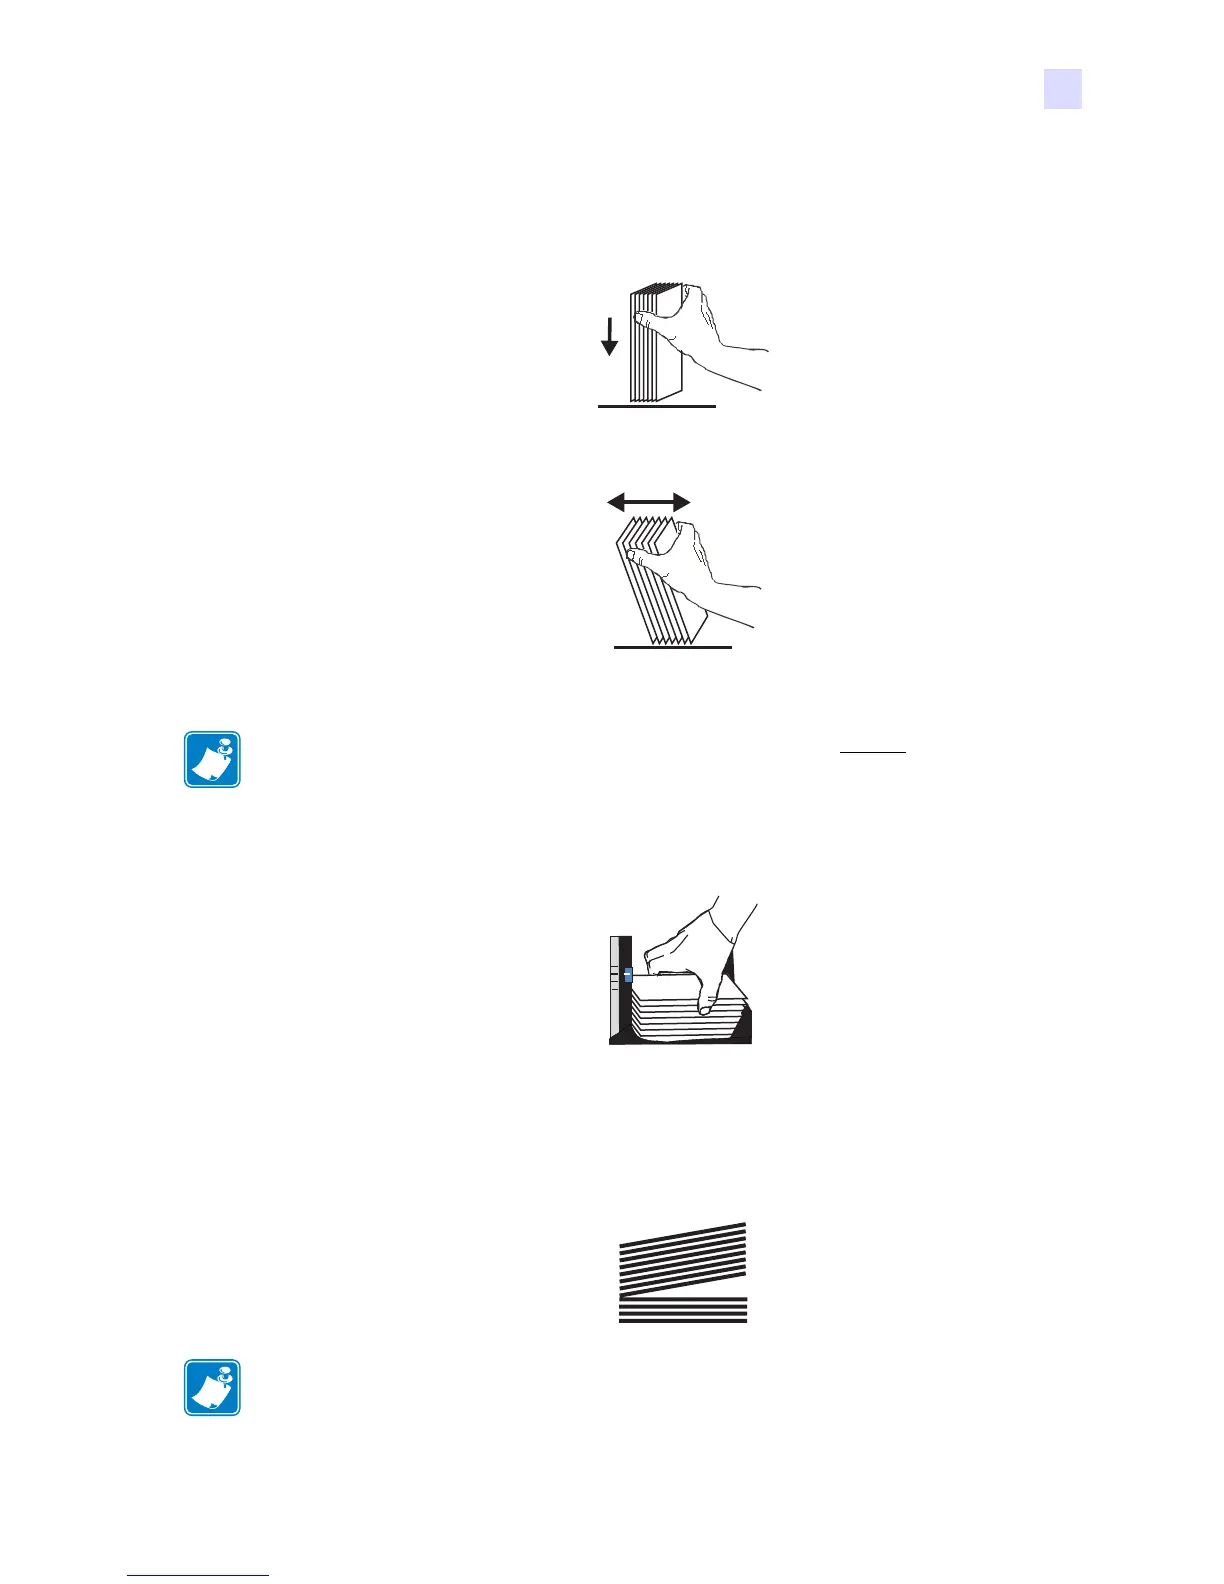
Step 3. Holding the card deck by the sides, hold it vertically against a flat surface such as a
desktop. If the deck is too thick for your hand to hold it comfortably, use about half a
deck at a time.
Step 4. Push the stack back and forth to an angle of about 45
° from vertical, so as to separate
all of the cards.
Step 5. Restore the card stack to its original squared-off condition, and place the cards in the
input hopper.
Step 6. Note that there will be a “gap” in the card stack, with several cards lying flat and the
cards above angled upward, as shown in the exaggerated drawing below. This is
normal and ensures proper feeding.
Note • Static charges and edge burrs from the card die-cutting process can render individual
cards stuck together with significant adhesion force. These cards must be
physically
separated from each other before inserting into the feeder; if not separated, feeding or
printing problems may occur.
Note • Do not try to eliminate the gap by pressing down on the card stack in the input
hopper; this can cause misfeeds.
 Loading...
