16
Use the CHANGE soft-key to change the selected digit. Each press of CHANGE increases the
digit value by 1 with a roll-over to zero when necessary. The selected digit will flash. Use the
NEXT soft-key to select the next digit in the sequence. Pressing NEXT when the last digit is
selected will result in the first digit being selected. Press EXIT to save the current Default
Gateway Address and exit the menu. Before pressing EXIT, all of the digits on the display must
match the desired Default Gateway Address.
Step 5:
Save the current configuration to permanent storage. This will insure that the DHCP Mode, IP
Address, Subnet Mask and Default Gateway are remembered by the printer after a power cycle.
Use the UP and DOWN soft-keys to highlight “SAVE SETTINGS” then press the SELECT soft-key.
This will return you to the main printer menu. Reenter the Wireless Settings menu for the next
step.
Step 6:
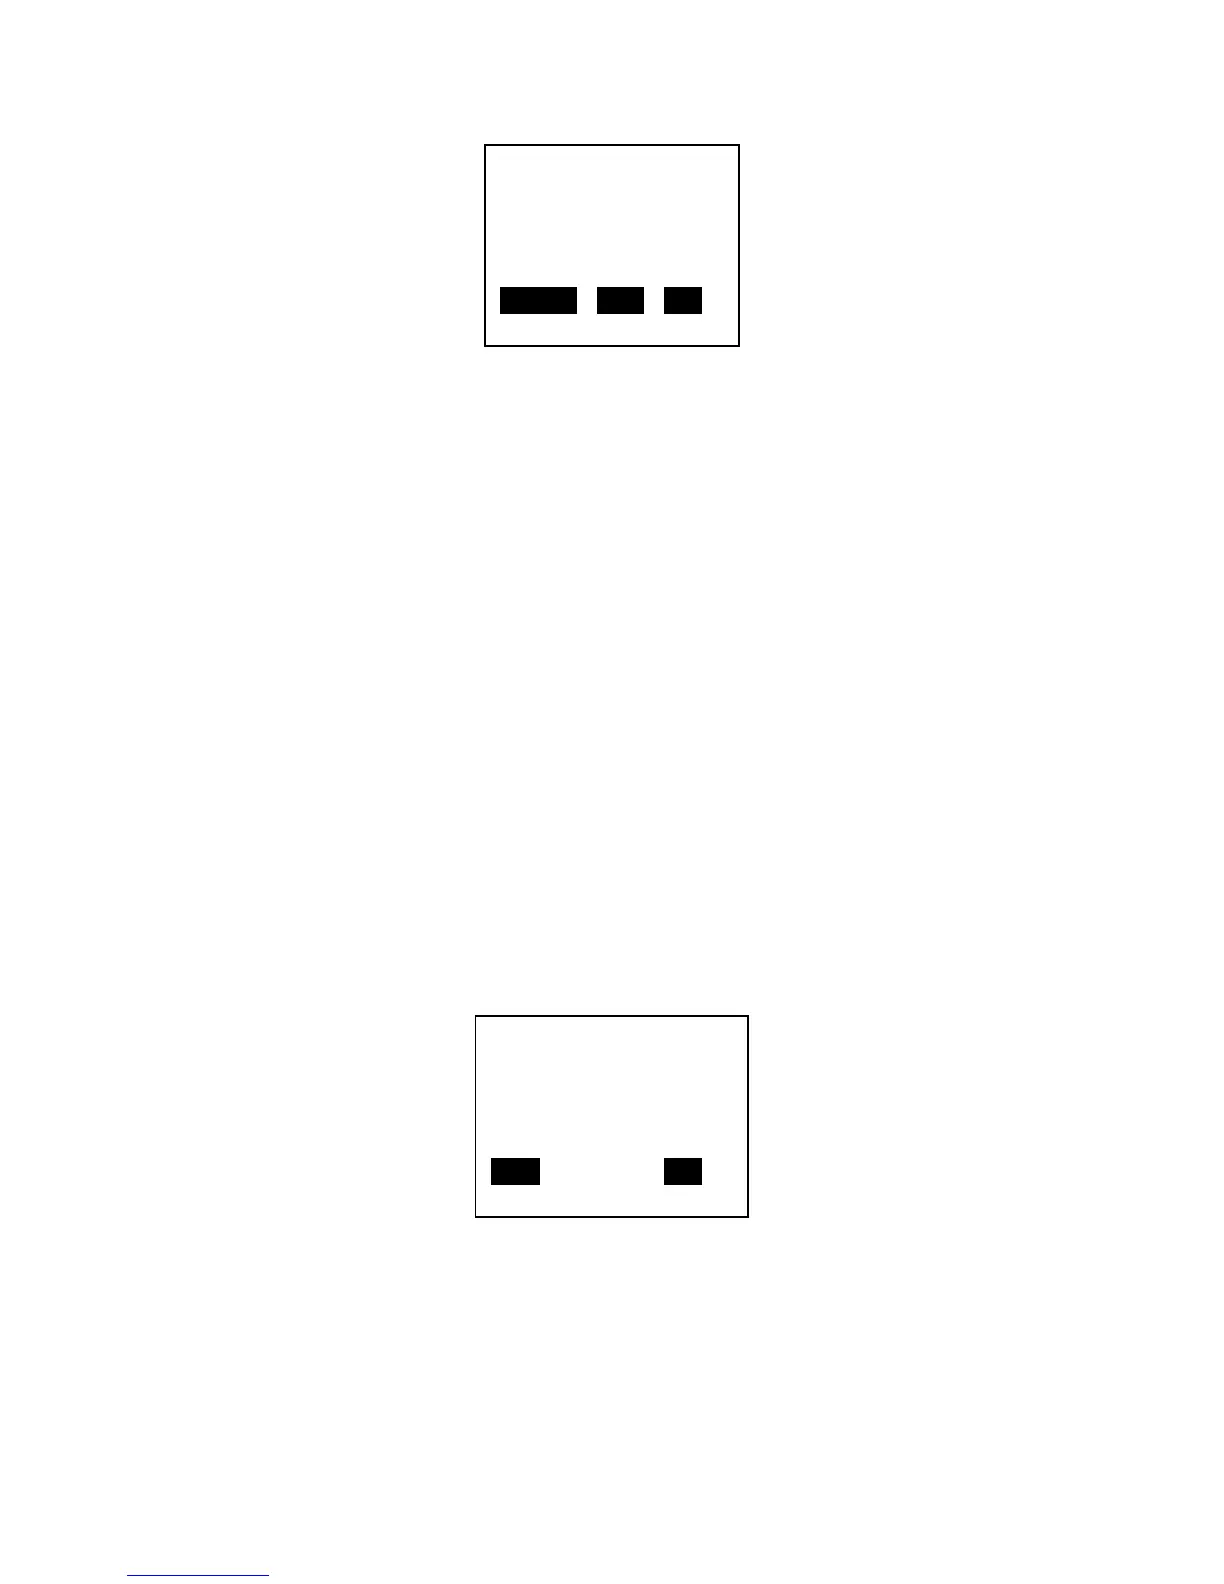
Enter the Setup Wizard menu by pressing the DOWN soft-key until “SETUP WIZARD” is
highlighted then press SELECT and the display changes to:
Press the SCAN soft-key to begin scanning for access points that are within range of your
printer or press EXIT to exit this menu and return to the Wireless Settings menu. After pressing
the SCAN soft-key, the display changes to:
GW: 000.000.000.000
CHANGE NEXT EXIT
BEGIN CONNECTING YOUR
PRINTER TO A WIRELESS
ACCESS POINT. PRESS
SCAN TO START.
SCAN EXIT
 Loading...
