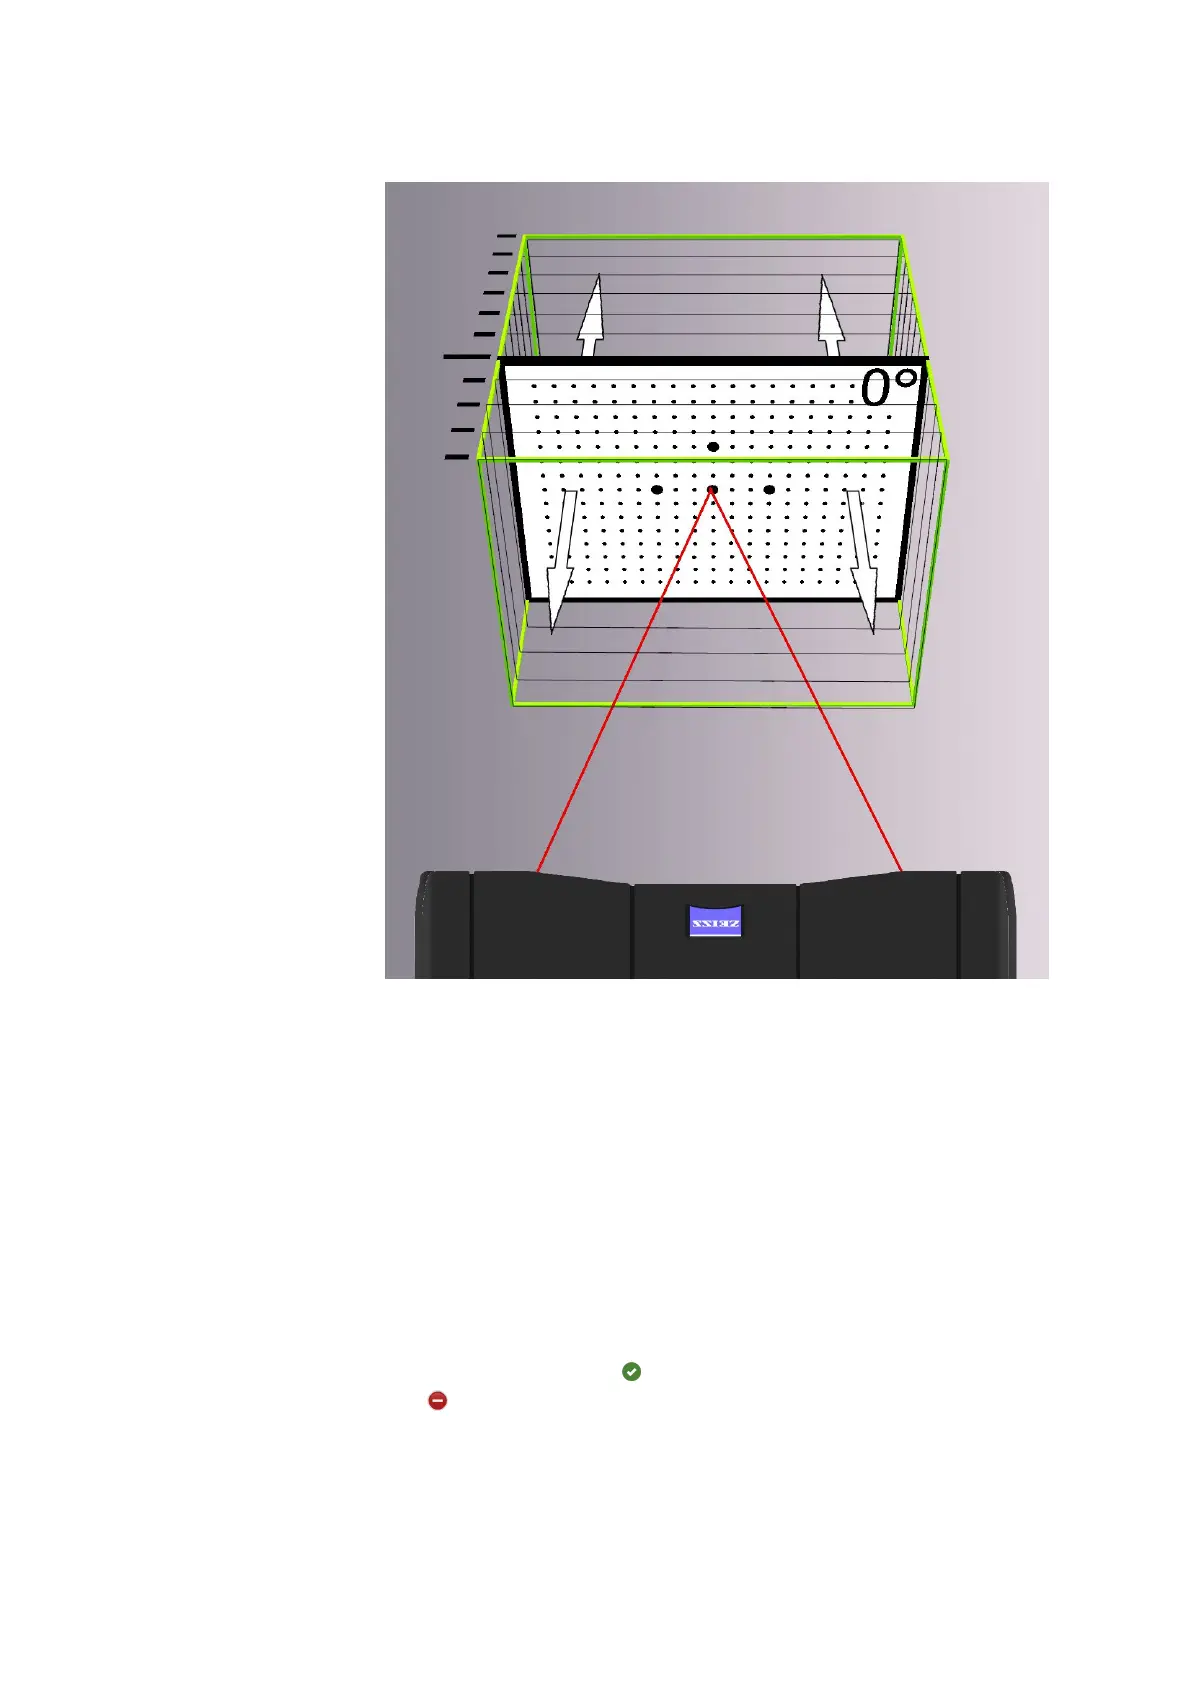
Fig. 9: The image shows the first calibration panel positions (1– 12) in the
measuring volume.
From calibration step 13, the calibration panel is only tilted and rotated in
the center of the measuring volume. The new holding device for the cali‐
bration panel facilitates the positioning due to the dierent images for the
calibration panel.
If you have not set the automatic exposure time, readjust the exposure
time for each new image.
Follow the further instructions on the GOM software until the procedure is
complete.
8.4.4 Calibration Result
At the end of the calibration procedure, the software displays the calibra‐
tion result. The green icon
indicates a good calibration result. The red
icon
indicates an insucient calibration result.
If the calibration result is insucient, repeat the calibration and check the
sensor settings and the correct camera lenses. Ensure that the cameras
and lenses are mounted tight.
If only the projector calibration is insucient, check if the projector lens
and the lens settings are correct and ensure that the lens is mounted tight.
Calibrate the Sensor
0000002121_003_EN_01-09-2021 Page 20 (24)

 Loading...


