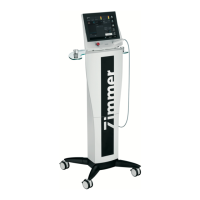
3.2. Installation, starting the system
Make sure that the main switch of the device is set to '0'.
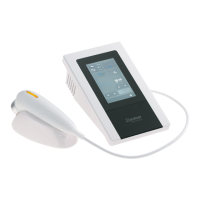
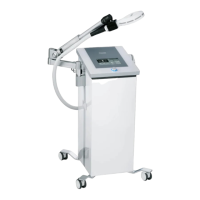
Ensure that all persons present in the treatment room are wearing protective
goggles. Ensure that the applicator (6) is inserted completely into the power
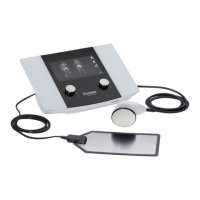
Installing the mains
cable
Connect the mains cable to the designated port (15) on the device and then
plug into the mains.
Connect the interlock switch (26) to the appropriate socket on the device (14).
The laser interlock switch must be installed by a professional or qualified
electrician. Serious eye injury can result if the device is not properly installed.
Also, when installing the device for multiple doors, the total resistance may not
Connecting the
footswitch
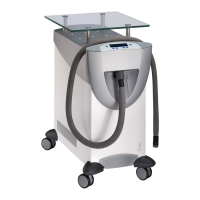
Plug the footswitch (24) into the appropriate socket (13) and then place it on
the floor.
Switch on the device using the main switch.
Activate the “Start” key and select a program.
Activate the code key and enter the key code 1234.
Adjust treatment parameters.
Set / adjust the appropriate output power. Output power will affect energy
density.
Setting operating
mode parameters
Set operation mode parameters. Operating mode will affect energy density.
Activate the laser by pressing the “Start” key.
Place the applicator in the correct position on the treatment area.
Depress the footswitch to start the treatment.
The treatment is interrupted or terminated by deactivating the footswitch.
After treatment, insert it into the power control sensor.
 Loading...