EasyManua.ls Logo

Zippity BELLA User Manual

Default Icon
12 pages
To Next Page IconTo Next Page
Page #1 background imageLoading...
Page #1 background image
WWW.ZIPPITY-OUTDOOR.COM
1
ASSEMBLY
INSTRUCTIONS
ZP19064
WWW.ZIPPITY-OUTDOOR.COM
VER. 101921
ASSEMBLY
INSTRUCTIONS
ZP19064
Want to see a video on how to
assemble this product?
Scan the QR code
BELLA
PUPPY AND GARDEN PUPPY AND GARDEN
CKCK

60 MIN
Approximate assembly me
Question and Answer IconNeed help?

Do you have a question about the Zippity BELLA and is the answer not in the manual?

Zippity BELLA Specifications

General IconGeneral
BrandZippity
ModelBELLA
CategoryFencing & Gates
LanguageEnglish

Summary

General Information and Support

General Information

Important notes on packing, assembly environment, and force usage during assembly.

Missing or Damaged Parts

Instructions for ordering replacement parts and contacting customer service for issues.

Assembly and Return Assistance

Contact details for assembly help and guidance on product return procedures.

Product Specifications

Detailed Product Dimensions

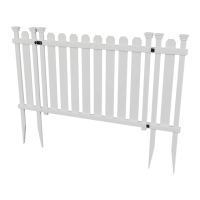
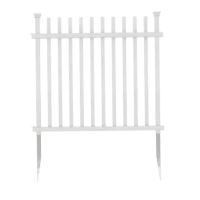
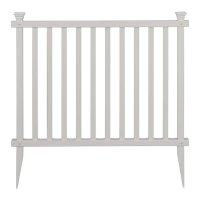
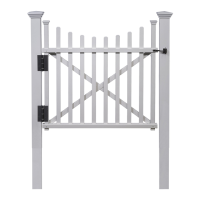
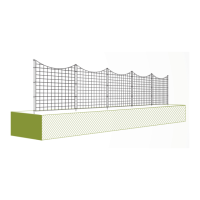
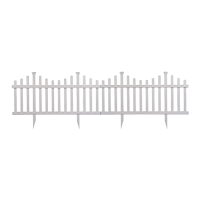
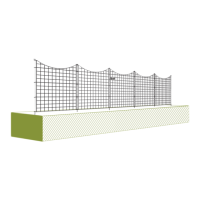
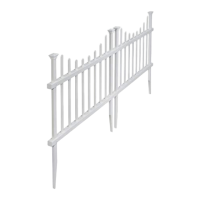
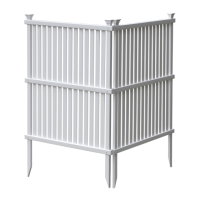
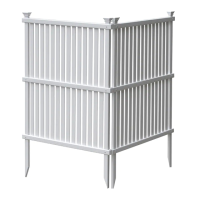
Visual representation and measurements of the fence kit components.

Step 1: Lay Out Materials

Step 2: Assemble the Fence Frame

Step 3: Install the Pickets

Step 4: Assemble the Second Panel

Step 5: Install the Fence

Step 5.1: Initial Placement and Push

Positioning the panel and attempting to push posts into the ground.

Step 5.2: Hard Ground Installation

Techniques for installing posts in difficult soil conditions.

Step 5.4: Optional Auger Installation

Using an auger bit for pre-drilling holes in hard ground.

Step 5.5: Optional Single Large Hole

Digging a large hole for multiple posts in very hard ground.

Step 5.6: Leveling and Backfilling

Ensuring fence levelness and securing posts with backfill.

Step 6: Connect the Panels

Straight Line Application

Fastening panels together with joiner clips and screws for straight runs.

Corner Application

Joining panels at corners using joiner clips and screws.

Step 7: Install Post Caps

Related product manuals