1 5
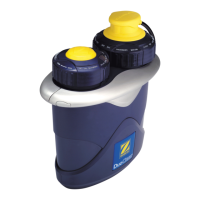
USE THE POOL PULSE TO MAKE SURE
THAT YOUR INSTALLATION HAS SUFFICIENT
FLOW FOR YOUR G2 TO OPERATE
SATISFACTORILY
NB : All these operations must be carried out under water to ensure
that no air is sucked in to your pump.
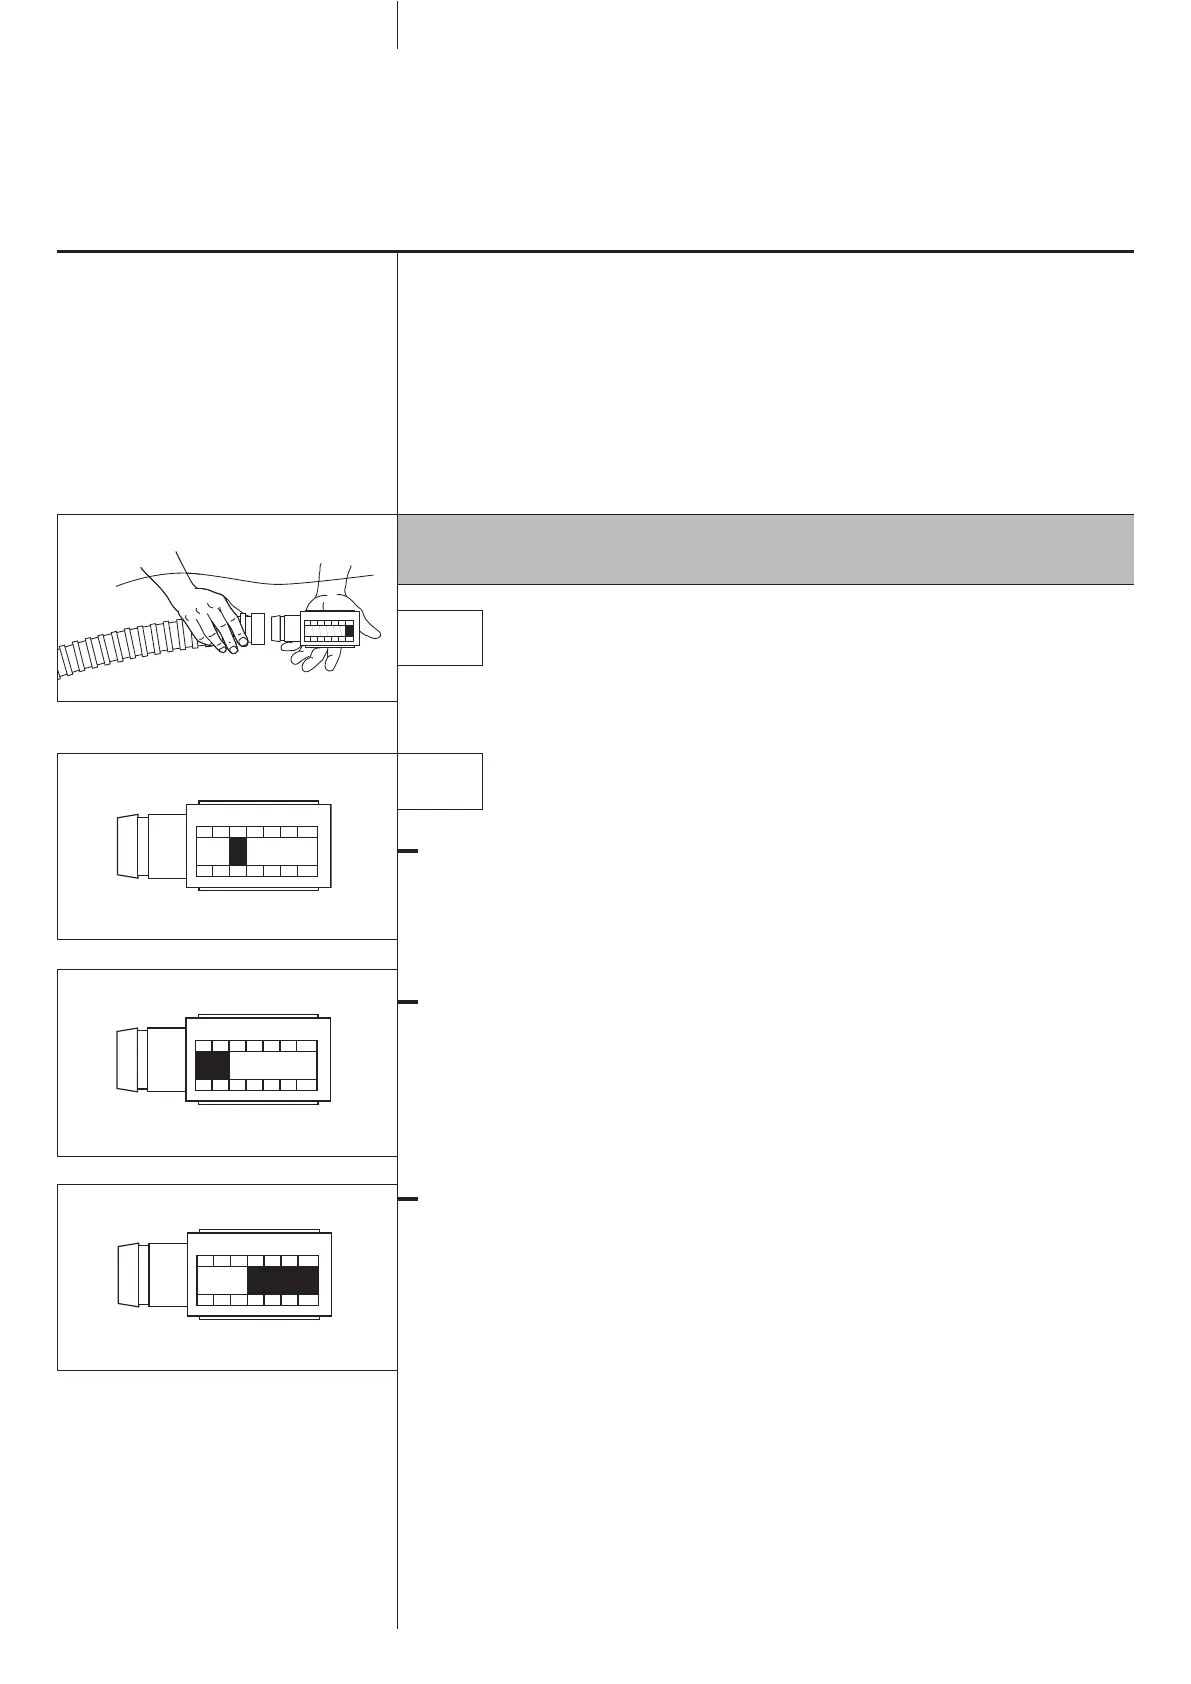
1
Disconnect your G2 from the hose and replace it with the pool pulse
(flow tester) (Schema E).
2
Note the zone indicated on the tester:
“IDEAL” (Schema F):
The red flap valve is on level 4. The flow rate is ideal for running your G2.
Remove the tester and connect the appliance to the hose.
“MIN” (Schema G):
The red flap valve is below level 4. Increase the flow by closing the valve
or flap of the skimmer or skimmers until the tester indicator moves into
the ideal zone. Remove the tester and connect the appliance to the hose.
“MAX” (Schema H):
The red flap valve is above level 4. Reduce the flow by opening the valve
or flap of the skimmer or skimmers until the tester indicator moves into
the ideal zone. Remove the tester and connect the appliance to the hose.
If the flow is still insufficient, see “Trouble-shooting”.
Pool pulse
Schema E
Schema F
Schema G
Schema H
 Loading...