Esquema E
PERMITE COMPROBAR QUE LA INSTALACIÓN
DISPONE DEL CAUDAL SUFICIENTE
PARA EL FUNCIONAMIENTO CORRECTO
DEL G2
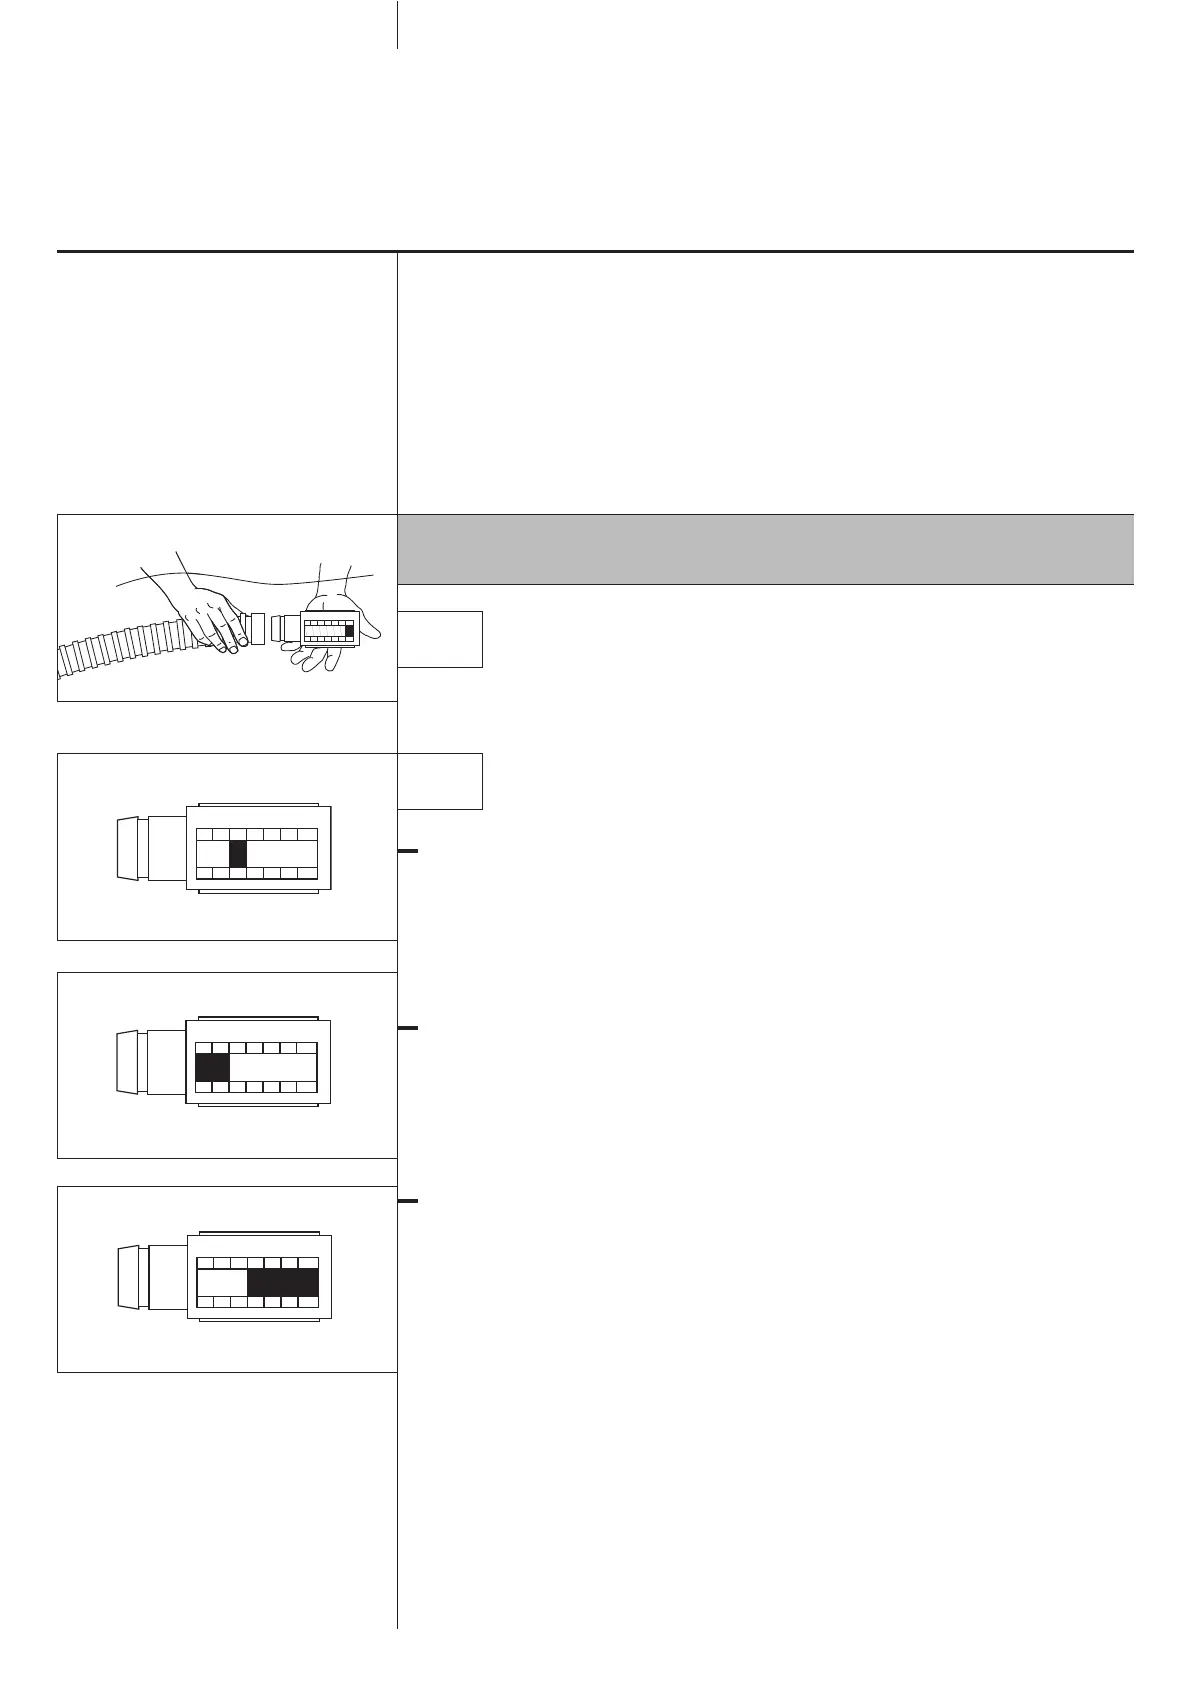
NB : Todas estas operaciones deben realizarse bajo el agua con objeto
de que la bomba no aspire aire.
1
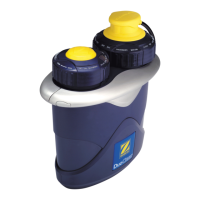
Desconectar la manguera del G2 y cambiarlo por el medidor
de caudal (
Esquema
E).
2
Observar la zona indicada por el regulador :
CASO “IDEAL” (
Esquema
F) :
La válvula roja está en el nivel 4. El caudal es perfecto para hacer
funcionar el G2.
Reemplazar el regulador y conectar el aparato a la manguera.
CASO “MINI” (
Esquema
G) :
La válvula roja está por debajo del nivel 4. Aumentar el caudal cerrando
la válvula de los skimmers hasta que el indicador del regulador entre en
la zona ideal. Reemplazar el regulador y conectar el aparato a la manguera.
CASO “MÁX.” (
Esquema
H) :
La válvula roja está por encima del nivel 4. Reducir el caudal abriendo
la válvula de los skimmers hasta que el indicador del regulador entre en
la zona ideal. Reemplazar el regulador y conectar el aparato a la manguera.
Si el caudal es insuficiente, ver el capítulo
“Soluciones a los posibles problemas”.
Prueba del caudal
2 5
Esquema F
Esquema G
Esquema H
 Loading...