Page 5
ENGLISH
Owner’s Manual
|
Zodiac
®
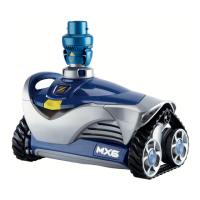
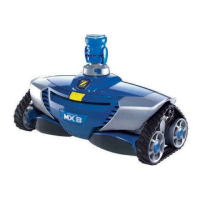
MX Pool Cleaner
Page 4
ENGLISH
Zodiac
®
MX Pool Cleaner
|
Owner’s Manual
Installation
STEP 1. Prepare the pool
1. Turn off the pool filter pump.
2. Manually vacuum the pool, and make sure the pool filter and pump basket are clean.
3. Close the pool main drain line.
4. Aim the return line fittings down.
WARNING
RISK OF SUCTION ENTRAPMENT HAZARD, WHICH, IF NOT AVOIDED CAN RESULT IN SERIOUS INJURY
OR DEATH.
Ensure that your vacuum suction ttings installed in your pool for connection of your suction-side
pool cleaner are certied as being compliant with applicable safety standards such as IAPMO SPS 4. Do not
block the suction ttings with any part or your body. Do not expose your hair, loose clothing, jewelry, etc. to any
suction outlet ttings or hose ends in the pool/spa.
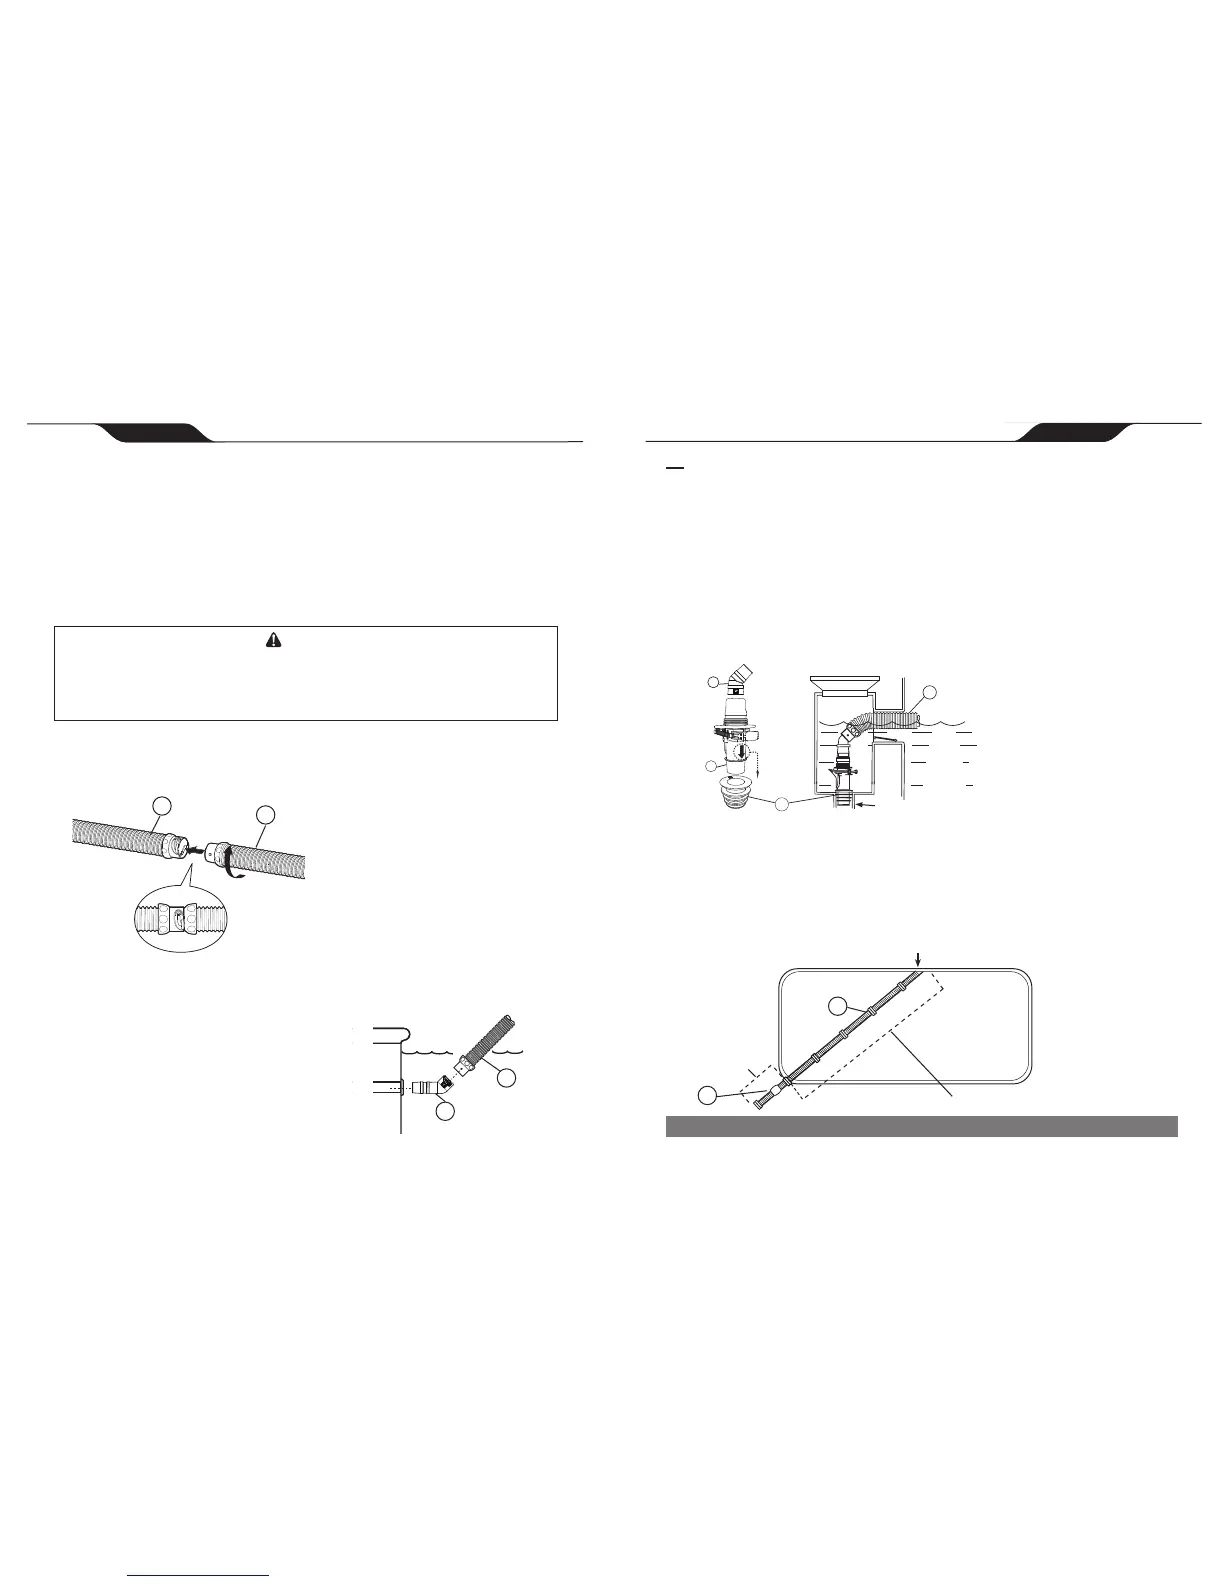
STEP 2. Assemble hose sections
Push and twist the connector on each hose section (g) until they lock into position with clicking sound. Hose
cuffs have three (3) connection positions. Any of the three (3) positions are sufficient for an air-tight seal.
OR
Connect to a skimmer:
The FlowKeeper™ valve must always be used in single skimmer installations. The valve regulates flow
to ensure the pool pump and cleaner run properly.
If the pool has more than one skimmer, connect the hose to
the one closest to the pump.
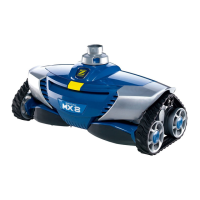
The parts used to connect the hose and the sequence in which they are installed depends on the type of
skimmer (Figure 4).
1. Remove the skimmer basket.
2. Connect the valve cuff (c), FlowKeeper valve (b) and the 45 degree
elbow (f) together. Insert the FlowKeeper valve (b) into the 45 degree elbow with arrow pointing down.
3. Twist lock the male end of the hose (g) into the end of the 45 degree elbow (f).
4. Insert assembly into the skimmer suction port.
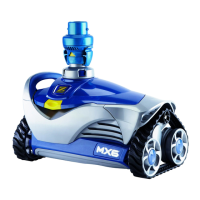
STEP 4. Determine correct hose length for your pool
1. Measure enough hose to reach the farthest point of the pool from the skimmer or dedicated suction line.
Remove any additional hose sections, as necessary. See (A) in Figure 5, below.
2. Next attach the leader hose at to the end where the cleaner head will be connected. See (B) in Figure 5,
below. The extra length allows the cleaner to reach the far point in the pool if a loop forms while in operation.
Figure 2
g
g
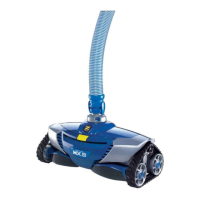
STEP 3. Connect to a dedicated suction line
1. Twist lock the male end of the hose (g) into the large end
of the extended 45° elbow (d).
2. Connect elbow to the installed Safety Vac
wall fitting (sold separately).
3. Angle the elbow toward the water surface
(Figure 3).
Figure 3
g
d
Figure 4
c
g
b
f
skimmer suction port
Leader Hose (B)
Skimmer or dedicated suction line
Farthest distance across pool (A)
Figure 5
Total Hose Length Required = (A) Farthest distance across pool + (B) Leader Hose
g
h