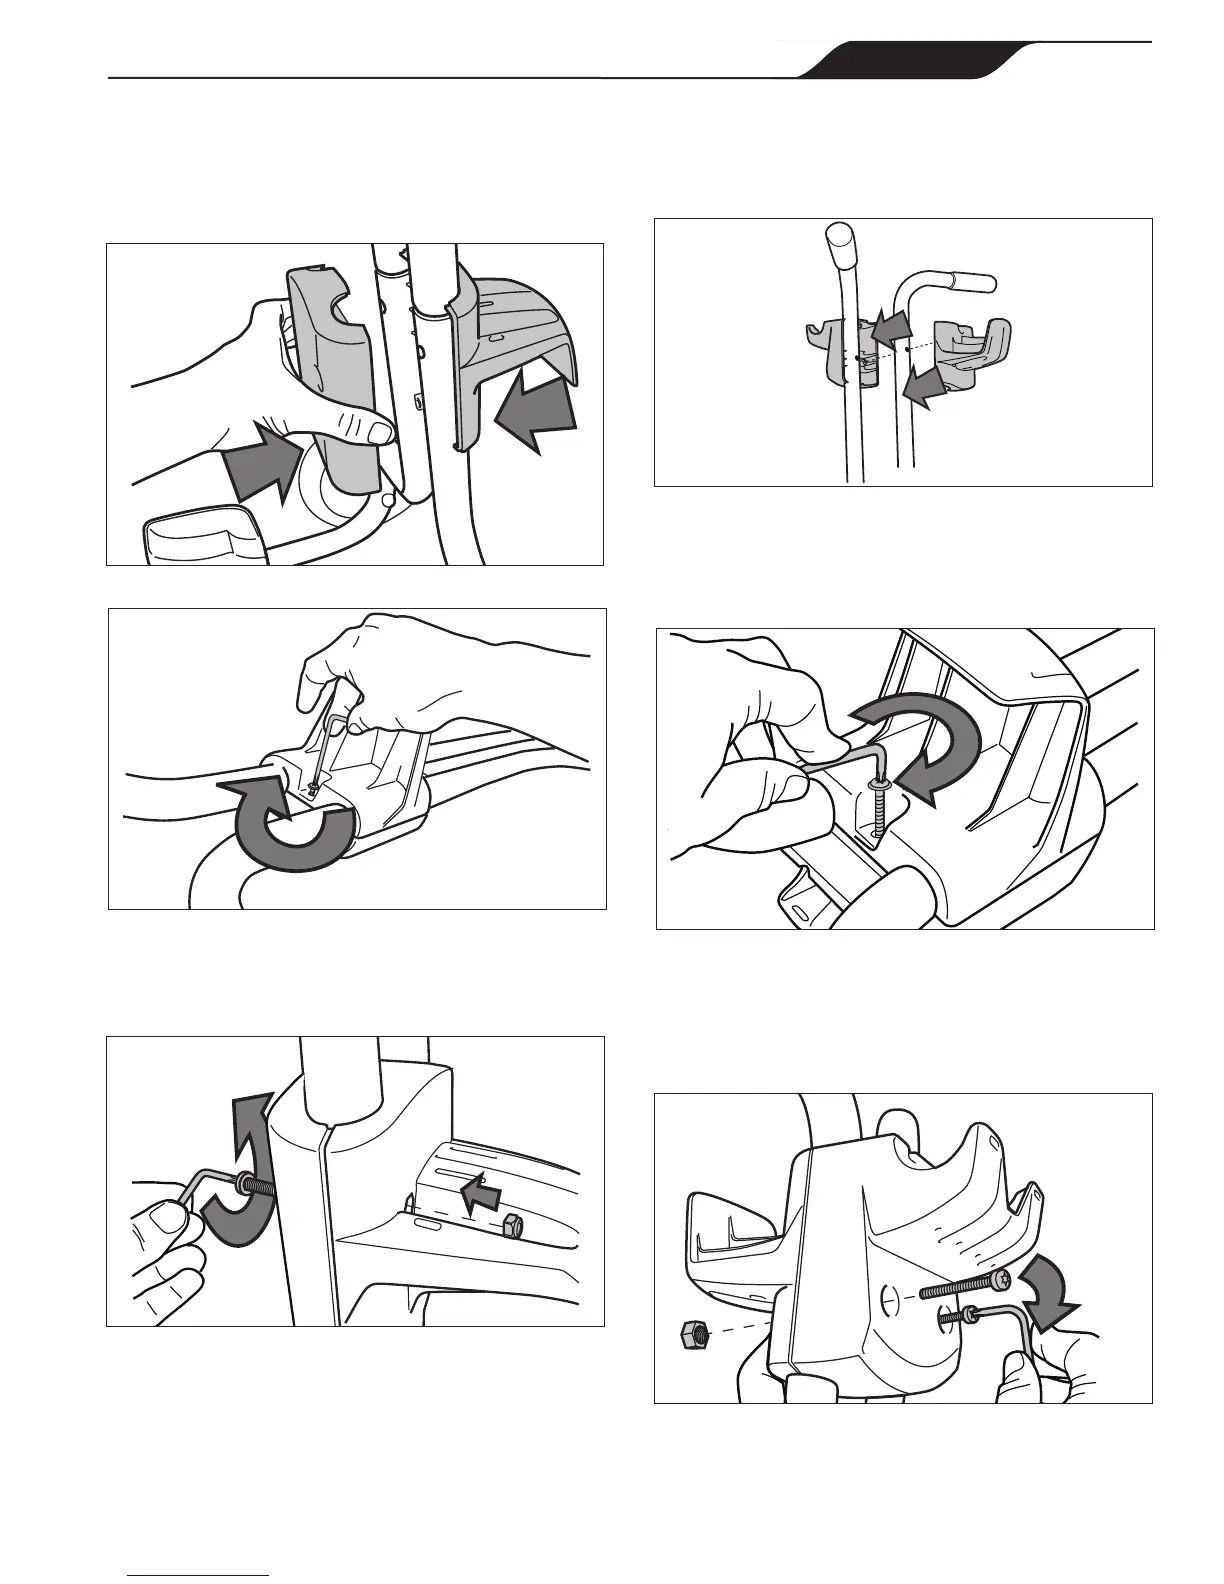
4. Position the power cable hook and control unit
hook on the upper tubes as shown in Figure 6.
Make sure the upper tubes (handles) are in the
proper orientation.
Figure 6. Position the Bottom Power Cable Hook
6
7
5. Secure the power cable hook and control unit
hook around the tubes using a screw and tighten
with the Torx wrench. Refer to Figure 7.
8
Figure 7. Install the Power Cable Hook and
Control Unit Hook
6. Secure the control unit hook using two (2) bolts
and two (2) nuts and tighten with Torx wrench.
Refer to Figure 8.
9
Figure 8. Secure the Hooks
2. Position the bottom power cable hook as shown
in Figure 3. Place the cable hook plate opposite
the power cable hook. Secure using a screw and
tighten with the Torx
®
wrench
(supplied with
unit)
. Refer to Figure 4.
3
2
Figure 3. Position the Bottom Power Cable Hook
4
Figure 4. Secure the Bottom Power Cable Hook
3. Secure the cable hook plate using two (2) bolts
and two (2) nuts and tighten with Torx wrench.
Refer to Figure 5.
5
Figure 5. Secure the Cable Hook Plate
Page 7
ENGLISH
Zodiac
®
Vortex™ 3, Vortex 4 Robotic Pool Cleaner
|
Owner's Manual