7.
8.
9.
10.
11.
Mounting completion – after electric installation!
Insert the intercom in the mounting box in the wall.
Tighten the intercom with the stainless steel screws
included in the delivery. As the screw holes are oval,
you can perfect the vertical position before tightening.
We do not recommend you to insert the button tags
now.
Replace the stainless steel front panel fixing it with the
stainless steel screws you unscrewed in step 4 above.
Seal the top and lateral sides carefully with some
cement or non-aggressive silicone to avoid water
infiltration.
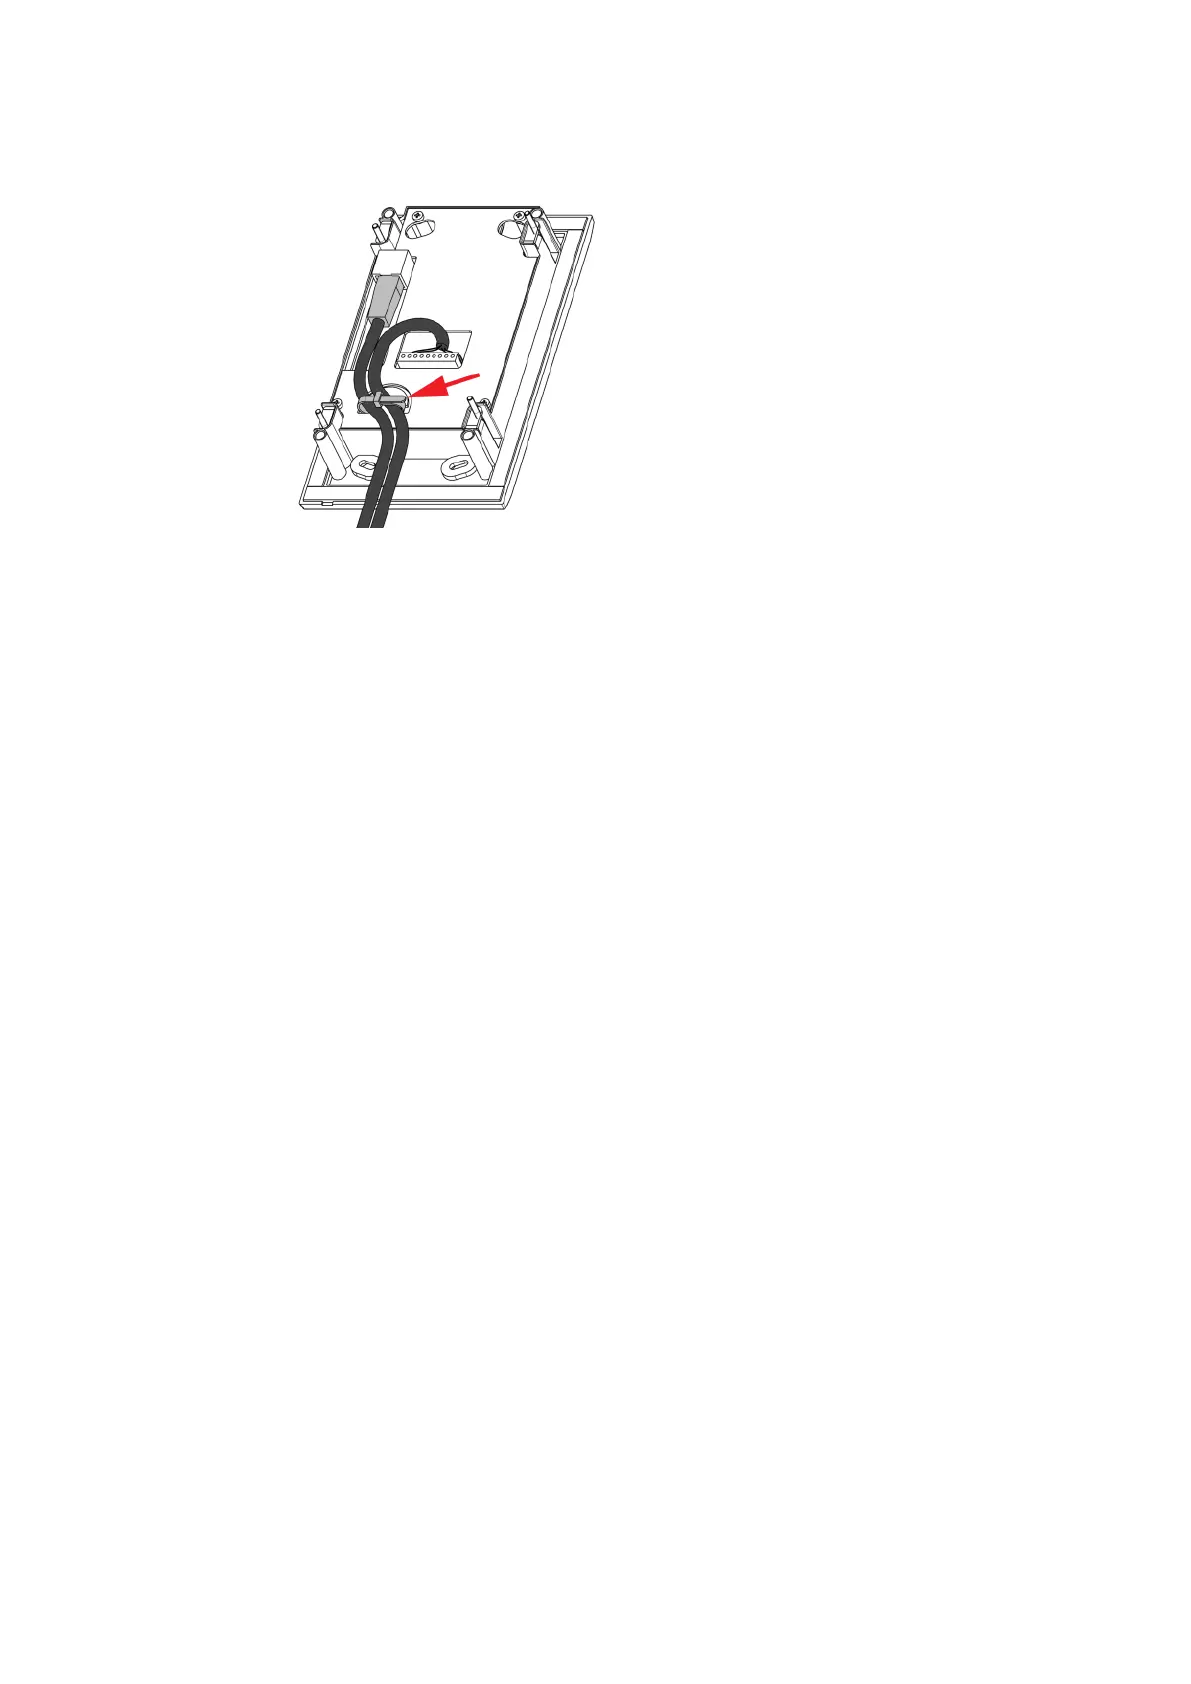
are shown at the following picture.