Installation manual 2N® IP Uni
1.
2.
3.
4.
5.
6.
7.
Cut a hole 100 (W) × 180 (H) mm.
Unscrew the front panel from the door intercom.
Connect the cables in the hole to the terminals or RJ connector as
described in the Electric Connection subsection Mounting
completion – after electric installation!
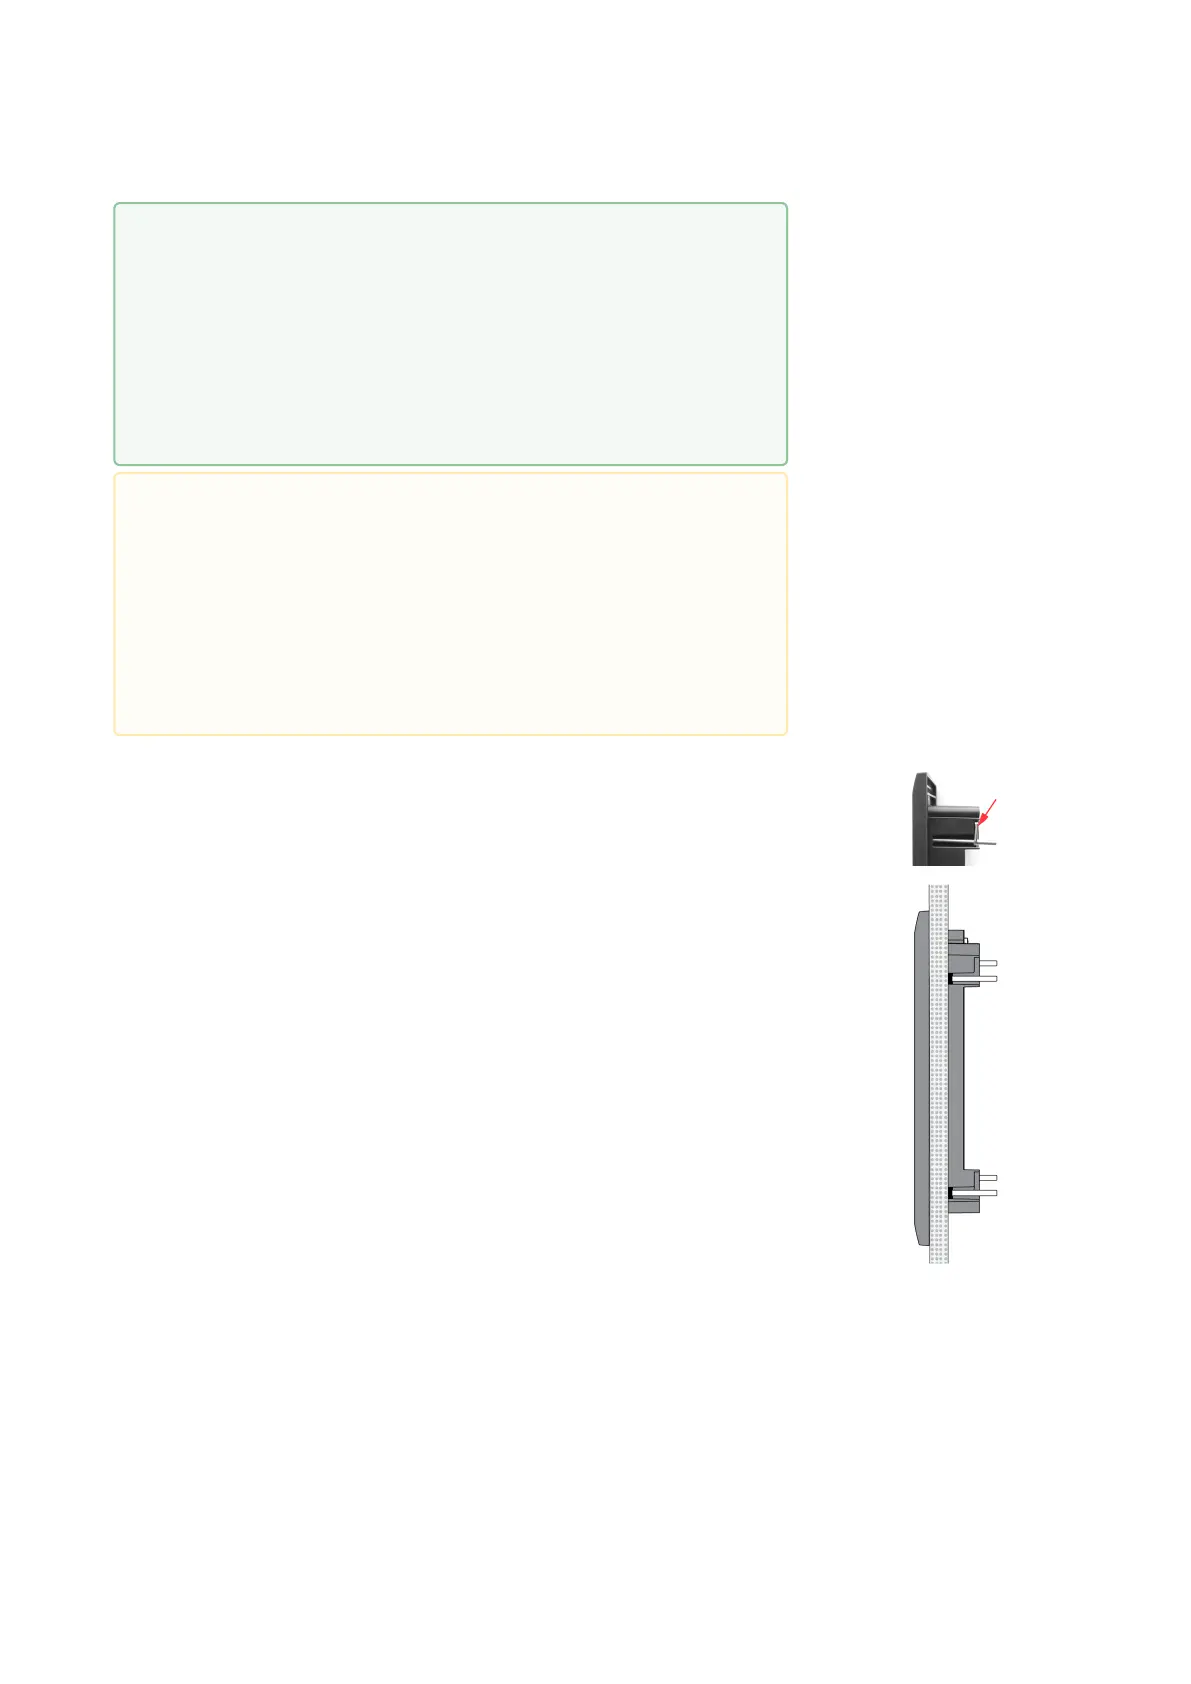
Insert the intercom in the hole keeping it in the vertical position.
Loosen the four clamp screws one after another and then retighten
them slowly. They will turn aside automatically and start moving
forwards in their slots. You need about 10 turns to tighten the
clamps completely. You can perfect the vertical position before final
tightening of the screws.
We do not recommend you to insert the button tags now.
Replace the stainless steel front panel fixing it with the stainless
steel screws you unscrewed in step 2.
Wall Mounting
•
Tip
If this is your first plasterboard installation, check the
function of the intercom side clamps. Loosen and
then re-tighten the clamp screw to see how it turns
automatically and starts moving forwards in its slot.
Remember to return the clamp into the original
position after the check!
•
Caution
Check the plasterboard wall and room interior
pressure values (caused, e.g., by overpressure
ventilation). If the difference between the values is
too great, separate the intercom using, for example,
the mounting box enclosed and seal the cable
passage to avoid loudspeaker damage.