Manually Configuring IP Information 41
Connecting to a Front
Panel Port
To set up your Switch manually you can, alternatively, make a connection
to a front panel port. To do this you will need an IP address, refer to
“Viewing Automatically Configured IP Information” on page 44 for more
information.
The procedure described in this section assumes the unit has been
powered up in standalone mode.
Prerequisites
■ A workstation running a suitable operating system—refer to
“Choosing a Browser” on page 48.
■ A Network Interface Card (NIC).
■ A Category 5 twisted pair Ethernet cable with RJ-45 connectors at
both ends.
■ A suitable Web browser—refer to “Choosing a Browser”on page 48.
■ Existing IP address of the Switch.
■ You need to have the following so that you can manually set up the
Switch with IP information:
■ IP address
■ subnet mask
■ default gateway
■ management VLAN ID, normally set to the default value (1)
Connecting the Workstation to the Switch
1 Connect the workstation to a front panel port using an Ethernet cable as
shown in Figure 14.
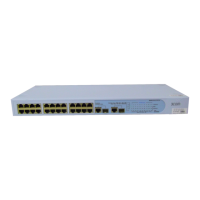
Figure 14 Connecting a Workstation to the Switch using a Front Panel Port
Front Panel
Port Connection
Ethernet Cable
Workstation
(with a Network
Interface Card
installed)
Switch
10014914AA.book Page 41 Friday, July 7, 2006 2:08 PM