Rack-Mounting the Switch 23
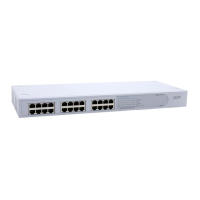
Figure 18 Mount the front bracket to the mount angel of the rack
Mounting the rear
bracket
The Switch 4210 26-Port does not need rear brackets. The description for
mounting rear brackets is only for the Switch 4210 PWR 24-Port.
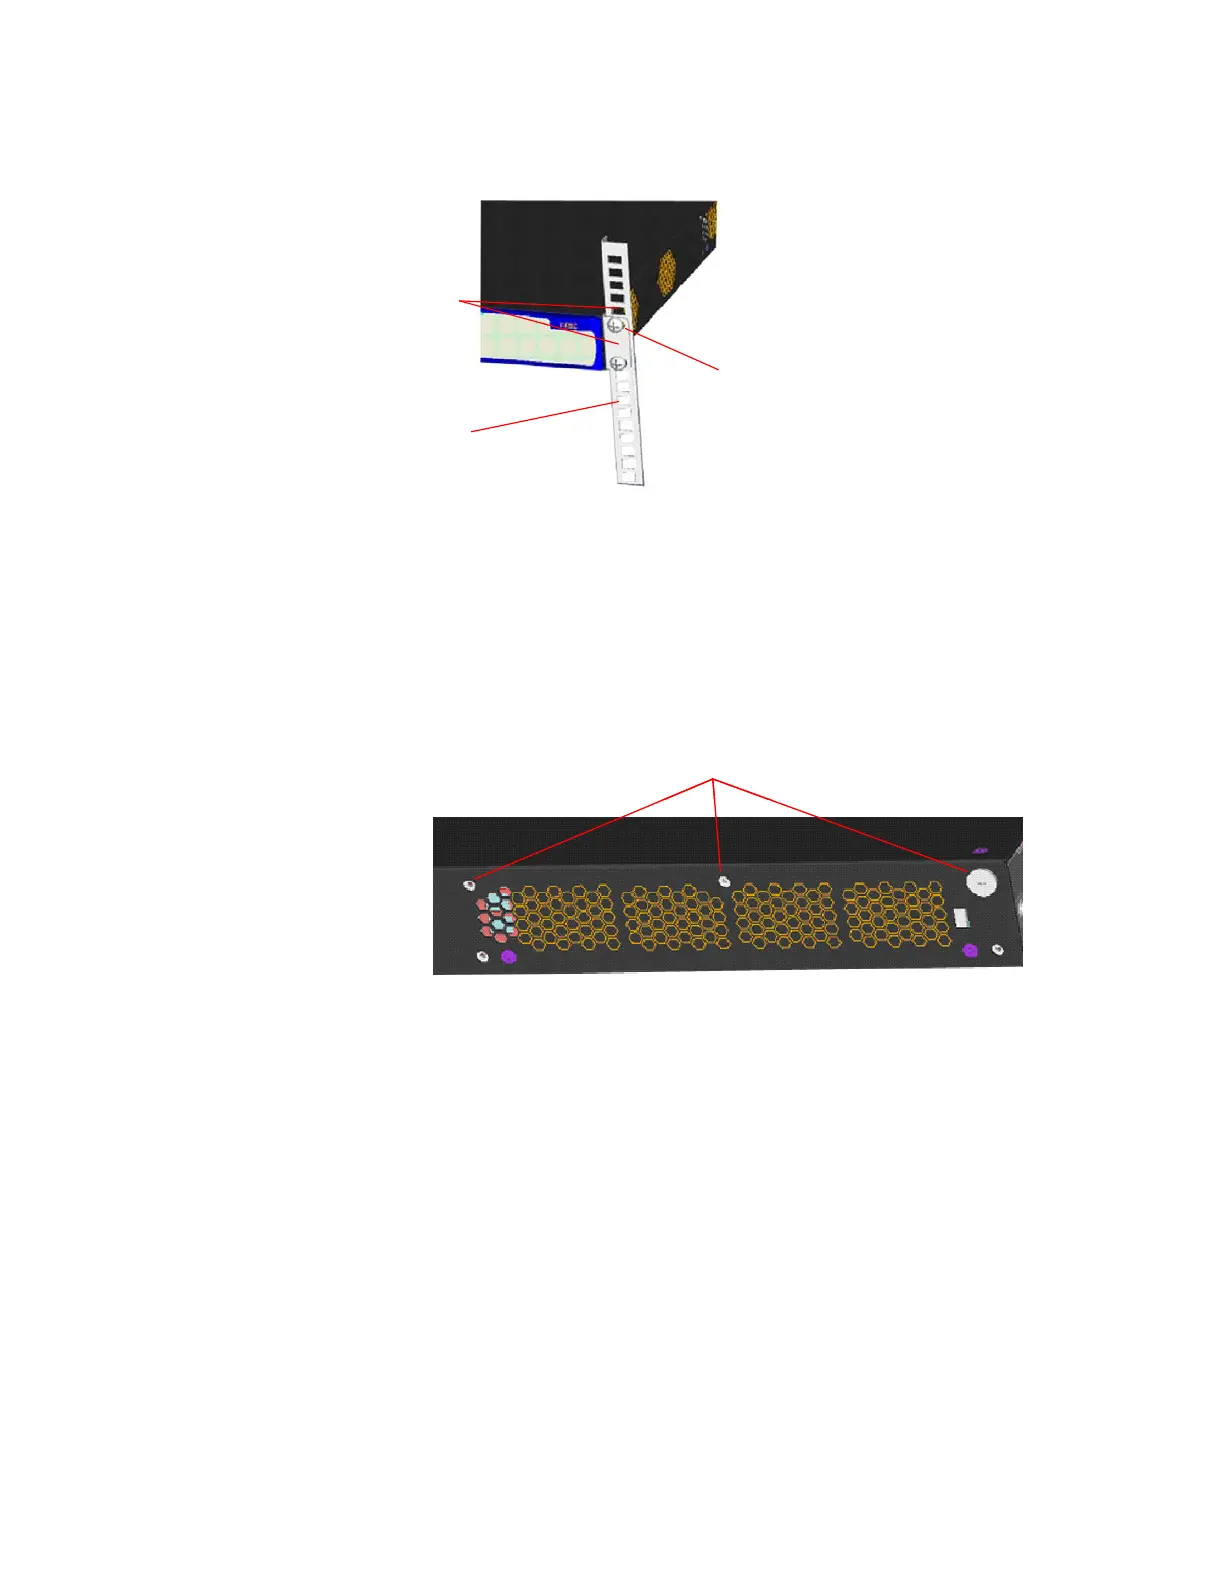
Mount a screw on the back of the switch to closely connect the switch with the
rear bracket to support the switch. There are three positions for screw mounting
as shown in Figure 19.
Figure 19 Positions for screw mounting on the switch
Follow the steps below to mount the rear bracket:
1 Use screws to fix the rear bracket to the rear mount angle.
2 Determine the position for screw mounting on the switch according to the
position of the mount angle.
3 Mount the screw to the switch and make sure the screw and the rear bracket are
closely connected.
Screw
Front mount angle
Front
bracket
Screw
Front mount angle
Front
bracket
Three positions for screw mountingThree positions for screw mounting