ProJet
®
x60 Series User Guide Additional Operations
3dscentral.3dsystems.com 36 All Rights Reserved
5/12/13
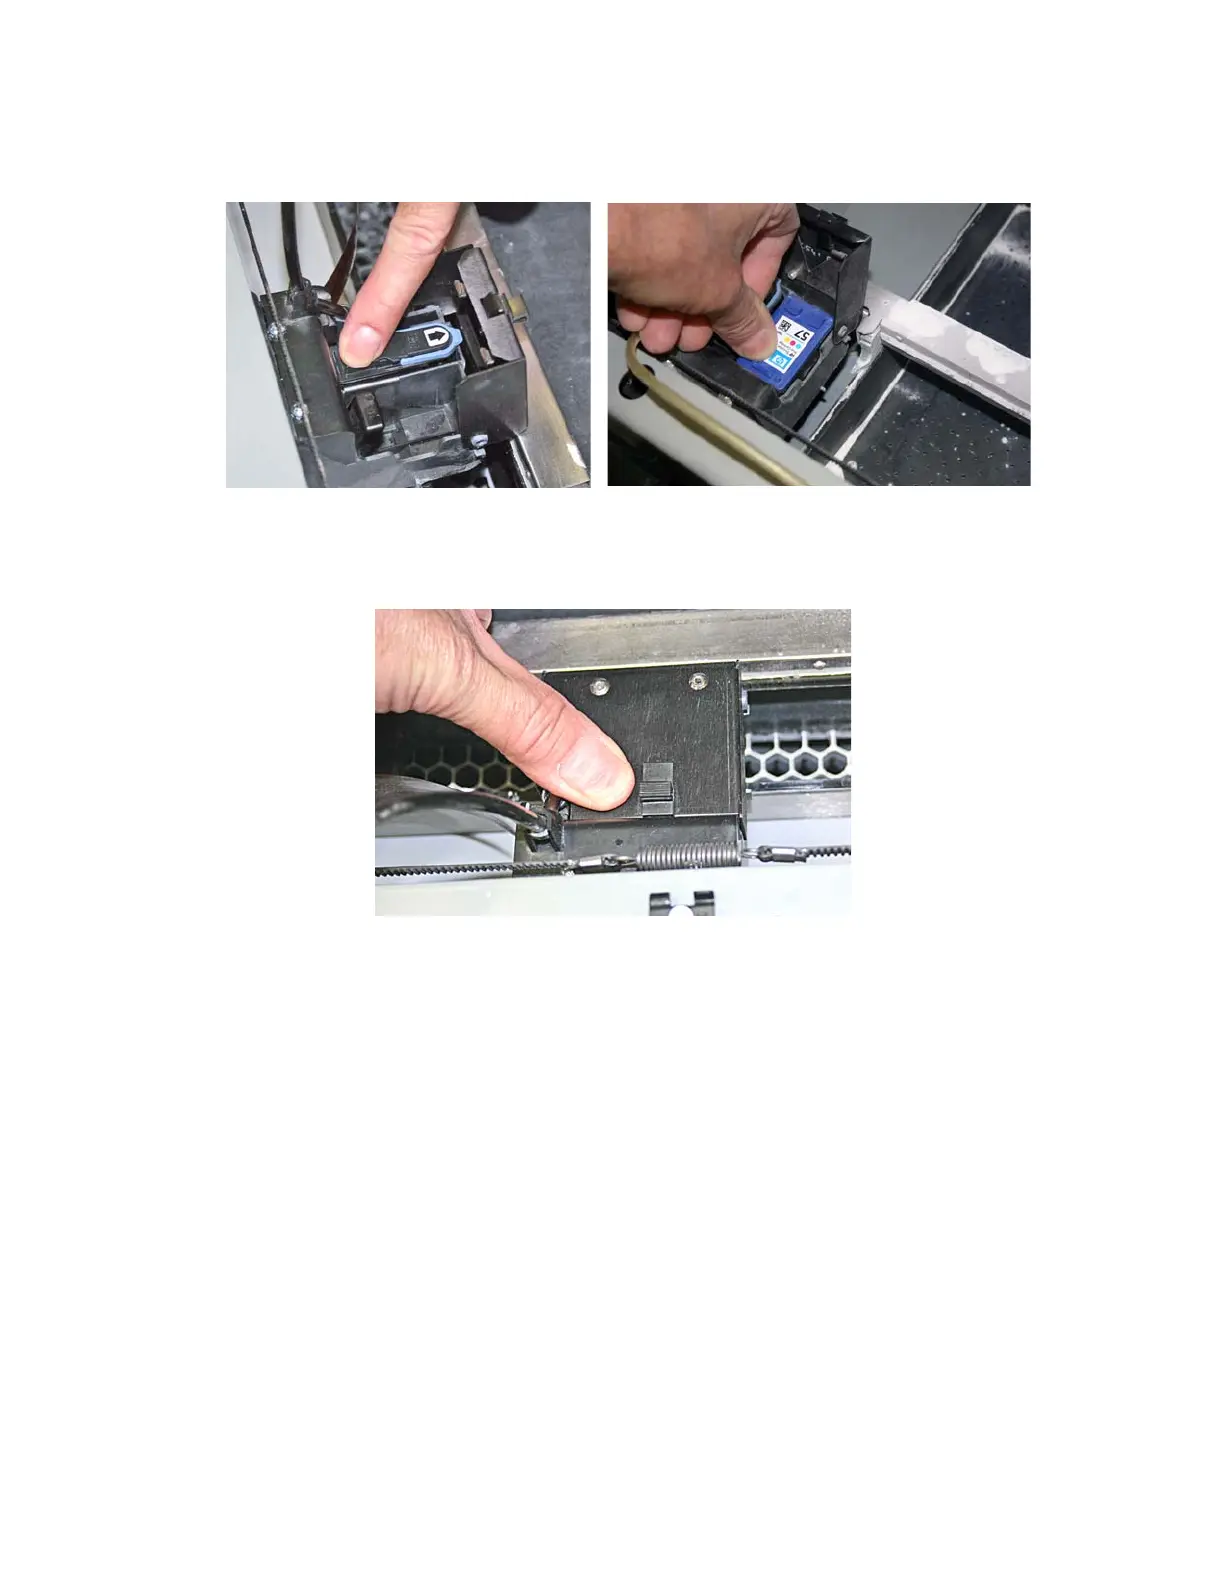
11. Insert the new printhead. Press down firmly on the top of the printhead, at the same side as the pogo
pins, to securely fit the printhead into its slot.
12. On a ProJet 260C, also insert the other printhead that is not being replaced.
13. Close the carriage cover by pressing down until you hear it click shut. Be sure the latch is engaged.
14. Close the printer top cover. Select
CONTINUE on the LCD.
15. The fast axis reparks.
16. If the HP11 printhead was replaced, it will need to be purged of its black ink before printing a part. You
can select
PURGE now, otherwise the printer will perform a purge the next time you start a build.