n Use the Erase tool to remove unwanted portions of your scan. Move the cursor over the area that you want to erase,
and then let go of the mouse button; the unwanted portion will be removed.
n The Solidify tool will make your scan print-ready by filling in all the holes and closing the model to make it solid.
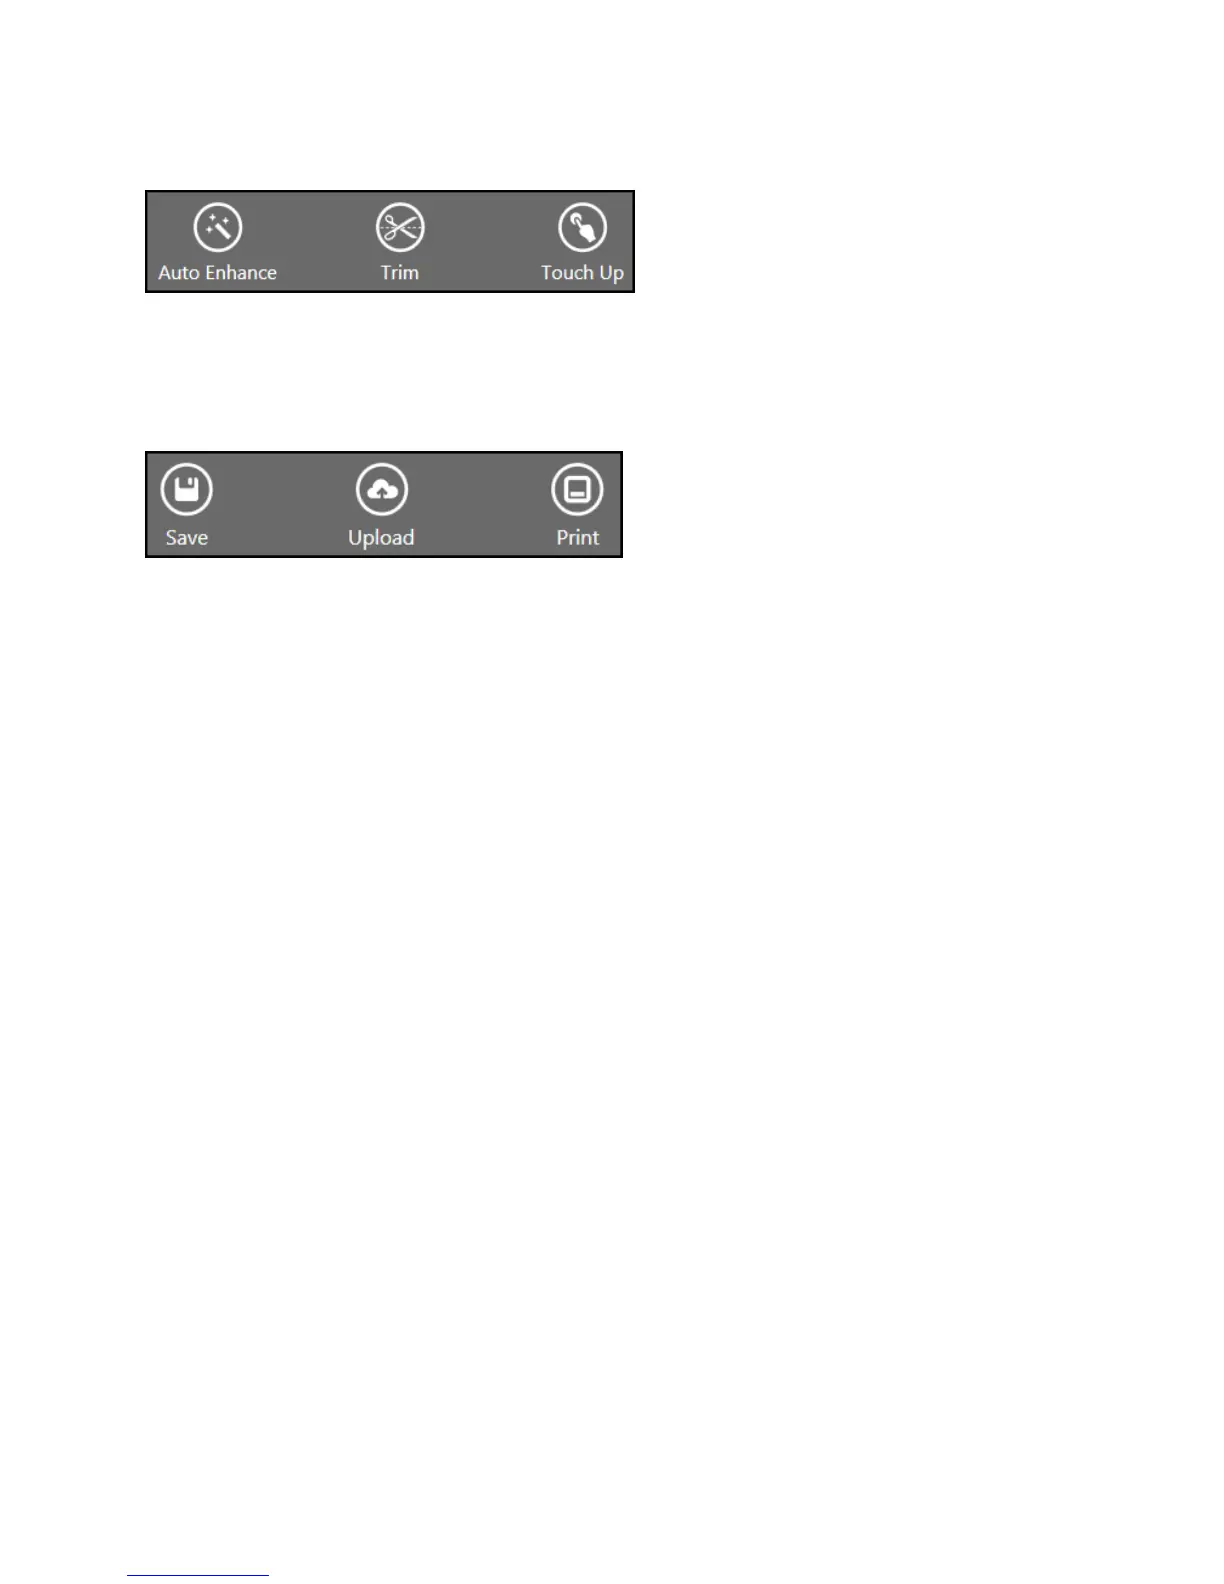
l Enhance tools
n To automatically enhance brightness, contrast, and clarity in your scan, use the Auto Enhance tool.
n To remove unwanted areas, click the Trim tool and drag the cursor over the area you want to slice away. The tool
always removes the smaller of the two pieces and deletes the smaller mass.
n To improve the look of the scan, click the Touch Up tool and drag the cursor over the area you want to improve.
l Share tools
n To save your scan to your computer, click Save. You can save the scan as an stl, ply, or obj file format; the
formats will work in any 3D modeling software. If you have a 3D printer available on your network, you can choose
a printer and open the saved file with the printer’s client software.
n Upload your scan in order to share and cloud print on Cubify.com.
n If you have the Cube software installed, click Print. The software will open automatically. Your scan will show on the
Cube’s automated print pad, enabling you to print directly to your Cube.
11 3D Systems, Inc.