NA - ENG
April 2016
3M-Matic
™
8000a-8000a3
Page 35
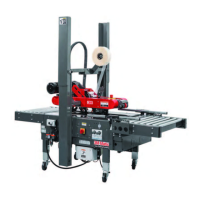
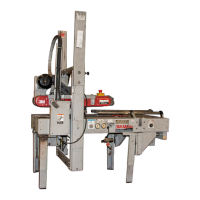
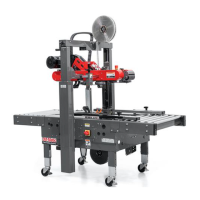
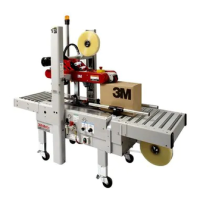
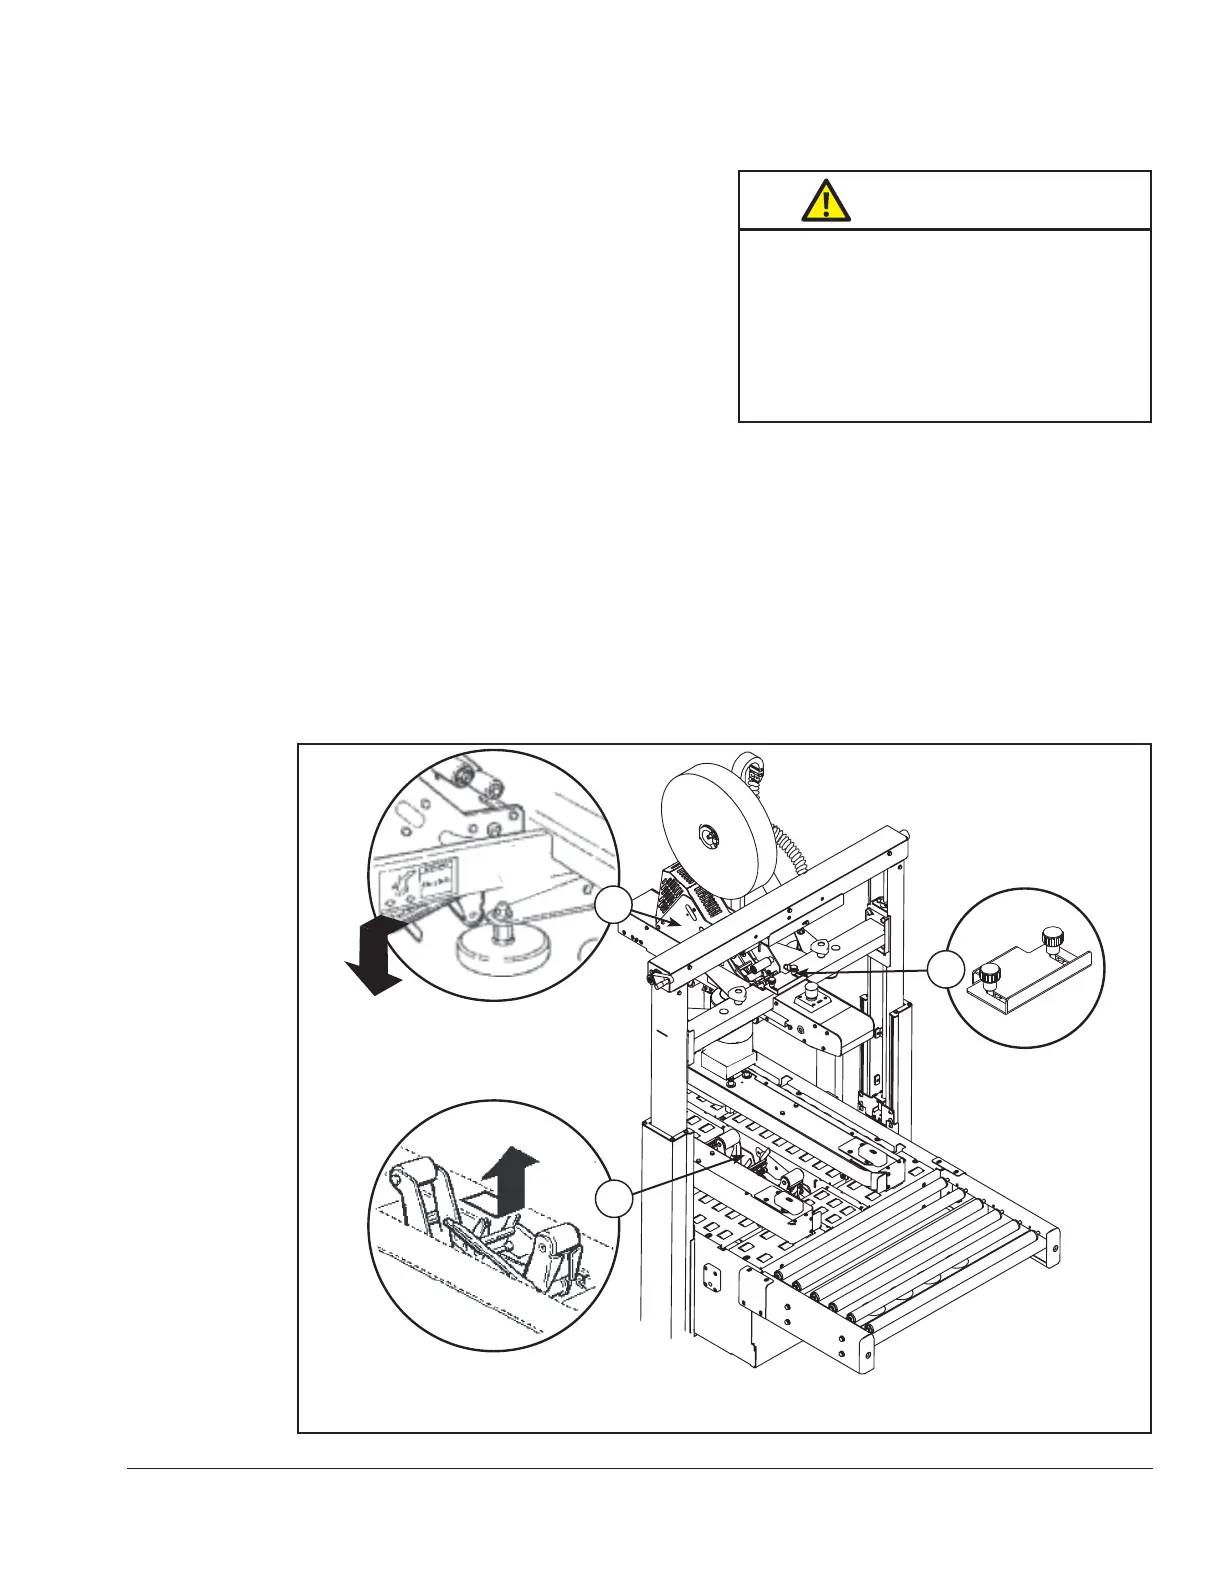
13.11 Taping Heads (Refer to
Figure 13-5A, 13-5B, and 13-5C)
Note – Changing tape leg to
48mm [2 inches] requires
machine adjustment also.
See Manual 2 or 3
“Special Set-Up Procedure
Changing ape Leg Length”.
1. Loosen, but do not remove, the two
retaining screws that secure upper
taping head shown - Figure 13-5A.
2. Hold upper taping head applying
and bu ng arms from under upper
assembly, slide head forward and
down to remove Figure 13-5B.
3. Lift the lower taping head, shown in
Figure 13-5C, straight up to remove
it from the case sealer bed.
4. Refer to Manual 2
(Taping Head)
,
See “Adjustments – Changing Tape
Leg Length” for taping head set-up.
Taping Head Adjustments
Tape Web Alignment – Manual 2
Tape Drum Friction Brake – Manual 2
Applying Mechanism Spring – Manual 2
One Way Tension Roller – Manual 2
Tape Leg Length – Manual 2
Leading Tape Leg Length Adjust – Manual 2
Changing Tape Leg Length from
70 to 48mm [2-3/4 to 2 inches] – Manual 2
13. Maintenance and Repairs (continued)
• To reduce the risk associated with
sharp blade hazards:
- Keep hands and ngers away from
tape cuto blades under orange blade
guards. The blades are extremely
sharp.
WARNING
Figure 13-5 Removing Taping Heads From Case Sealer
A
C
B

 Loading...