Vers. (11/02)
Pentamix
TM
2
18
Pentamix
TM
2
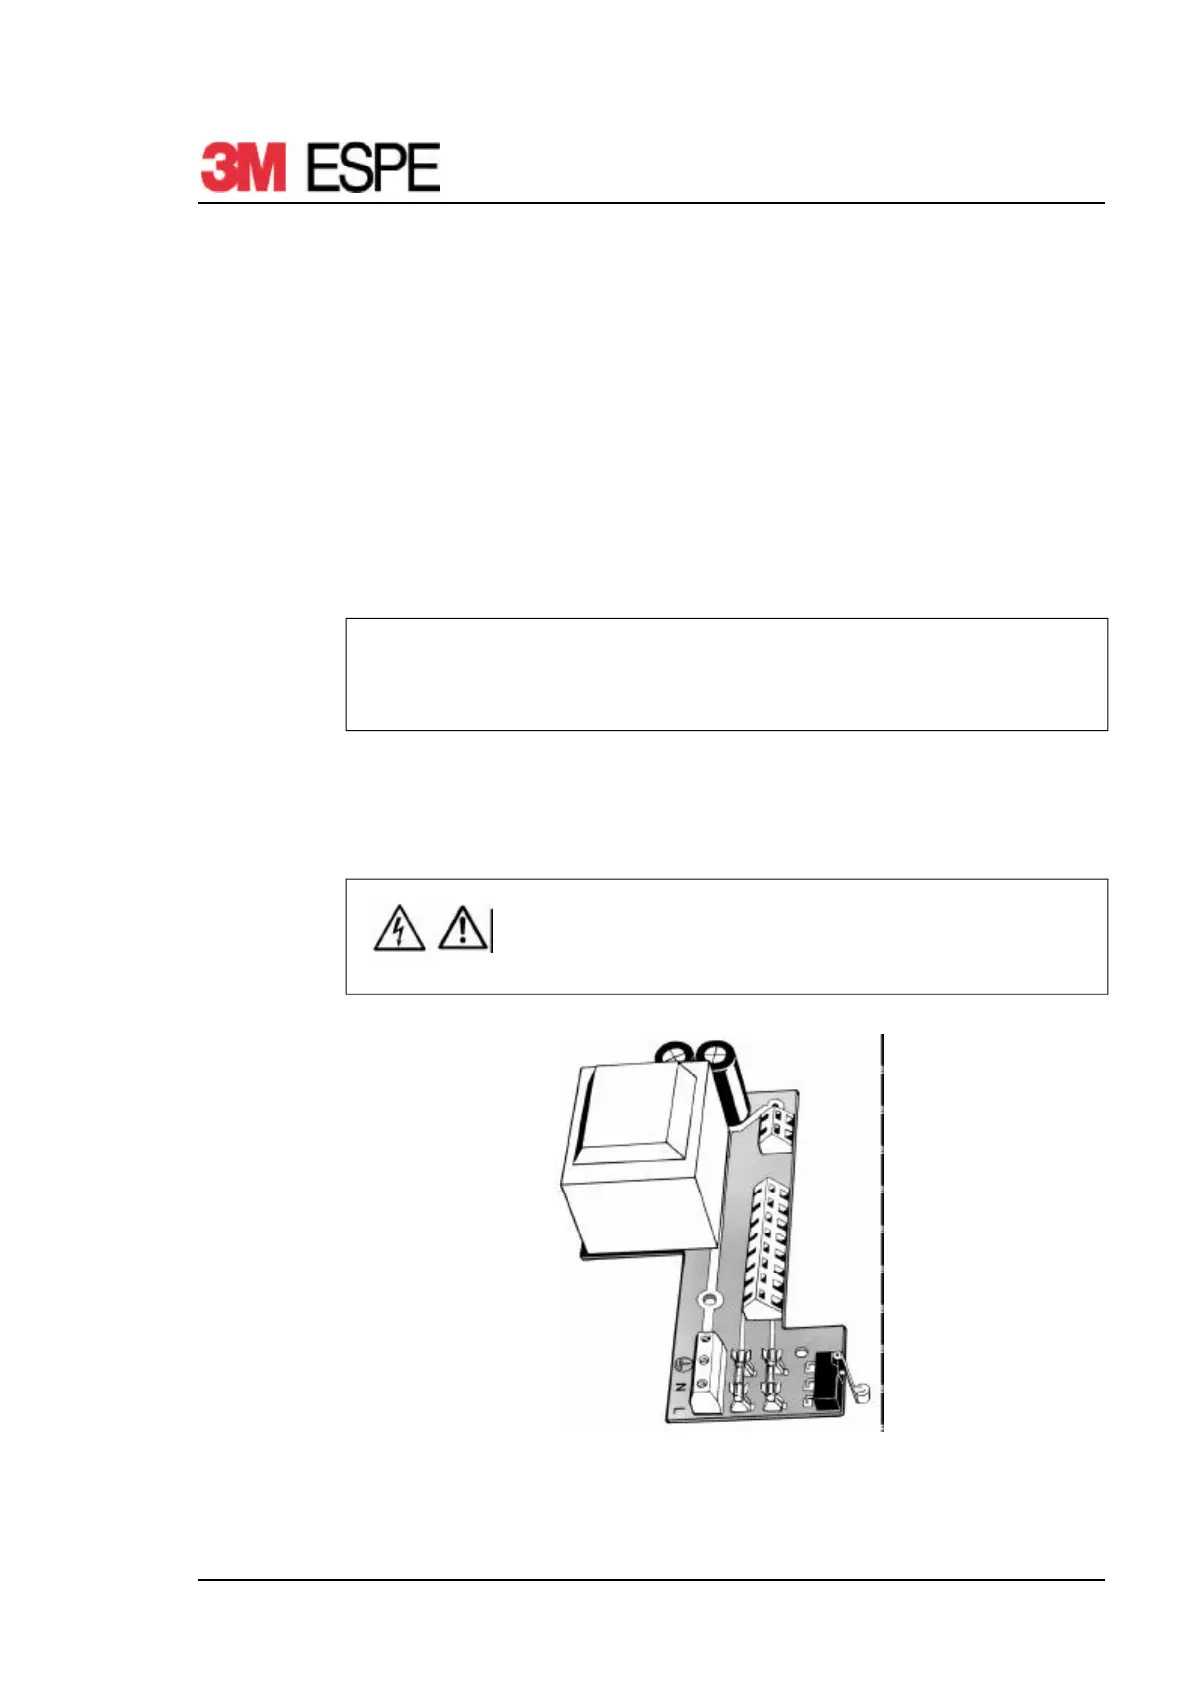
5.17 PC-Board
Changing PC-board
1. Remove plunger discs - see section 5.2
2. Remove case base - see section 5.3
3. Remove both side covers - see section 5.4
4. Remove case bottom section - see section 5.5
5. Remove mixer shaft - see section 5.6
6. Remove case top section - see section 5.7
7. Remove feed motor - see section 5.16
8. Release all PC-board connection wires
9. Remove recessed-head screws for fixing PC-board
10. Remove PC-board
NOTE
PC-board connections are marked accordingly.
Also see section 7.1 Circuit Diagram
11. Install new PC-board in reverse order
12. Check shut-off point - see section 5.19
13. Assembling - see section 5.20
14. Functional test - see section 6
CAUTION
Check for correct wiring
Secure cables again using cable ties
Fig. 4 PC-board