Page 35
8.1. Setting the Synchronisation Source
Each EtherSpaceLink unit waits to synchronise with a time reference unit and the chain must include ONE
reference unit which provides the time for all of the others. Any EtherSpaceLink unit may be used as the time
reference and must be set as such by using the switch on the front panel.
Pushing the front panel switch up and down (or down and up) followed by up produces a synchronisation status
screen (See section 6.1, “IP address”). Settings that can then be selected by pushing the switch down are:
Synchronise to an external time reference, when available (default);
Isolated - times are local, even if a reference is available;
Act as a time reference for other EtherSpaceLink units.
When a number of EtherSpaceLink units are synchronised together, one of them must be set to be the time
reference, and all of the others can be left at their default setting to cause them to synchronise their timetags to
that unit.
Notice that if the power to a unit is cycled (or if its memory card is unplugged and then reinserted), and it was the
time reference for a chain of EtherSpaceLink units, then this capacity must be set again on the unit’s front panel.
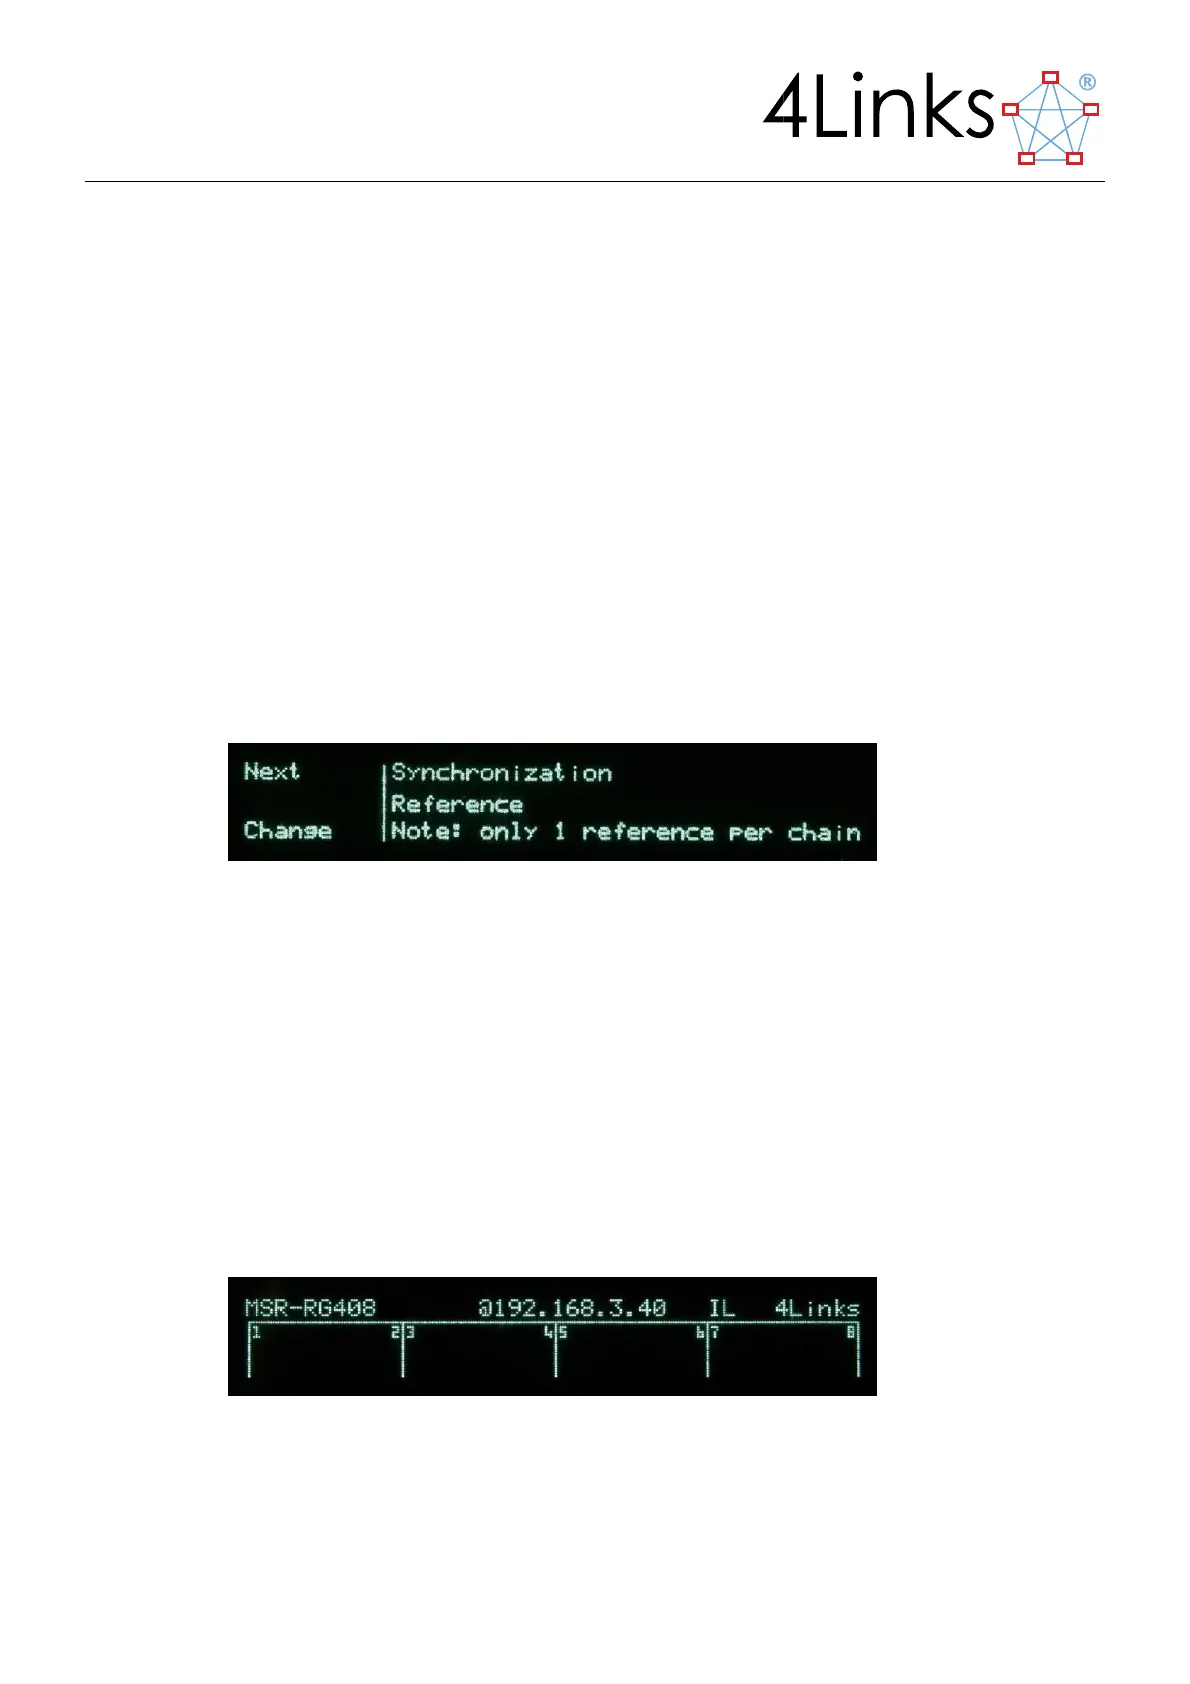
Figure 8.2: Time synchronisation display
Synchronisation status is shown on the normal status display immediately before the Ethernet status character.
“ ” (i.e. no visible character) indicates that the unit is waiting to synchronise.
“P” indicates that the unit is in the process of synchronising to the time reference.
“S” indicates that the unit is synchronised. In this state, the auxiliary status screen that can be viewed by
pushing the switch up (or down) indicates what this unit is synchronised to (e.g. “Synchronised to
192.168.3.96”).
“I” indicates that the unit is isolated and therefore that time-tags are independent of any reference. “/”
A rotating “clock” indicates that this unit is acting as the time reference.