12-1. (A) Diagnosis using the computer Board
<Function>
This function offers a method for checking the information in the water heater’s troubleshooting
operations without using the remote controller (TM-RE30).
<Using this function>
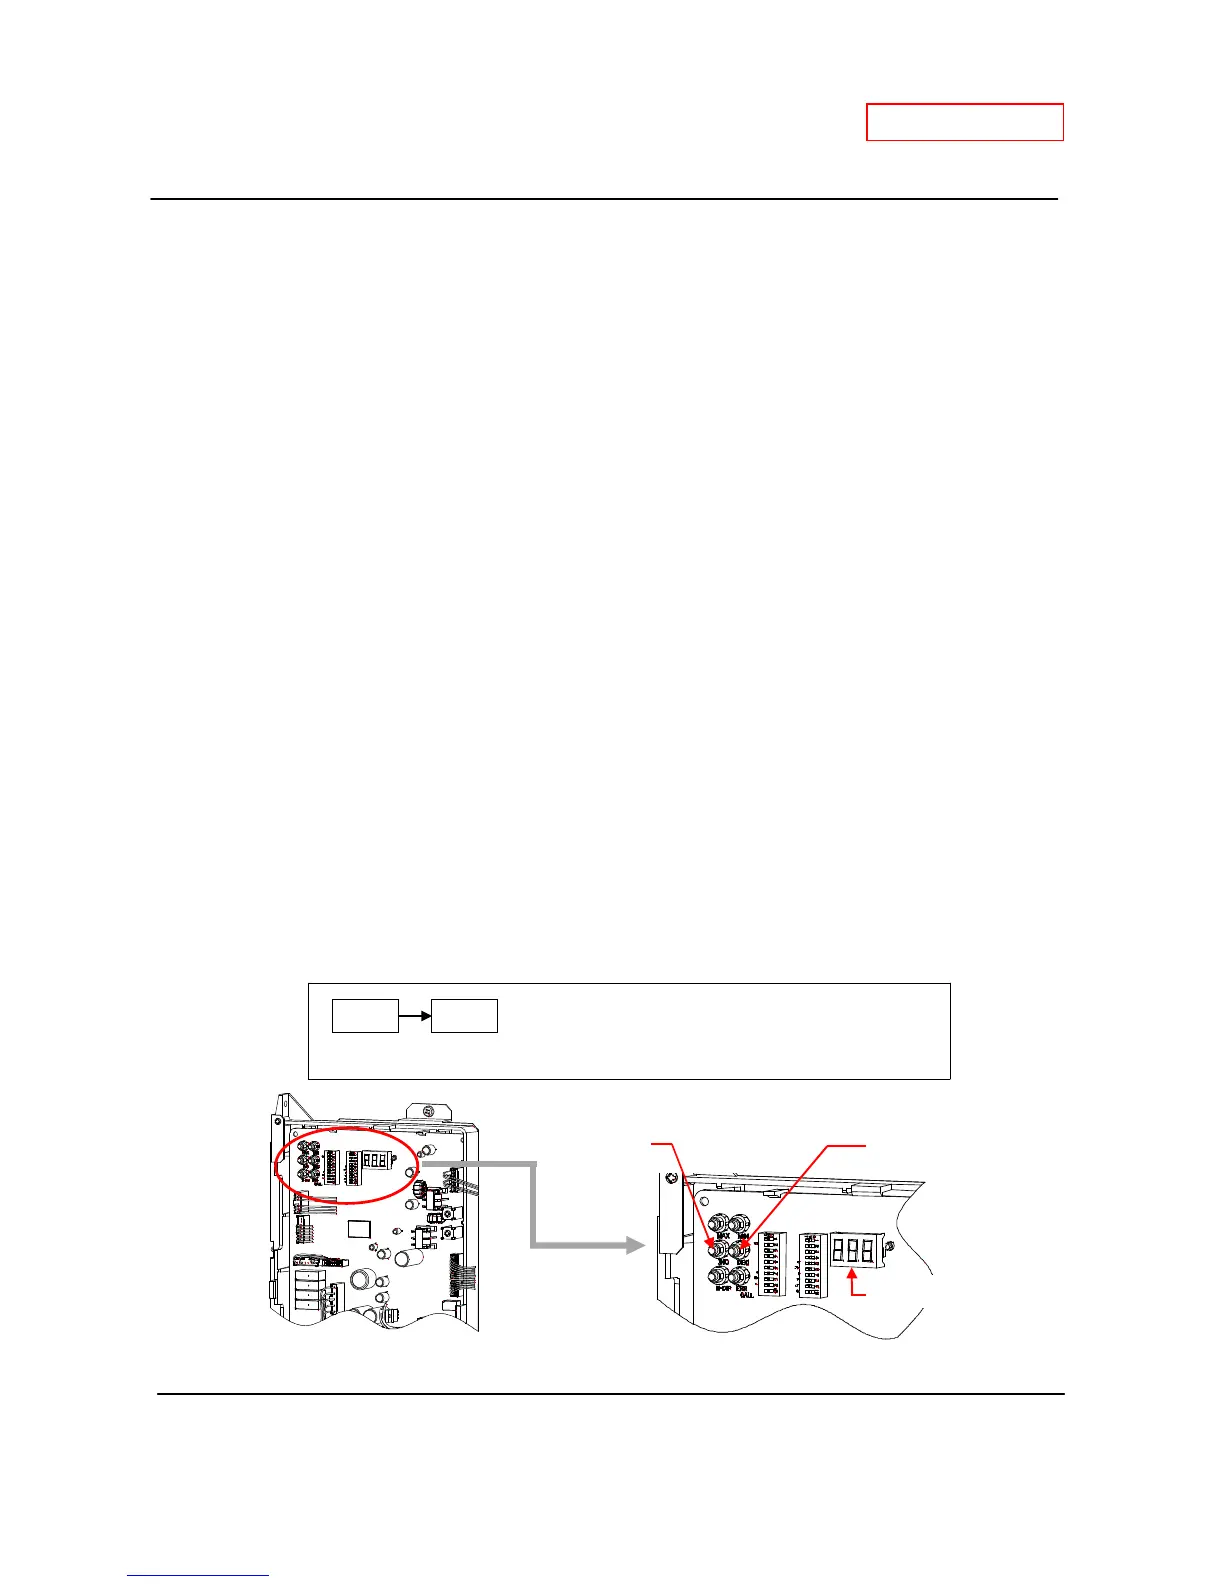
1. While in Standby mode (cannot be in combustion, forced-combustion, or FM adjustment modes),
press and hold the "Increase" button on the computer board for at least 5 seconds or longer to enter
the “Diagnostics Mode”.
2. Scroll through the needed information (mode #) by pressing the "Increase" or "Decrease" buttons to
scroll up or down on the “3-digit 7-Seg LED”. (Mode # in Fig.1)
When selecting information, please refer to the table on p.59 and p.61 for the proper mode #.
In the tables on p.58 to p.60 say the followings;
・d1 to d18 (p.59 to p.60) : Unit information of Individual T-H2-DV or T-H2-OS
・h1 to h15 (p.61) : Information of whole Easy-Link system
NOTE: The “h1” to “h15” can be selected only in parent unit. (Refer to p.61)
・p1 to p3 (p.61) : Pump mode information
3. Once desired mode # is displayed, press the "Number display" button to select the mode. The
information for that mode will be displayed on the “3-digit 7-Seg LED”. (Information in Fig.1)
4. When the “Increase” button is pressed for at least 3 seconds or 30 minutes have elapsed without
pressing any buttons, the display will return to normal.
For example, mode #d7 will display the value
of the electrical current of the AFR rod.
Layout of the buttons on the computer board
“Decrease” button
3-digit 7-Seg LED
“Increase” button
Mode #
 Loading...