Do you have a question about the AAON MUA II and is the answer not in the manual?
Lists key features of the MUA II Controller, including cooling/heating stages, modulating heat, and scheduling.
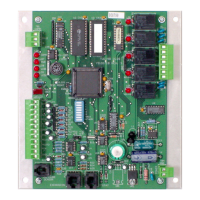
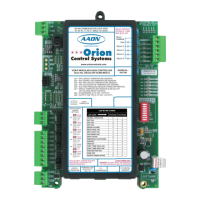
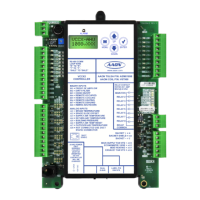
Introduces inputs and outputs available on the MUA II controller and expansion boards.
Details wiring for space/supply temp, occupied contact, outdoor air, and fan proof sensors.
Describes relay outputs and the controller's analog output.
Emphasizes the importance of correct wiring for successful installation.
Provides guidelines for mounting the controller in a suitable environment.
Lists crucial wiring practices to prevent damage and ensure proper function.
Details how to set jumpers on expansion boards for correct operation.
Explains 24 VAC power requirements and polarity for expansion boards.
Details wiring for a space temperature sensor used for Supply Air Setpoint reset.
Explains how to wire the Supply Air Temperature sensor, including cautions.
Provides wiring instructions for the Outdoor Air Temperature sensor and mounting recommendations.
Details wiring for a remote occupied contact closure from another system.
Explains wiring for the Outside Air Humidity sensor, including resistor and pull-up resistor removal.
Details wiring for a Space Humidity sensor or Fan Proof Of Flow Switch.
Explains wiring for the Fan Proof Of Flow Switch as an alternative to a humidity sensor.
Describes how to set unique addresses for controllers on a communication loop.
Details power requirements and wiring considerations for the controller and expansion boards.
Outlines the expected system behavior upon initial power-up, including delays and LEDs.
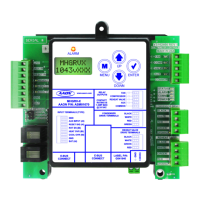
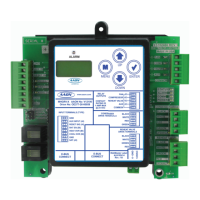
Guides the user through programming the controller using operator interfaces or PC software.
Provides a general explanation of the MUA controller's function in HVAC units.
Explains the different operational modes like Unoccupied, Cooling, Vent, and Dehumidification.
Details the conditions and logic for the Dehumidification mode.
Explains the conditions and logic for the Vent mode of operation.
Describes the methods used for reheat control during dehumidification.
Details the conditions and logic for the Heat mode of operation.
Explains the feature for controlling external hot water valves or SCR controllers.
Describes the mode that protects the unit when SAT is outside defined limits.
Covers options like Fan Proof Switch, Broadcast, and relay configuration.
Details the controller's internal clock, 7-day schedule, and holiday scheduling.
Explains self-diagnostics, alarm reporting via LEDs, and communication methods.
Describes how to override relay and analog outputs using service tools.
Explains the controller's internal trend log for recording system values.
Details how to use the controller's LEDs (COMM, PWR, LED2) for diagnostics.
Explains how LED2 blinks to indicate address switch settings and diagnostic codes.
Provides tables for checking thermistor sensor resistance and voltage.
Provides a table for checking OE265 humidity sensors' voltage output.
The AAON MUA II Controller is a sophisticated device designed for managing Makeup Air HVAC units, providing fresh air of neutral temperature and humidity into buildings. This technical guide details its features, installation, wiring, operation, and troubleshooting.
The MUA II Controller Board is engineered to control HVAC units, offering capabilities for heating, cooling, and dehumidification. It manages these functions based on outdoor air temperature and dewpoint temperature setpoints. The controller can operate in six distinct modes: one unoccupied mode and five occupied modes (Cooling, Vent, Dehumidification, Heating, and Temperature Protect Mode).
In Unoccupied Mode, the controller shuts off cooling, heating, and the blower.
In Occupied Mode, the unit can operate in:
The controller also supports Reheat Control during dehumidification, utilizing Unit Hot Gas Reheat (ON/OFF or Modulating) and/or Dehumidification Heat (unit heating source) to maintain the desired supply air temperature.
Inputs and Outputs:
Expansion Capabilities:
Power Requirements:
Communication:
Sensors:
Dimensions:
Controller Addressing:
Scheduling:
Configuration and Setup:
Force Modes or Overrides:
Troubleshooting with LEDs:
Alarm Detection and Reporting:
Internal Trend Logging:
Sensor Checks:
Wiring Considerations:
| Brand | AAON |
|---|---|
| Model | MUA II |
| Category | Controller |
| Language | English |