64 OI/266/HART-EN Rev. D | 2600T Series Pressure transmitters
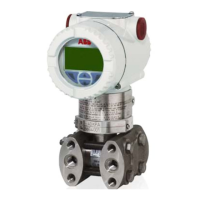
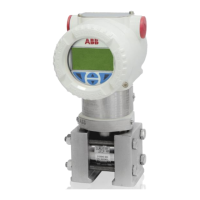
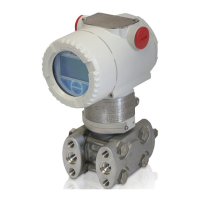
266 Models - HART
Removing/Installing the process flanges
– Slacken the process flange screws by working on each in a crosswise manner (hexagon head, SW 17 mm (0.67 inch) for
266DS/266PS/266VS or SW 13 mm (0.51 inch) for 266MS/266RS).
– Carefully remove the process flange, making sure that the isolating diaphragms are not damaged in the process.
– Use a soft brush and a suitable solvent to clean the isolating diaphragms and - if necessary - the process flange.
– Insert the new process flange O-rings in the process flange.
– Attach the process flange to the measuring cell.
The surfaces of both process flanges must be at the same level and at a right angle to the electronics housing (with the exception
of vertical process flanges).
– Check that the process flange screw thread can move freely: Manually turn the nut until it reaches the screw head. If this is not
possible, use new screws and nuts.
– Lubricate the screw thread and seats of the screw connection.
– While performing the preliminary and final tightening of the bolts, please act in a crosswise manner.
Attention – Potential damage to parts
Do not use sharp or pointed tools.
– Respect the below table indications for reinstalling the process flanges.
Transmitter model and range Procedure
266DSH / PSH / VSH
Viton Gaskets All bolting Use a torque wrench to tighten the bolts to a torque of 25 Nm.
PTFE Gaskets
Carbon Steel NACE
and Stainless Steel
Use a torque wrench to tighten the process flange nuts to a torque of 40 Nm, let the flange
stabilize for an hour, unscrew the nuts and tighten again to 25 Nm.
Stainless Steel
NACE
Use a torque wrench to tighten the process flange nuts to a torque of 25 Nm, let the flange
stabilize for an hour and perform the final tightening to 25 Nm.
266DSH.x.H
(High static option)
Viton Gaskets All bolting Use a torque wrench to tighten the bolts to a torque of 31 Nm.
PTFE Gaskets All bolting Use a torque wrench to tighten the process flange nuts to a torque of 40 Nm, let the flange
stabilize for an hour, unscrew the nuts and tighten again to 31 Nm.
266DSH range A
(1KPa) All gaskets All bolting
Use a torque wrench to tighten the process flange screws/nuts to a torque of 14 Nm. Please be
aware that in case of bottom work disassembly and reassembly the original performances can not
be guarantee anymore.
266DSH / 266PSH
with Kynar inserts
All gaskets All bolting Use a torque wrench to tighten the process flange screws/nuts to a torque of 15 Nm
266MSx / 266RSx All gaskets All bolting
First, use a torque wrench to tighten the process flange screws/nuts to a joining torque of
- MJ = 2 Nm (0.2 kpm), working in a crosswise manner.
- Then tighten them with a torque MJ = 10 Nm (1.0 kpm), working in a crosswise manner
- Then tighten them fully by turning each nut or screw again (in a crosswise manner) by the
tightening angle A = 180°, working in two stages of 90° each.
Some transmitter versions are using screws with size M10. If this screws are used the tightening
angle A = 270°, working in three stages of 90° each.
Important
In the case of oil and grease-free designs, clean the measuring chambers again if necessary once the process flange has been installed.

 Loading...