ACS/ACC/ACP 601 Frequency Converters 2-1
Chapter 2 – Mechanical Installation
See
Appendix A – Technical Data
for allowed operation conditions of
the ACx 601.
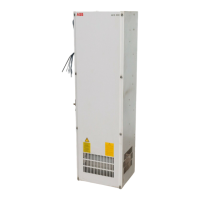
The ACx 601 should be installed in an upright position with the cooling
section facing a wall. The wall should be as close to vertical as
possible, of non-flammable material and strong engough to carry the
weight of the unit. The floor/material below the installation should be
non-flammable.
Sufficient room around the ACx 601 is required to enable cooling air
flow, service and maintenance.
Installation Procedure
1. Check the intended installation site for sufficient room and that there
is nothing on the wall to inhibit installation. See
Appendix B –
Dimensional Drawings
for frame details and screw sizes.
2. Mark the locations for the four holes.
3. Fix the screws to the marked locations.
4. Position the ACx 601 onto the screws on the wall.
Note:
lift ACx 601 by its chassis and not by its cover. (Frame R7 is fitted
with lifting lugs to allow the use of a proper lifting device.)
5. Tighten the screws in the wall securely.
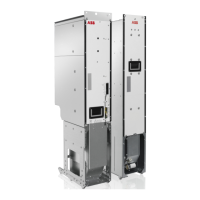
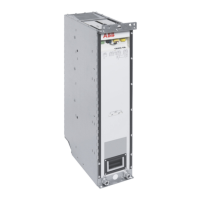
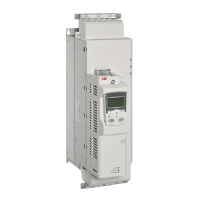
Figure 2-1 Installing the ACx 601 on a wall.
Air flow
or
(R7)