10 EN – USA Quick installation guide
9. Measure that the installation is de-energized.
• Use a multimeter with an impedance of at least 1 Mohm.
• Make sure that the voltage between the drive module input power terminals
(L1/U1, L2/V1, L3/W1) and the grounding (PE) busbar is close to 0 V.
• Make sure that the voltage between the drive module UDC+ and UDC- terminals
and the grounding (PE) busbar is close to 0 V.
10. Install temporary grounding as required by the local regulations.
11. Ask for a permit to work from the person in control of the electrical installation work.
Select the power cables
Size the power cables according to local regulations to carry the nominal current given on
the type designation label of your drive.
Ensure the cooling and fuses (UL)
See the table below for the losses and cooling air flow through the drive. The allowed
operating temperature range of the drive without derating is -15 to +40 °C.
For more information, see the hardware manual 3AXD50000048677 (English).
Protect the drive and input power cables
See the table above for the UL class fuses for branch circuit protection per NEC. Check
that the operating time of the fuse is below 0.1 seconds. Obey local regulations.
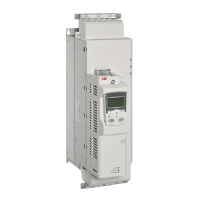
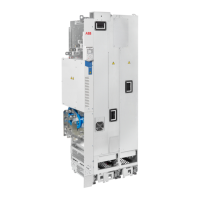
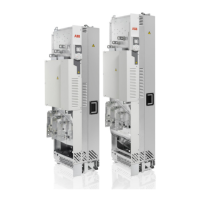
Install the drive module into a cabinet
See figure B on page 95:
• Install the punched section to the back of the cabinet frame.
• Remove the pedestal guide plate from the bottom of the drive module.
• Install the support rails and pedestal guide plate to the cabinet bottom frame.
• Install the telescopic insertion ramp to the pedestal guide plate.
For option +B051: See figure C on page 95:
• Remove the sheeting from the clear plastic shrouds from both sides.
Drive type Air flow Heat dissipation UL class Fuse
ft
3
/min W Type
ACS580-505A-4 707 5602 T JJS-600
ACS580-585A-4 707 6409 L A4BY800
ACS580-650A-4 707 8122 L A4BY800
ACS580-725A-4 707 8764 L A4BY800
ACS580-820A-4 707 9862 L A4BY900
ACS580-880A-4 848 10578 L A4BY1000
 Loading...