8
7
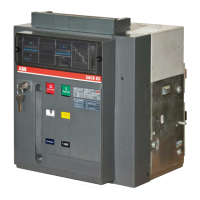
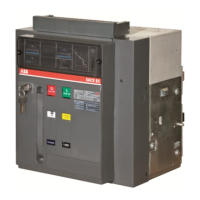
Figura esemplificativa, per immagini reali vedere fig.9
Indicative figure. Consult fig.9 for the real images
Als Beispiel gedachte Abbildung, für echte Bilder siehe Abb.9
Figure d'exemple, pour les images réelle voir le fig.9
Figura ejemplificativa, para las imágenes reales véanse la fig.9
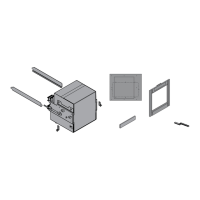
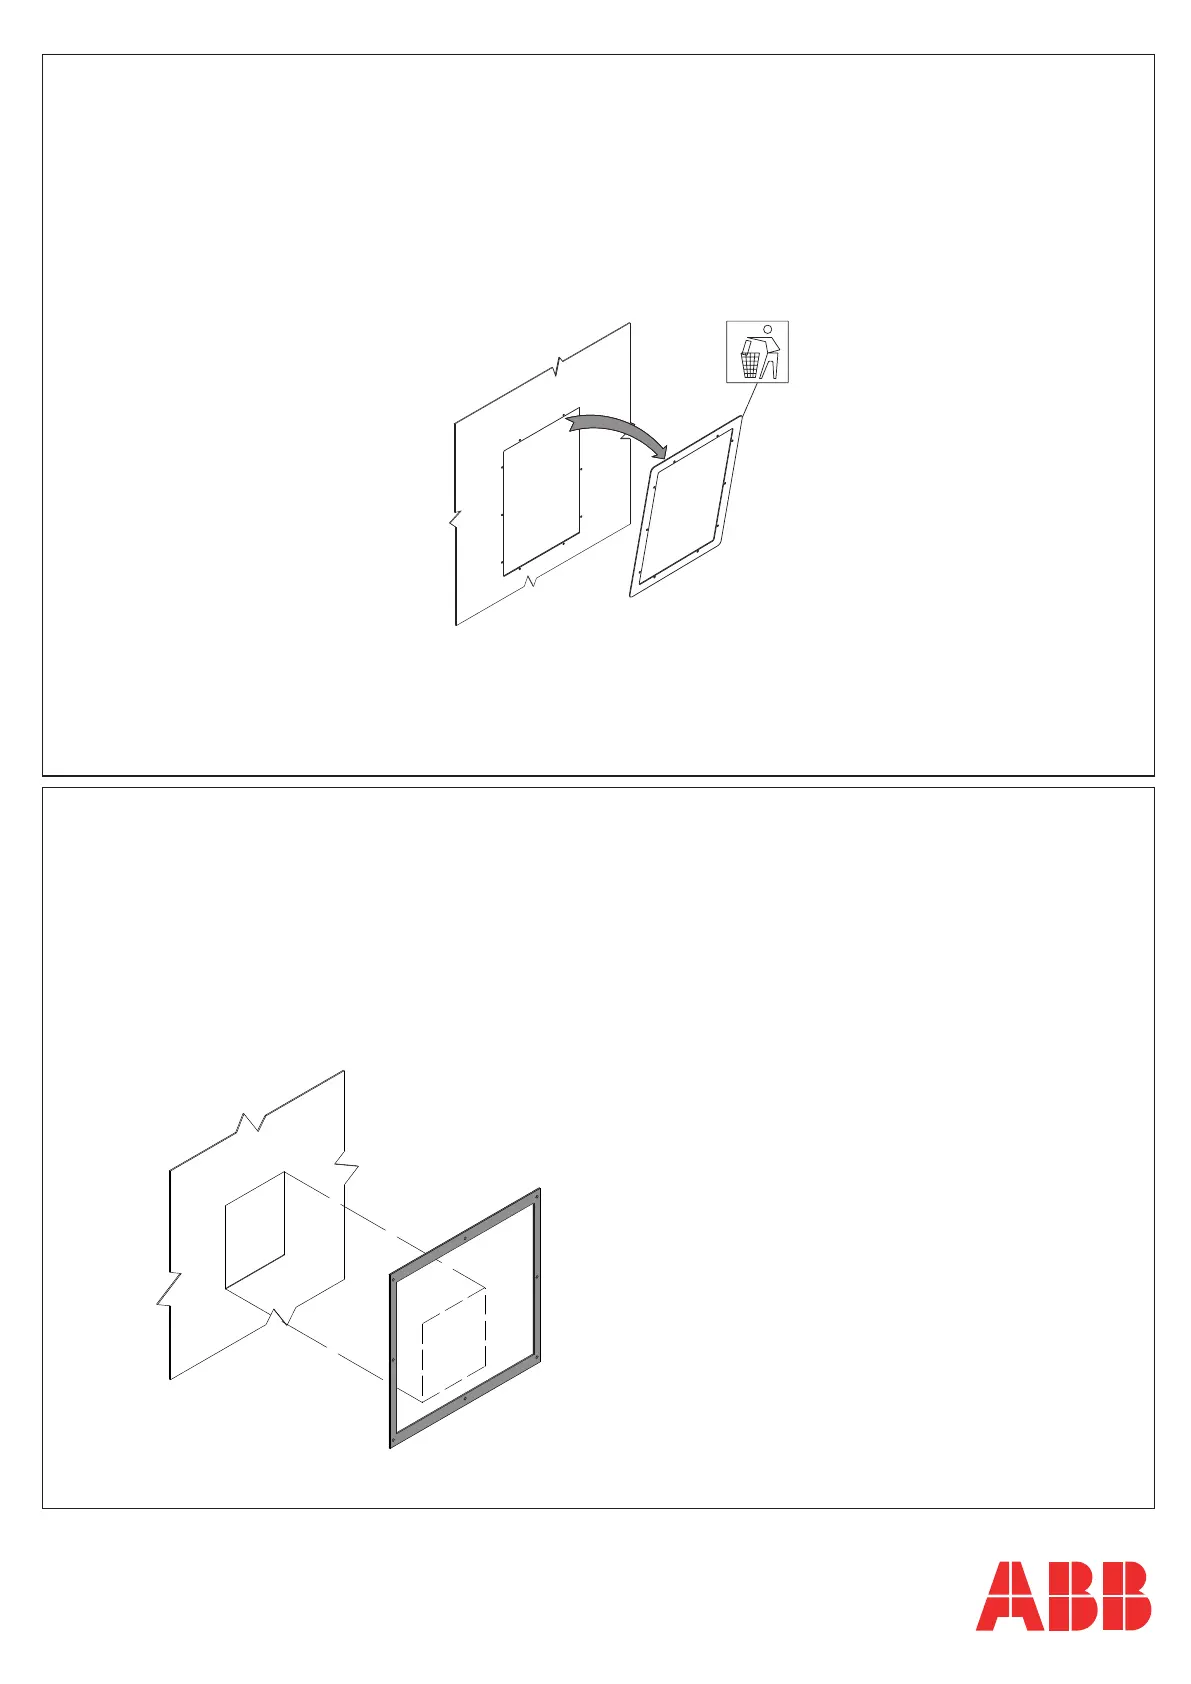
- Per una maggiore semplicità dell’operazione di foratura portella quadro si allega al kit una dima adesiva da attaccare secondo la figura seguente.
- To make it easier to make the hole in the switchboard door, the kit comes complete with an adhesive template for attaching as shown in the figure below.
- Zur Erleichterung der Arbeiten zum Realisieren der Bohrungen und des Ausschnitts enthält der Bausatz eine Schablone, die nach der nachstehenden
Abbildung anzubringen ist.
- Pour simplifier encore plus l'opération de perçage de la porte du tableau, on joint au kit un gabarit adhésif à fixer comme sur la figure suivante.
- Para facilitar el taladrado de la tapa, el kit incluye una plantilla adhesiva que se aplica como ilustra la figura siguiente.
DOOR DRILLING USING THE TEMPLATE
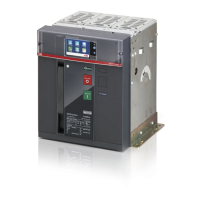
Smontare la mostrina del vecchio interruttore.
Disassemble the flange of the old circuit-breaker.
Den Abdeckahmen des alten Leistungsschalters entfernen.
Démonter la garniture de l’ancien disjoncteur.
Desmontar la cubierta de protección del viejo interruptor.

 Loading...